Baking with Whole Grains
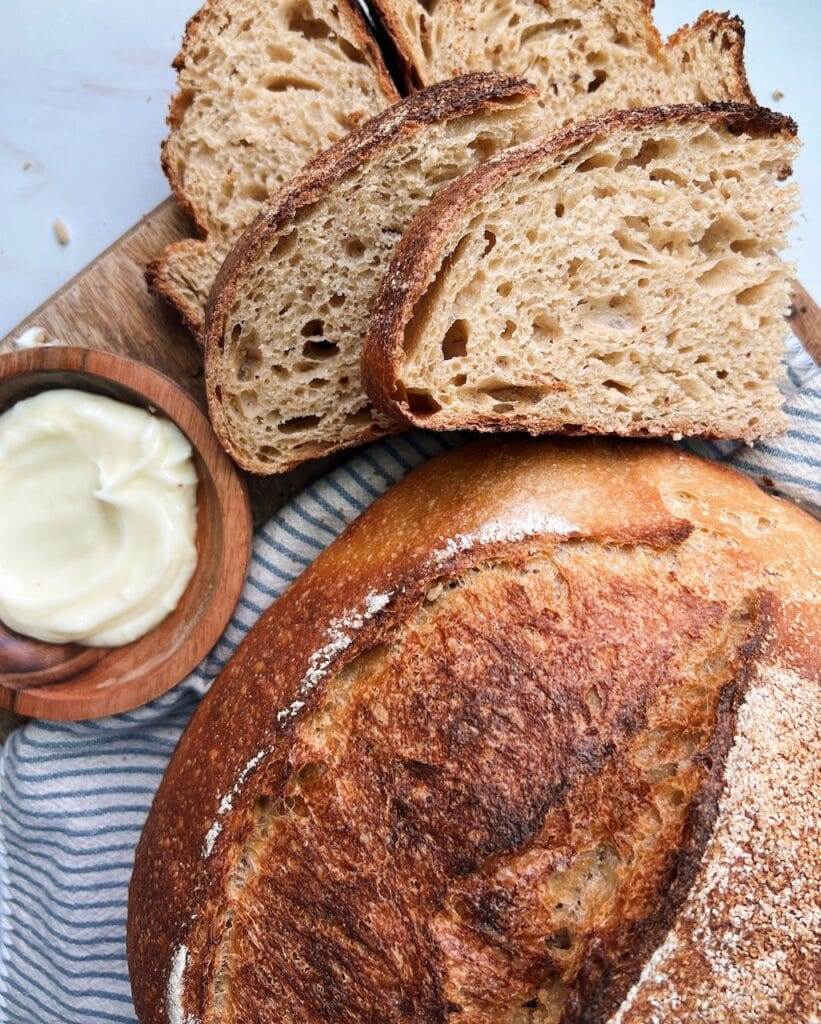
Baking with whole grains isn’t only healthier, it’s delicious too! Whole grains are an excellent way to incorporate vitamins and nutrients into your diet without having to sacrifice on flavor! You’ll find so many recipes throughout this post to make with whole grains! Be sure to read through this post to find a special offer to purchase your own flour mill and a video to show how to use a flour mill.
(This post contains affiliate links. I receive a commission on purchases made from affiliate links, at no cost to you.)
Why bake with whole grains?
We all have our favorite baked items…breads, muffins, cookies, scones, etc. Most of the time, those treats are usually made with refined flour (white flour than has been stripped of its nutrients). These baked goods typically have little to no nutritional value. They can leave us feeling sluggish and still hungry.
Does that mean we need to just say no to that slice of bread, or move the muffin over for tofu? Absolutely not! Adding whole grains into our favorite baked items is an easy and delicious way to get the essential vitamins, nutrients and fiber we need in our daily diet. And it’s easier than you think!
By swapping out a portion of the white flour for whole grain flour, you’ll notice that your favorite baked treats not only taste delicious but help you feel better. Whole grains often add a richer, sometimes nutty, sometimes sweet flavor (depending on the grain). They are full of nutrients like B vitamins, iron, copper, zinc, and antioxidants. They contain lots of fiber, which also helps us to feel fuller.
Seems like a no brainer, right? So how can we make it easier to bake with whole grains? First, it’s important to understand what exactly makes a flour a whole grain and what grain to use when.
You’ll find this post really helpful if you’re ready to start exploring the world of whole grains in your baking!
What is whole grain…
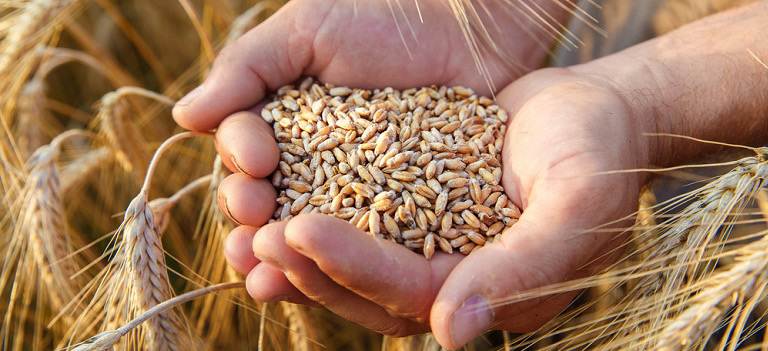
Baking with whole grains means you are using the entire grain – nothing left out or added. Whole grain flour utilizes the entire grain kernel, also known as a berry. There are 3 parts of a grain kernel:
- The Bran – This is the outer layer of the kernel. It contains B vitamins, antioxidants and fiber.
- The Germ – The embryo of the kernel, the germ has the potential to sprout a new plant. It contains healthy fats, proteins and other nutrients.
- The Endosperm – The grain’s food supply. It makes up the largest portion of the grain kernel. It contains starchy carbohydrates, proteins, and a smaller amount of minerals than the bran and germ.

Different kinds of whole grains
There are many different kinds of grains we can incorporate into baking! Let’s briefly touch on the most widely used grains. Knowing more about each one will help you decide when to use what in your baking.
Wheat
“Whole Wheat” products are those that contain all parts of the wheat kernel. It’s important to educate yourself on packaging labels as these can get misleading. A loaf of bread or bag of wheat flour can be labeled as whole wheat, but not contain whole grains. Here in the U.S., to ensure you are purchasing a whole grain product, look for packaging with the stamp, “100% whole wheat”.
- Red Wheat is perhaps one of the most popular types of wheat used in baked goods. Ground from red wheat berries, it’s most often the variety of wheat used for “whole wheat flour”. It’s darker in color than white flour and has a more pronounced grain flavor. Red wheat is high in protein and has the ability to create strong gluten structure in breads and baked goods. Red wheat flour is ideal for crusty, rustic breads like my Easy Sourdough Bread Recipe or Beginner Artisan Bread. Use it in conjunction with bread flours for optimal results.
- White Wheat is a variety of wheat that is lighter in color and milder in flavor than red wheat. If you find the flavor of red wheat to be a bit bitter, you’ll love whole white wheat! It contains the same amount of nutrients as red wheat, but with a less detectable flavor. This is the perfect grain to use when you’re trying to sneak whole grains into your family’s diet. It’s fairly undetectable when swapped for a portion of white flour. White Wheat is ideal for softer breads like my Whole Wheat Bread. I have often gotten remarks that it doesn’t even taste like wheat bread!
- Sprouted Wheat is wheat kernels that have been soaked in water and over the period of a few days, begun to sprout. They are then dried and ground into flour. Sprouted wheat has many benefits. Sprouting releases vitamins and activates enzymes that makes it more easily digestible – which is great for those with wheat sensitivities. Sprouted wheat flour is super smooth and yields baked goods that have a fluffy texture and slightly sweet flavor. When making breads with sprouted wheat flour, avoid a lengthy cold fermentation to avoid too much enzymatic activity and to preserve the delicate gluten structure of the bread. Sprouted wheat flour would be ideal in recipes like my Buttermilk Biscuits or Banana Crumble Bread.
- Cracked Wheat is wheat kernels that have been crushed into a texture more coarse than flour. It can then be soaked and added into recipes like breads, Blueberry Scones, muffins and cookies. Cracked wheat yields a chewier texture and a nutty flavor.
Rye
There are different types of rye flour – dark, medium and light. What differentiates these flour types is the amount of bran left in the flour (remember the anatomy of the grain kernel?).
A whole rye flour is called Pumpernickel flour. It contains the entire rye kernel. Pumpernickel is also known as dark rye or whole rye flour.
Pumpernickel flour is full of nutrients and flavor, but low in gluten-forming proteins. A bread made with 100% whole rye flour will be very dense, so it’s usually ideal to combine it with a higher gluten flour, like bread flour.
Lighter rye flours have varying amounts of the bran removed, thus making them lighter in color and texture.
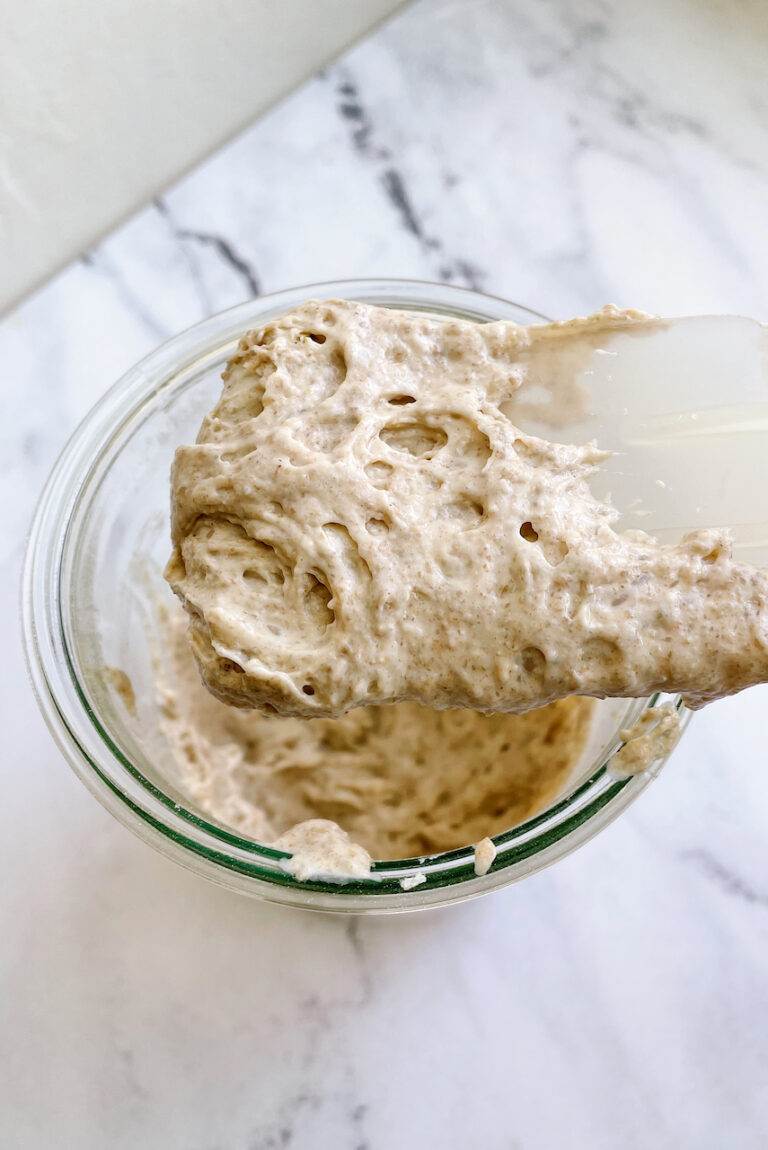
I love to use dark rye flour to revive a sluggish sourdough starter. If you’ve neglected your starter, adding just a pinch of rye flour for 1-2 feedings will help jump start some activity! If you haven’t begun a sourdough starter yet, you can create one with my 7-Day guide about How to Create a Sourdough Starter.
Grain Mixes
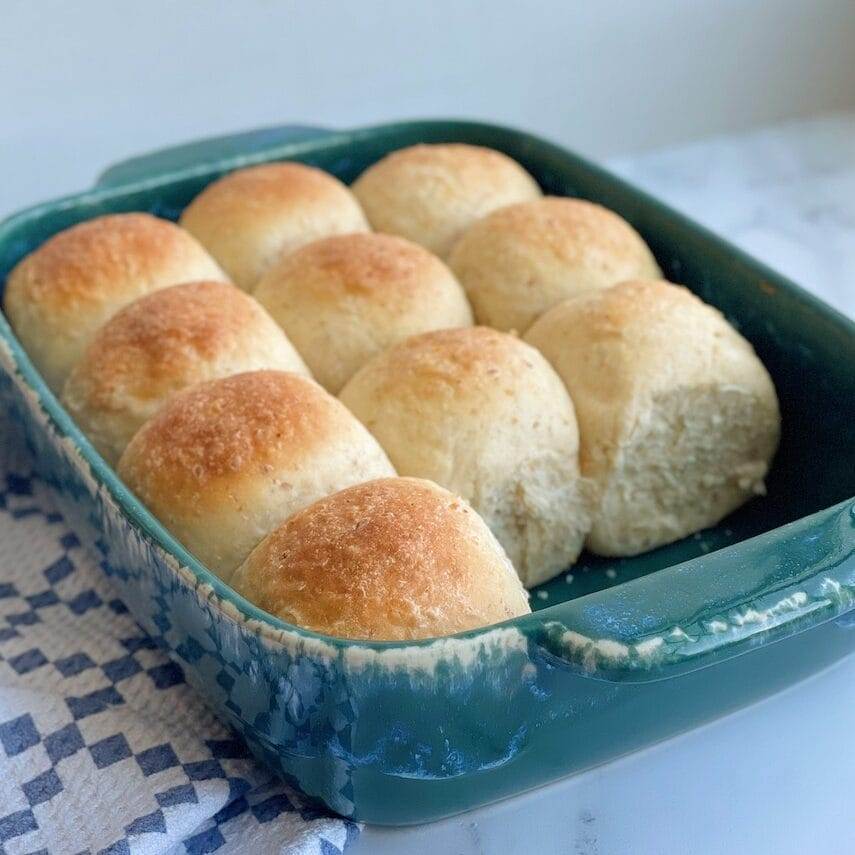
There are many different types of blended grains you can bake with. One of my favorites is a 10 grain cereal mix used in my Super Fluffy Whole Grain Dinner Rolls. The mix contains grains like wheat, rye, triticale, millet, barley and flax. Just like many other recipes with whole grains, this one doesn’t use entirely all whole grains, but is incorporated with wheat and bread flour for an optimal texture and rise.
Experiment with different grain blends to find ones that you love. They can add such great flavor and health benefits.
Oats
There are several different ways to incorporate oats into your baking:
Steel Cut Oats are oat berries that have been husked and coarsely chopped. The result is also known as “groats”. Before using, they need to be softened. You can soak or simmer them. Once softened, they can be added to recipes like breads, rolls or muffins. They add a great flavor and extra protein and fiber.
Rolled Oats, also known as Old Fashioned Oats are oats that have been husked and steamed and rolled through rollers to flatten them. This prepares them for immediate use in many different kinds of recipes. Add them to cookies, muffins or use them for my favorite Homemade Vanilla Almond Granola.
Oat Flour is husked oat berries that are milled to a fine flour. Since oat flour does not contain gluten, it’s not ideal for breads. However it can add delicious flavor and extra nutrients to baked treats like muffins, cakes and cookies.

What are ancient grains?
If you’ve entered the world of bread baking, chances are you’ve heard the word, “ancient grains” when doing a bit of ingredient research. What a mysterious sounding ingredient, right?
There’s not an official definition of what determines a grain to be “ancient”. According to the Ancient Grains Council, “we generally define ancient grains loosely as grains that are largely unchanged over the last several hundred years.”
Modern grains like red and white wheat are hybridized – male & female plants from different lines are pollinated to create a crop that is more stable under environmental stresses. Ancient grains are essentially unchanged and in their purest form.
For the most part, nutrition doesn’t vary much between hybridized grains and ancient grains. However, evidence has shown ancient grains to be more easily digestible than modern grains.
Some popular ancient grains used for breads:
- Khorasan Wheat is an ancient grain, a variety of wheat. You may know it in the US as Kamut. It’s important to note that Kamut is a trademark brand name, but is not the only khorasan grown in the US. Any khorasan labeled as Kamut is organically grown. Khorasan is named after the region in Iran that it originated from. The kernel itself is larger than red and white wheats. It has a nutty, sweet flavor. It’s higher in gluten protein than red and white wheats, which makes it great for bread baking. I love using half khorasan/half bread flour in my soft pan breads like my recipe for the Best Homemade White Sandwich Bread, and a 50/50 blend is also incredible in my Homemade Crescent Dinner Roll recipe!
- Spelt is an ancient grain that is higher in gluten-forming proteins, but that gluten is more delicate. I love using spelt as a portion of the flour in certain recipes. It yields a bread that has a crispier crust and a slightly sweeter flavor. Recipes like my Basic Sourdough, Sourdough Pizzas or Focaccia in my Classes Library are incredible with a portion of spelt!
- Einkhorn has been said to be the oldest wheat known to scientists. According to Einkhorn.com, “Einkorn is the most primitive form of wheat on Earth. It contains only 14 chromosomes, whereas modern wheat contains 42. Einkorn does not have the D chromosome, which seems to be connected with wheat intolerance in many humans.”
Khorasan, Spelt and Einkorn are all varieties of wheat. Some gluten free ancient grains making more of an appearance are millet, quinoa, buckwheat and amaranth.

Baking with whole grains
It’s important to know that whole grains do not behave the same way as all-purpose or white bread flours do. Whole grains take longer to absorb liquids than white, refined flours, and in yeasted doughs, they can speed up the fermentation process. There’ a couple of things you can adjust to counteract these differences.
- In yeasted doughs, using whole grains can create a stickier dough. To make it easier to handle, let the dough rest for about 20 minutes before kneading. This will give it time to absorb the liquids and make it easier to handle later.
- Keep an eye on your whole grain yeasted doughs when they are proofing. More often, they will rise at a faster rate than they usually would with white flour only.
- Whole grains contain sharp bran flakes which can cut into gluten strands, compromising the structure of bread dough. When making bread with whole grains, you can create a less aggressive environment for the gluten by extracting some of the bran with a wire sieve.
An easy way to get started
Now that we’ve discussed why it’s important to incorporate whole grains into your baking, and we’ve talked about the different kinds you can use…how do we start using whole grains?
Instead of doing a complete 180 and switching entirely from white to whole grain flour, it’s much more practical to take a gradual approach.
- Add whole grains to baked goods that are naturally darker in color. We eat with our eyes first. Most of our palettes have been trained to love lighter colored baked goods (which has likewise trained our brains). Adding a bit of whole grains to an already dark baked item won’t be so noticeable. This is especially helpful when you have some family members that are hesitant to switch from white to wheat. You’ll find that swapping out white flour for whole grain flour in things like Easy Belgian Waffles, Apple Streusel Muffins or my Wheat and Oat Pancake Mix are easy to do without anyone really noticing. Bonus! Adding whole grains to these recipes will add a delicious flavor!
- Start gradually. Don’t go to the extreme and start using 100% whole grains if you’re not used to using them in your baking. It will be easier for you and your family to acquire a taste for whole grains if you start slowly. Begin by swapping out a portion of white flour for a whole grain flour. Increase the amount gradually until you find a good balance that you and your family enjoy.
- Sift some of the bran out of the flour. You can use a sieve to remove some of the bran – this will give the flour lighter color and texture, making it easier to introduce into your baking. As you get more used to the flavor and texture of whole grains, you can start leaving the bran in. Any extracted bran can be saved and sprinkled on top of other foods or into dough batters for added fiber. It’s virtually undetectable and adds so many benefits!
How to mill your own flour
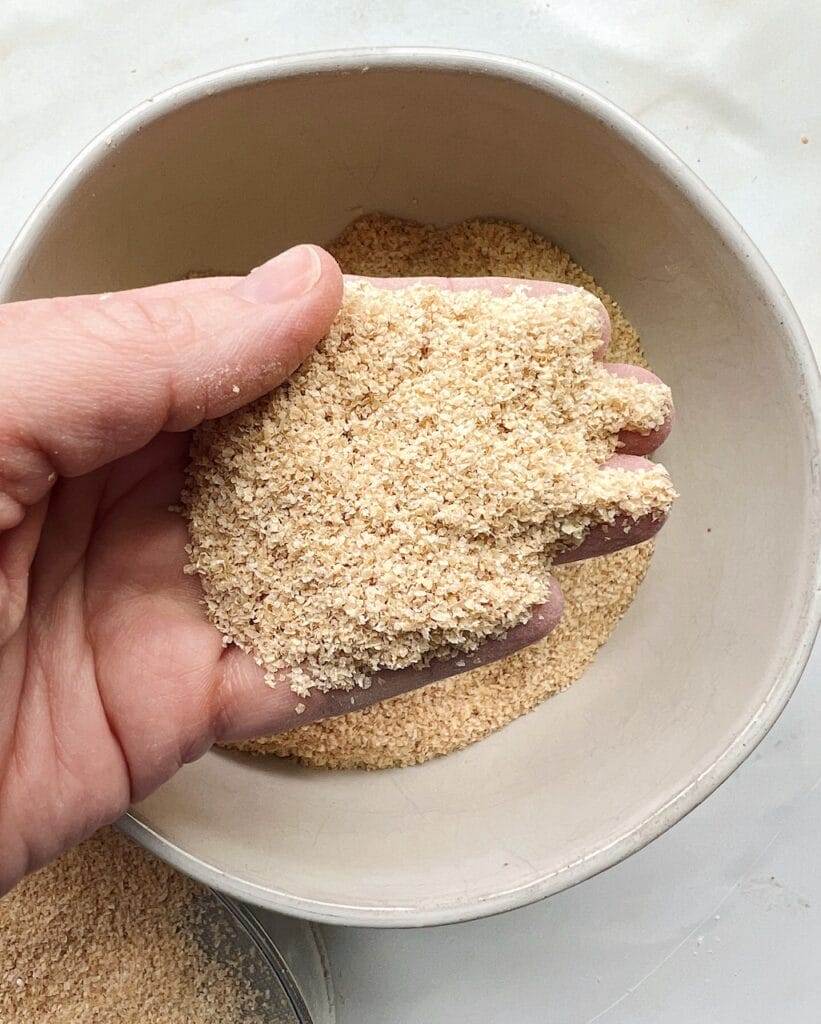
Milling flour means you are grinding up the grain kernel into a flour form. I’ve been milling my own flour for over 20 years!
There’s three main reasons you’ll love milling your own flour:
- FLAVOR: There’s really no comparison! Freshly milled flour makes your breads taste so incredible!
- CONTROL: One of the biggest reasons why homemade baking is best…YOU get to decide what goes into your foods! If you want to use a 100% whole grain flour, you can feel great knowing you’re using the complete grain, from kernel, to flour, to your recipe. You also have the ability to sift out some of the bran (extraction) if you want to lighten your flour up a bit.
- ECONOMY: Milling your own flour, in the long run, is more inexpensive than buying whole grain flour. You can store wheat berries for years when properly stored. Mill them when needed. It’s also reassuring to know that you can build a good supply of grains for a possible time of need later.
My favorite flour mill

There are many different types of flour mills you can successfully use. I’ve been using the same flour mill for 20 years and it’s still going strong! My Nutrimill Classic Grain Mill allows me to grind up to 20 cups of flour at a time! It’s so easy – plug it in, pour in the grains, and switch it on. In about 5 minutes, you have enough flour to make 6 loaves of bread, with extra flour leftover!
Watch my Instagram video to see this mill in action!
If you are looking to purchase the Nutrimill Flour Mill, you can get $20 off by clicking on this Nutrimill button.
Video
Watch this short video to see just how easy it is to mill your own flour!
Grain and flour storage
It’s important to store your grains and flours properly. Heat, oxygen and moisture are all things that will make your grains and flour go bad. The strategy is to protect them from those elements. While this could be a complete and in-depth post in itself, here’s a few simple tips I use to store my grains and flours.
- Long-term grain storage – Keep your grains in an airtight container, stored in a cool, dark place like a storage pantry. I grew up with my mom storing wheat kernels in sealed, # 10 cans with oxygen absorbing packets. We stored wheat like this for years as a way of emergency preparedness. That is typically not an option available to most. For storing grains long term, I’d suggest using these mylar food storage bags with oxygen absorber packets. You could also use a heat seal to extend the shelf life even longer. It’s a good idea to store the mylar bags inside an airtight bucket to keep rodents away (as they can chew through mylar). You can store grains like this for up to 20 years and beyond. You can also keep your unmilled grains in airtight, food safe containers like these buckets with gamma lids. There are different sizes, according to how much you are storing. Mill your grains as needed to extend the lifespan of your grains. It would also be a good idea to add those oxygen absorber packets in there as well.
- Long-term freshly milled flour storage – While baking with freshly milled, whole grain flour has so many benefits, the one caveat is that it will go bad sooner than a shelf-stable store brand flour. To extend the shelf life of your freshly milled flour, store it in an airtight container or a thick, freezer ziplock bag. Keep the flour in the freezer for up to 6 months.
- Short-term freshly milled flour storage – Always store in an airtight container. Store at room temperature for up to one month, or 3 months if you have a cooler house. You can store it in the refrigerator for up to 6 months or in the freezer for up to one year.
Always be sure to label the date you packaged your grains or flours. Also, rotate through them often – don’t store grains and flour and never use it. I’ve always followed the FIFO mantra (first in, first out). This ensures you are rotating your grains before they go bad.
You can find more helpful items for flour and grain storage HERE at my Amazon Storefront.
Where to buy whole grains and flours
Not all flours and grains are created equal. There are organic and nonorganic options. The organic options tend to be more expensive. I opt for organic when I can – afterall, if you are on a mission to eat healthier, why use grains that are chemically treated?
For that purpose, I really love the grains and flours from Central Milling. They offer a wide variety of organic products. Shipping can get expensive, but you can make it more affordable by splitting an order with a friend.
There are also other options like King Arthur, which often can be found in grocery stores or on Amazon.
Azure Standard is another great resource for quality grains and flours. You can order online and they have hundreds of drop off locations throughout the US.
I also really love Wheat Montana. Their wheat is some of the best I’ve ever tasted!
Whole Grain recipes
Here are a few Whole Grain recipes you’ll love!
Try swapping out a portion of white for whole grain in some of these recipes!
Homemade Crescent Dinner Rolls
The Best Homemade White Sandwich Bread
Conclusion
Any way you can incorporate more whole grains into your baking is a win all around! It adds extra nutrients, great flavor and allows you to control exactly what is going into your baked goods!
Ease into it gradually. Try new grains. Discover what you love. And enjoy the world of baking with whole grains!
Share and follow along!
I love to see how you are enjoying my recipes! Please leave a comment below and let me know how it turned out for you! Follow me on Instagram @thatbreadlady, Facebook and YouTube for more baking tips and videos! Be sure to tag me #thatbreadlady when you try one of my recipes. I’d love to see your baking successes!





I have the exact mill that you do. I grind my own flour. I make most of my quick breads grinding white whole wheat flour. I also make nut rolls and bread recipes using 1/2 reg flour and 1/2 white whole wheat I grind. Thanks for all the info. It will definitely help me.
Thank you so much for sharing this content!