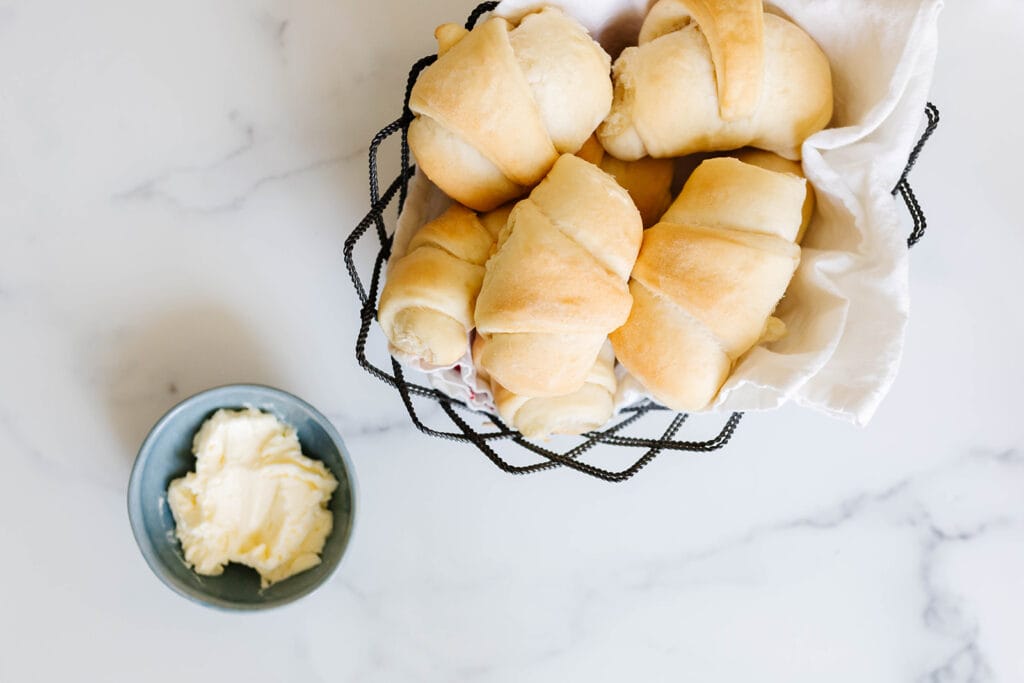
These homemade crescent rolls not only look beautiful on a dinner table, but they are a delicious addition to a family meal! They’re slightly sweet, soft and fluffy, rich and buttery! Crescent Dinner Rolls are always a family favorite!
My recipe inspiration
In my previous life as a home bakery owner, my crescent shape rolls were my best selling item. I baked them for thousands of customers for countless occasions! Holidays were always a huge demand for these delicious crescent rolls. In my career as a bakery owner, I estimate I made nearly half a million rolls for my customers! Thanksgiving week alone, I’d make 1,300 dozen rolls!
I think we can safely say, I have some experience making them! Even though I have baked so many, I still never tire of their deliciousness! I continue to bake them for my own family and we often have them for family dinners.
We love these rolls so much – I’m so excited to share this crescent rolls recipe with you! While making them is fun, the best experience is eating them!
Working with yeast
Working with yeast can be intimidating at first, but the more you do it, the more comfortable you will get! Yeast is a living organism that just needs the right conditions to thrive. It feeds off of sugar and starches. When it feeds, it releases carbon dioxide gas in the form of air bubbles in the dough. This process is also known as “fermentation”. This is what gives bread dough its volume and airy texture.
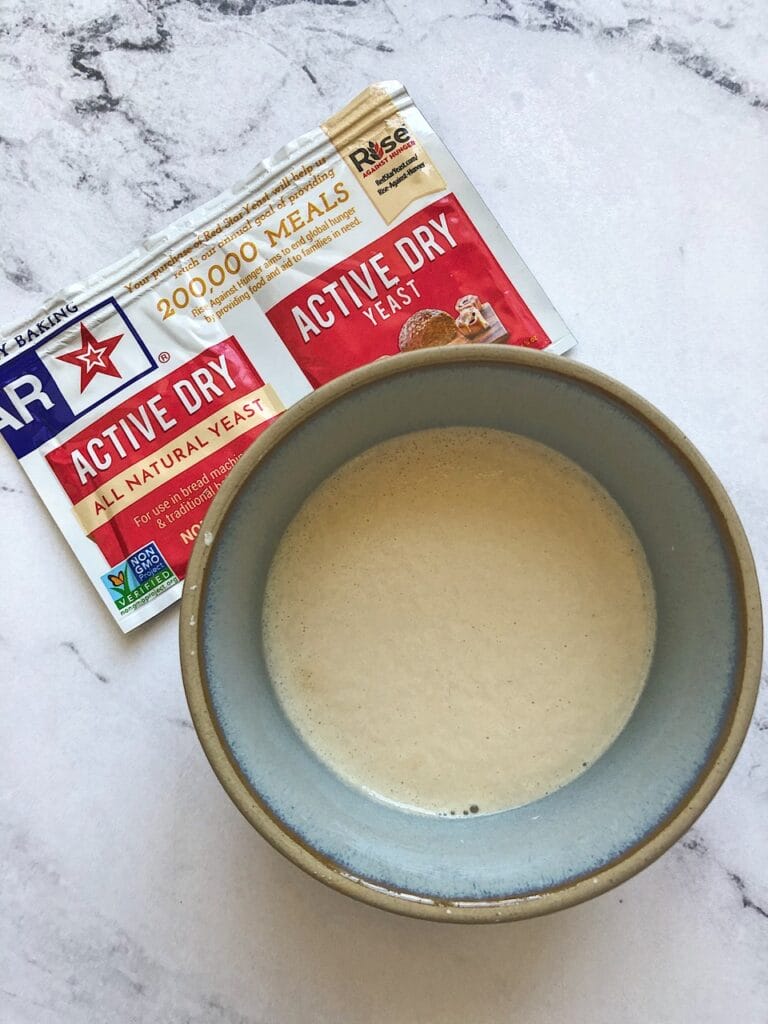
Since yeast is a living organism, it needs the proper environment to stay alive and feed. If you are using a commercial yeast like Active Dry Yeast or Instant Yeast (also known as Rapid Rise Yeast), it comes in a dry, granular form. Most likely, it’s in a packet you buy at the grocery store. In this form, the yeast is in a state of inactivity. Once the yeast is mixed into dough, it “wakes up”, in a sense. When it’s given water and flour (food) it will begin that fermentation process. Using water that is too hot (130-140°F) will kill the yeast. Typically, bread recipes will call for warm water thats around 95-120°F – this gives the yeast optimal conditions to ferment. If you don’t have a thermometer to check the water temperature, you can usually judge by touch. The water should feel lukewarm.
If you want more information about yeast, check out my article about Active Dry Yeast vs. Instant Yeast. I also have a Guide to making Sourdough Starter, which is how to make a natural starter.
Ingredients
There are some unique ingredients in this recipe that makes it so delicious! Each serves an important role in how this dough will turn out.
- Bread flour: Most bread recipes will use bread flour. It has a higher protein content (11-13%) than an all-purpose flour. Higher protein flours also mean a higher gluten flour – yielding a bread with a strong crumb structure.
- Powdered milk: In baked goods it provides a creamier flavor and helps yield a more golden brown color when baked. Look for powdered milk that is fine in texture. If anyone you are baking for cannot have milk, try using a milk powder substitute like coconut, soy or rice powder.
- Eggs: Eggs in bread help to create a fluffy, big rise. They are perfect for these rolls, since it’s meant to be soft and fluffy.
- Potato Flakes: Potato flakes in bread make the crumb more moist and tender. They also extend the shelf life of the bread.
- Butter Flavor Shortening: Vegetable shortening has a high melt point, allowing it to create more steam in the dough when baked. This produces a lighter, airy texture bread. The butter flavor gives it a more rich, butter flavor. If you can’t find the Butter Flavor Shortening, use plain shortening – your rolls will still turn out amazing!
Mixing the Dough
I love baking with this dough! It’s such a pillowy, soft dough that’s so easy to work with! I use it in several other recipes like Cinnamon Rolls, Orange Rolls, Biscoff Cinnamon Rolls, and S’mores Sweet Rolls! You’ll see it is so easy to mix up and use.
You will need to use some type of a stand mixer to make this dough. You will need to use your dough hook attachment.
- Measure out all of your ingredients ahead of time. I always do this when making a recipe – it helps to prevent me from making any mistakes in measurements or leaving out ingredients. It also makes the mixing process go much smoother. I always suggest weighing out your ingredients with a food scale – you will get much more accurate results!
- In a large bowl, combine the warm water, powdered milk, potato flakes, sugar, salt, yeast. Whisk them together – this helps to break up the powdered milk and potato flakes and gets all of those ingredients incorporated before adding the heavier ingredients. Pour the yeast mixture into your mixer bowl.
- Add the eggs, room temperature butter and shortening. Add 3 cups of the flour (about half) and mix on low, just until all the ingredients are combined and smooth.
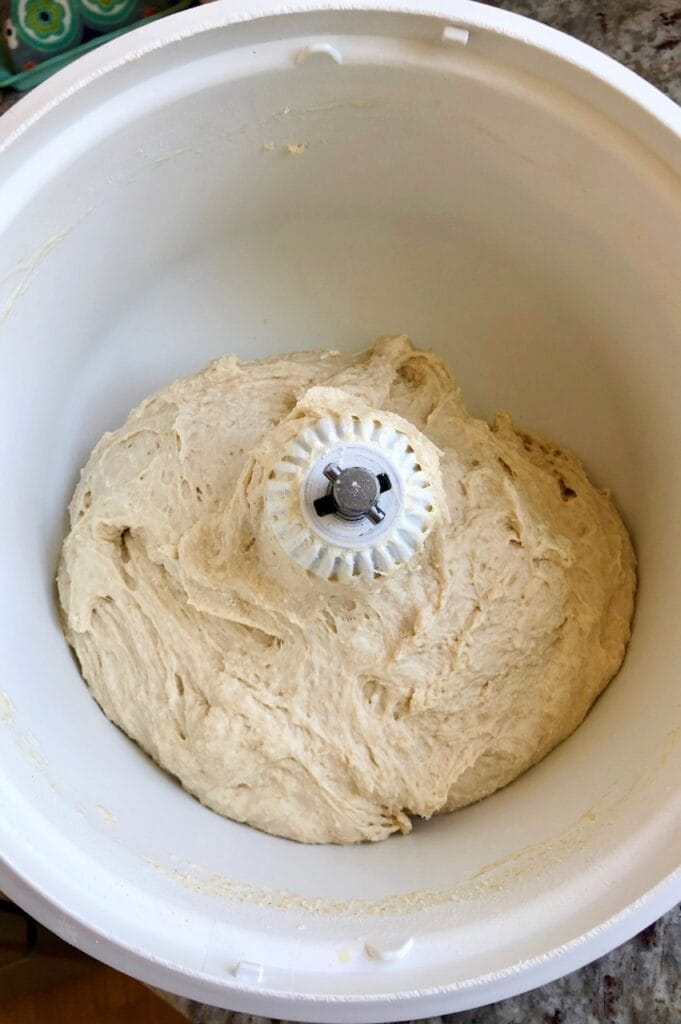
- While the mixer is on low, gradually add two cups of the remaining flour, 1/2 cup at a time, mixing well after each addition. This is where getting to know your dough comes into play. You’re looking for the dough to clean the sides of the bowl, as it’s mixing. It should be concentrated around your dough hook. Once you get it to this point, stop the mixer and lightly tap on the dough with your finger. If it feels soft, but not wet and sticky & is cleaning the sides of the bowl, it’s ready to knead. Return to mixing it on low and allow your mixer to knead it for 5-7 minutes.
My number one tip for mixing this dough
Avoid the urge to add more flour. This dough is very soft and easy to work with – it’s very forgiving! You may see a little bit of dough sticking to the sides of the bowl when it’s kneading – don’t panic! Go by how it feels. You want to use just enough flour so that it doesn’t feel wet or excessively sticky. Too much flour in your dough will give you dry, dense rolls. You can always add a bit more flour after it has kneaded if it’s too sticky to work with.
Double Rise
Like most bread doughs, this roll dough will have a double rise – meaning you will let it rise twice. Remember, the process of “rising” is simply allowing the yeast to feed and create those magical air bubbles in the dough.
The first rise happens right after the kneading is over, but before you divide and roll out the rolls. The first rise in bread making is called the “Bulk Fermentation”. It is vital to the development of your dough structure. It creates important volume and gluten development. You’ll see that after the bulk fermentation, your dough will be much easier to work with!
For the first rise, place the dough in a greased bowl and cover with a clean kitchen towel or plastic wrap. The first rise typically takes about 60-90 minutes, depending on the ambient temperature of your kitchen. You want to keep your dough covered, in a warm place in your kitchen. You are looking for your dough to double in size.
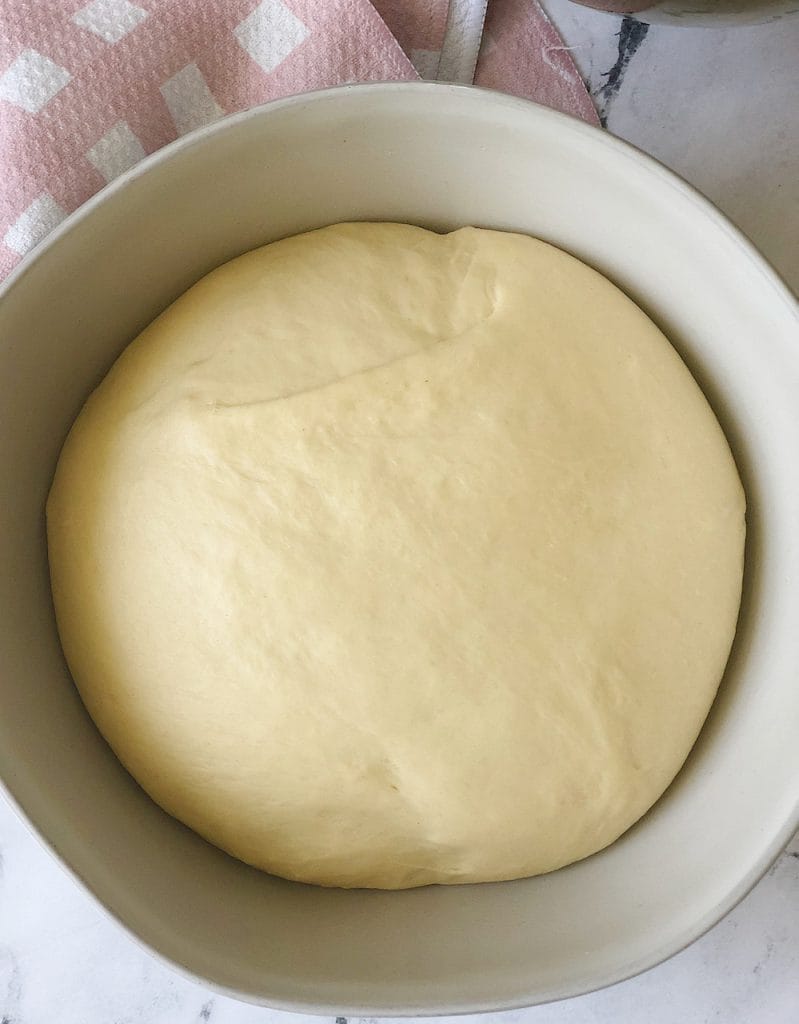
The second rise happens after you have shaped the rolls and place them onto the pan. This is called “proofing”. The second rise will usually take about half of the first rise time. Your beautiful homemade dinner rolls will puff up to double in size at this point, usually taking about 45 minutes to get to this point.
Shaping the Rolls
Once your bulk fermentation is complete, turn the dough onto a floured surface. Lightly sprinkle all the sides of the dough with flour – making it more easy to handle. Divide dough into two equal portions, about 28-30 ounces in size. In order to more easily roll them into a circle, round each dough ball by tucking the sides under while your rotate it in your hands. You want to create a smooth round shape before rolling out.
- With a rolling pin, roll your dough out to a circle about 15 inches in diameter and 1/4 inch thick.
- Lightly butter the dough with melted butter. I love using salted butter here – it compliments the slightly sweet flavor of the roll dough so well!
- With a pizza cutter, cut the dough into 12 equal wedges, just as you would a pizza. *A helpful tip: If you have any wedges that are larger than others, use the pizza cutter to trim off a bit of the extra dough and press it into the wide end of a smaller wedge – this way your rolls will all be similar in size.
- Roll up each wedge, beginning at the outer wide end and ending at the pointy tip. You can slightly stretch each wedge to get more rotations. My prettiest crescent rolls will have three layers! Tuck the tip under and place the roll with the tip side down on a greased baking sheet or pan lined with parchment.
- Once they’re all on the pan, cover and let them rise for their final proof.
Knowing when your crescent rolls are ready to bake
Before you bake, your rolls need to proof until they double in size. A great way to check if they’re ready to bake is to use the poke test – gently poke the side of the risen roll with your fingertip. If the indentation holds it’s shape, it’s ready to bake. If it immediately springs back, it still needs a bit more time to proof. If the indentation stays and never springs back, you have let your dough rise too long. Remember, the final proof will be shorter than the first rise.
It’s always a great idea to pre heat oven for about thirty minutes before you bake. Most ovens are not fully preheated when that magic preheat timer goes off. I started using an oven thermometer and it has made a huge difference in my baking. It usually takes a good thirty minutes for my oven to come to a true temperature, so if you start to preheat your oven during the final proof, it should be ready to bake when your rolls are nice and puffy!
Baking
If you have the Convection option on your oven, I would highly recommend baking your crescent rolls on this setting. Convection circulates the air in your oven, preventing them from burning on the bottoms and being too light on the top. If you haven’t used your Convection setting before, check your oven manual – all ovens are different and some will automatically adjust the temperature when you set it for convect bake.
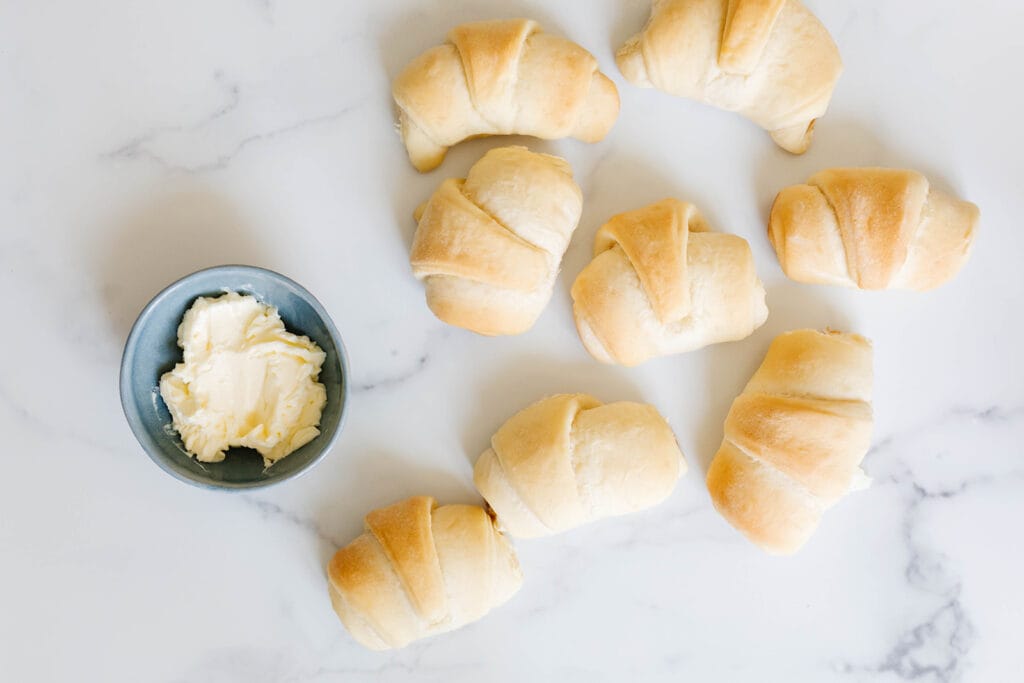
Bake your rolls until they are a golden – you can decide how much! In my bakery days, I often had customers that requested “lighter” or “darker” rolls. If your family is like mine, everyone has a different preference! I usually bake them somewhere in the middle, which is my favorite – golden crescent rolls!
After they come out of the oven, let the rolls cool on the pan for about 10-15 minutes before transferring them to a wire rack. You can serve them warm, which is always a great choice! If you aren’t serving them right away, allow them to cool completely before you put them in a bread bag. Putting them in an airtight container while still warm will create condensation in your bag or container, causing the rolls to become soggy.
Storing
Once your rolls have completely cooled on a wire rack, place them in a bread bag or airtight container. Store them in them at room temperature for up to 4-5 days.
You can also freeze baked rolls in a freezer bag for up to 3 months. These rolls freeze really well! When thawing, remove from the freezer the night before you want to use them (or about 6-8 hours). Let them thaw in the bag or container you stored them in. You can reheat them in your microwave for one minute before serving.
My favorite time saving tip
- You can freeze rolls to bake for later: After rolling up and placing the rolls on a nonstick cookie sheet, put the entire pan in the freezer and allow the rolls to freeze for several hours. Once frozen, remove the sheet pan and you can pop them off and place them in a ziplock bag and store in the freezer for later use. When baking frozen rolls, remove them from the freezer bag and place on a baking sheet. Allow them to rise and bake as usual. Rising frozen rolls could take 3-5 hours, depending on how warm your kitchen is.
Your family will absolutely love these rolls! It’s the perfect roll recipe for special holidays, Sunday dinner, soup nights or just anytime you want to bake rolls! Try this recipe today! Be sure to post your results on Instagram and tag me! @thatbreadlady and #thatbreadlady. I love seeing how your family is enjoying these recipes!
Have you heard about my virtual baking classes?
If you are new to bread making, or just looking to improve your baking skills, be sure to check out my Virtual Baking Classes! They are pre-recorded videos, showing you how to complete a recipe from start to finish! Included in my Class Library is the Crescent Dinner Roll Class – so if this recipe seems a bit daunting, my video will help you to make these yummy rolls successfully!
If there’s several classes you’re interested in, my Baking Academy is a great option for you – you can get access to ALL of my classes for one low price!
You can go HERE to learn all about it!
More recipes to try
Share and follow along!
I love to see how you are enjoying my recipes! Please leave a comment below and let me know how it turned out for you! Follow me on Instagram @thatbreadlady, Facebook and YouTube for more baking tips and videos! Be sure to tag me #thatbreadlady when you try one of my recipes. I’d love to see your baking successes!
(This post contains affiliate links. I receive a commission on purchases made from affiliate links, at no cost to you.)

Homemade Crescent Dinner Rolls
Ingredients
- 2 cups 454g warm water (about 115°F)
- 1/4 cup 28g nonfat powdered milk
- 1/2 cup 43g boxed potato flakes
- 1/2 cup 99g granulated sugar
- 1 Tablespoon plus 1 teaspoon 12g instant yeast *
- 1 and 1/2 teaspoons 9g salt
- 1/4 cup 56g unsalted butter, softened to room temperature
- 1/2 cup 92g butter flavored shortening
- 2 large eggs
- 5 –6 cups 600-720g bread flour
For rolling up:
- 1/4 cup 56g salted butter, melted
Instructions
- Prepare the dough.
- In a large bowl, combine warm water, powdered milk, potato flakes, sugar, yeast and salt. Mix well with a wire whisk. Pour into the mixer bowl and secure the dough hook attachment to your mixer.
- Add the butter, butter flavored shortening and eggs. Add 3 cups of the bread flour. Mix for about 30 seconds until ingredients are incorporated. Stop the mixer and scrape down sides of bowl with a spatula.
- Turn mixer on low and add 2 more cups of the bread flour, 1/2 cup at a time. After adding the 2 cups of flour, let dough continue to mix for about 1 minute. Stop and scrape the sides of the bowl as needed. If dough is not mostly cleaning sides of the bowl, add more flour 1/4 cup at a time until it cleans the sides of the bowl. Stop the mixer and check the dough by gently pressing your finger into it. If the dough does not stick to your finger, it should be ready to knead. *When in doubt, it’s always best to go lighter on the flour. You can always add more flour, but you can’t take flour away. Too much flour in your dough will give you dry, dense rolls.
- Knead on low speed for 5 minutes.
- Remove dough from mixer and place in a greased bowl. Cover with a clean kitchen towel and let rise until doubled in size, about 60-90 minutes.
Gather Items together for Rolling Out:
- Gather a small bowl of flour for your work surface, a rolling pin, pizza cutter, pastry brush, 2 baking sheets and 2 sheets of parchment paper. If you have them, a dough scraper and food scale come in handy too.
- Melt the salted butter in a microwave safe bowl and set aside.
- Flour your work surface and divide the dough into two equal pieces. If you are weighing it, each piece should weigh about 28-30 ounces. Round each piece into a ball shape. This will make it easier to roll out into a circle.
Roll out the dough:
- With one ball of dough, roll it out onto your floured surface into a circle about 15 inches in diameter and ¼ inch thick.
- Brush the top with salted butter, careful not to use too much or it will be difficult to roll up. Usually, about 2 Tablespoons of melted butter per dozen rolls is just enough.
- With a pizza cutter, cut the dough into 12 equal wedges, just as you would a pizza.
- Starting at the outer edge of one of the wedges, roll up towards the middle, pulling slightly to tighten it up as you roll until you have rolled it to the end.
- Tuck the end under and place on a parchment-lined baking sheet with the tip side down.
- Repeat with the remaining 11 wedges.
- Roll out and cut up the remaining balls of dough.
- Allow rolls to rise until puffy and doubled in size, about 45-60 minutes. *The key to fluffy, soft rolls is letting them rise long enough.
Bake:
- Bake on the middle rack, in preheated 350°F oven for 18-20 minutes or until golden brown.
- Allow to cool on the pan for 10 minutes before transferring to a wire rack to cool completely.
- Store in a heavy-duty bread bag. I suggest a 2 mil thickness.
Notes
- You can freeze rolls to bake for later: After rolling up and placing the rolls on a nonstick cookie sheet, put the entire pan in the freezer and allow the rolls to freeze for 24 hours. Once frozen, remove the sheet pan and you can pop them off and place them in a ziplock bag and store in the freezer for later use. When baking frozen rolls, remove them from freezer bag and place on baking sheet. Allow to rise and bake as usual. Rising frozen rolls could take 3-5 hours, depending on how warm your kitchen is.
- Store rolls in a bread bag or air tight container, at room temperature, for up to 4-5 days.
- *When doubling this recipe, double all of the ingredients except for the yeast. Use 2 Tablespoons of yeast in a double recipe.

[…] Homemade Crescent Dinner Rolls Recipe […]
I made these and have orders for three dz for thanksgiving So good even two days later delish.
Yay! So glad you like this recipe!
I did the crescent roll class last year, but I don’t believe there was a 60-90 raise in a bowl before rolling. Is this an update to the recipe or a slightly different recipe?
Hi Jill! I’m so glad you asked! Yes, this is an update from that same recipe.
[…] Crescent Dinner Rolls […]
[…] that’s so easy to work with! I use it in several other recipes like classic cinnamon rolls, Crescent Dinner Rolls and S’mores Sweet Rolls! You’ll see it is so easy to mix up and […]
[…] Crescent Dinner Rolls […]
[…] Crescent Dinner Rolls […]
[…] are really so simple to make. Start by using a super yummy dinner roll recipe, like my Crescent Dinner Rolls. This is also called my Master Roll Dough, because I have COUNTLESS uses for it! Not only do I use […]
[…] Homemade Crescent Dinner Rolls […]
[…] so easy to mix and handle. The dough, also known as my Master Roll Dough, can be used for Crescent Dinner Rolls, regular sized homemade Cinnamon Rolls and lots of other kinds of sweet rolls! This is the very […]
[…] Crescent Dinner Rolls […]
[…] Made from my Master Roll Dough, I also use this dough recipe for my Homemade Cinnamon Rolls and Crescent Dinner Rolls. The rolls themselves are incredible, but when you add the most amazing peach filling it’s a […]
Could I use my Bread maker to make these?
Mary, honestly I’m not sure…I’ve never used a bread maker. In theory, it should mix it ok, but I can’t tell you from personal experience. If you try it out be sure to let me know! ❤️
Sometimes when I make dough for rolls, I put it in the fridge overnight and count that as the first rise, would that work for this recipe? Thanks so much!
Yes! You could try that. It will rise quite a bit in the refrigerator though, make sure there is plenty of space in your bowl!