Beginner French Bread
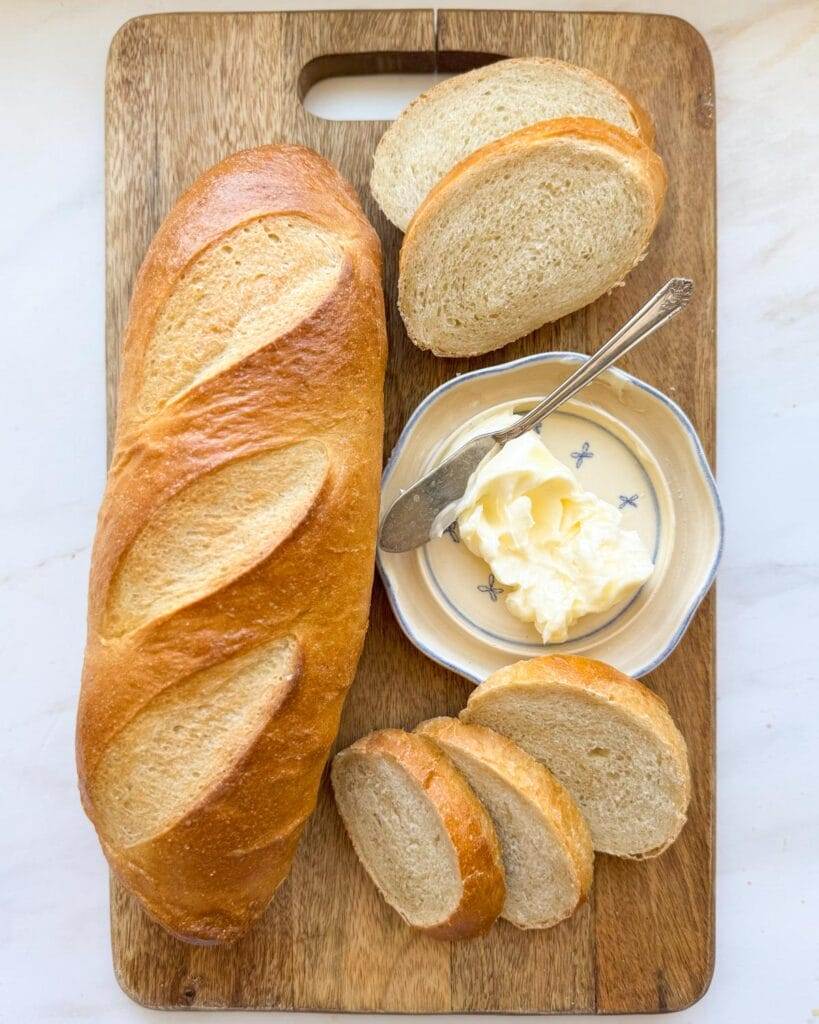
This beginner French bread is perfect for bakers new to bread making. It’s crispy on the outside and soft and chewy on the inside. You’ll be surprised at how simple it is, but tastes like it’s fresh from the bakery.
(This post contains affiliate links. Read our disclosure policy)
A warm loaf of French bread is the ultimate companion to a good meal! Serve it alongside pasta, soup, potatoes and gravy, dip it olive oil, make garlic bread with it…it’s so perfect with just about anything! Making your own loaf of French bread doesn’t have to be overly complicated. This recipe is simple and easy, with most of the time devoted to letting it rise. It takes little effort but has a big payoff!
How to bake with yeast
Working with yeast dough can be intimidating at first, but the more you do it, the more comfortable you will get! Yeast is a living organism that just needs the right conditions to thrive. It feeds off of sugar and starches. When it feeds, it releases carbon dioxide gas in the form of air bubbles in the dough. This process is also known as “fermentation”. This is what gives bread dough its volume and airy texture.
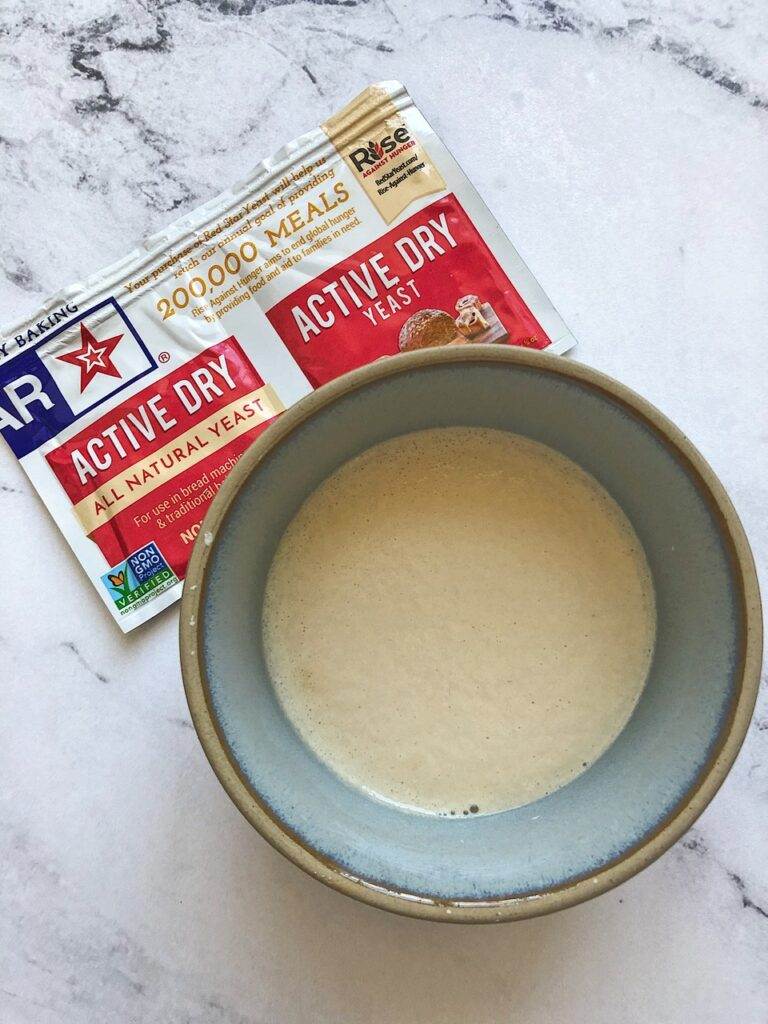
If you want more information about yeast, check out my article about Active Dry Yeast vs. Instant Yeast. I also have a Guide to making Sourdough Starter, which is how to make a natural yeast.
Are you looking for more help with your bread making?
This recipe is a really great starting point if you are new to bread making. Making bread from scratch can be intimidating, but it doesn’t have to be! It just takes practice! As you make bread more and more, you will get a better feel for how the dough should be feeling. I try to provide as much guidance as I can in my recipes – I was a beginner once too and know how overwhelming bread making can seem.
If you are looking for more guidance, my virtual baking classes would be a great option for you! I offer several of my classic bread recipes as a virtual baking class – each has my pre recorded videos, showing you how to make a recipe from start to finish. This is so helpful for visual learners! I break it down and show you how everything should be looking at every stage of the bread recipe! You can find my list of virtual baking classes HERE.
Making this homemade french bread recipe
This homemade bread can be made in under 3 hours, with most of the time devoted to letting it rise. It’s easiest to make bread dough with a stand mixer – my favorite bread mixer is the Bosch Universal Plus mixer, because of its strong motor and large mixing capacity. However, if you don’t have a mixer, you can mix and knead by hand – but be prepared for a great arm workout!
Ingredients
The recipe contains very simple ingredients. Sometimes the simplest ingredients make the best bread results! There are a few ingredients that help this homemade bread turn out just right. Be sure to use the suggested ingredients to get the best results
- Bread flour is best for using when making yeasted bread dough. It has a higher gluten content and will create the best texture for your bread. If you like chewy, fluffy bread, make sure you use bread flour. It’s easily accessible. Whenever possible, I prefer to use unbleached bread flour like this one HERE.
- Instant Yeast is a dry, commercial yeast that I like to bake with most often. Since it is “instant”, it is designed to be added directly to your ingredients without having to proof it first. I really like THIS instant yeast brand.
- Olive oil will help add richness of oil and a tender crumb. I like to use extra virgin olive oil for this recipe, which gives it a deeper flavor.
Mixing the dough
Mixing bread dough is key to getting the best bread results. My number one tip for this process is to avoid adding too much flour. It’s easy to get stuck in the cycle of adding too much flour, thinking the dough is too sticky. In this recipe, I suggest you reserve one cup of flour and add it gradually at the end, stopping to check how the dough is feeling. Touch is the best indicator for knowing when you’ve added enough flour. It’s important to keep in mind that your dough’s texture will change drastically after the first rise – making it much easier to handle.
- Get all of your ingredients measured out ahead of time – this helps the mixing process go more smoothly.
- Prepare your warm water – it should be around 110°F. If you don’t have a thermometer, it should feel lukewarm. Water that is too hot will kill your instant yeast, preventing your bread from rising.
- Add all of the ingredients in the bowl of your stand mixer, reserving one cup of flour.
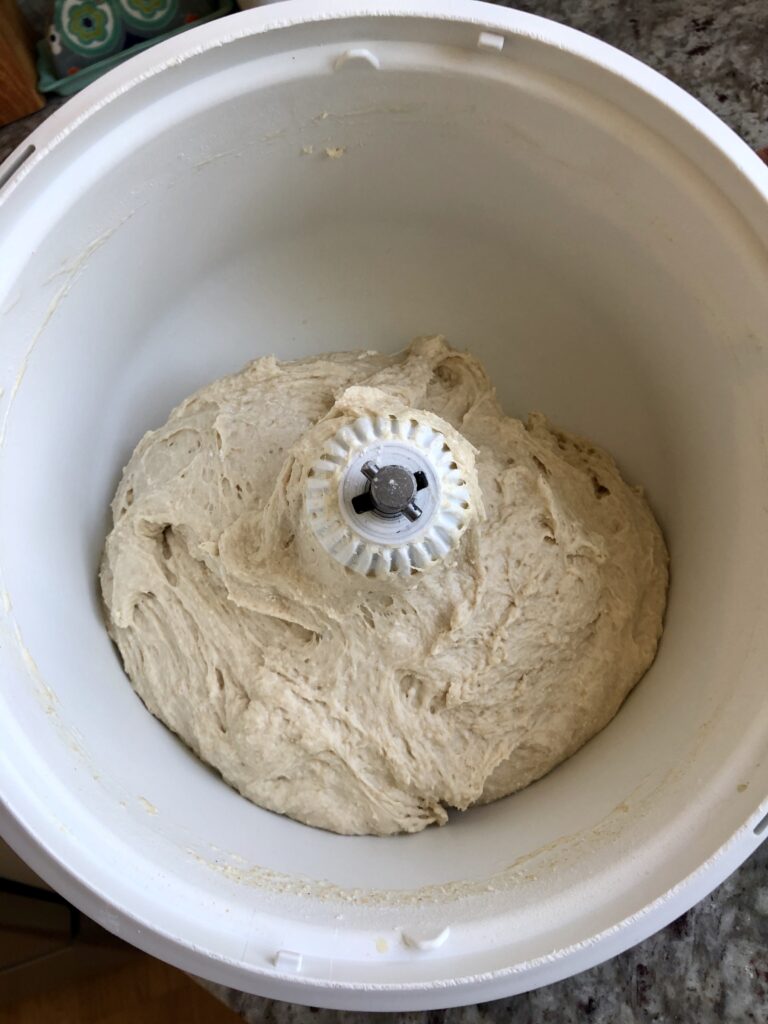
- Using the dough hook attachment, combine the ingredients on low speed. Mix until they are fully combined. Stop the mixer and lightly tap on the dough with your finger. If it’s excessively sticky or wet, add 1/4 cup of flour and mix on low until combined. Stop your mixer and check with your finger again. Repeat if needed. The dough should feel soft and slightly tacky, but not wet. Avoid adding too much flour – this will make your bread dry and dense.
- Once you get the right feel of your dough, knead it on low speed for 5 minutes. The dough should clean the sides of the bowl and form a soft ball. Let it rest in the mixer for 5 minutes after kneading.
First bread dough rise
Now it’s time to let your dough rise. This recipe calls for a double rise, meaning it will rise twice.
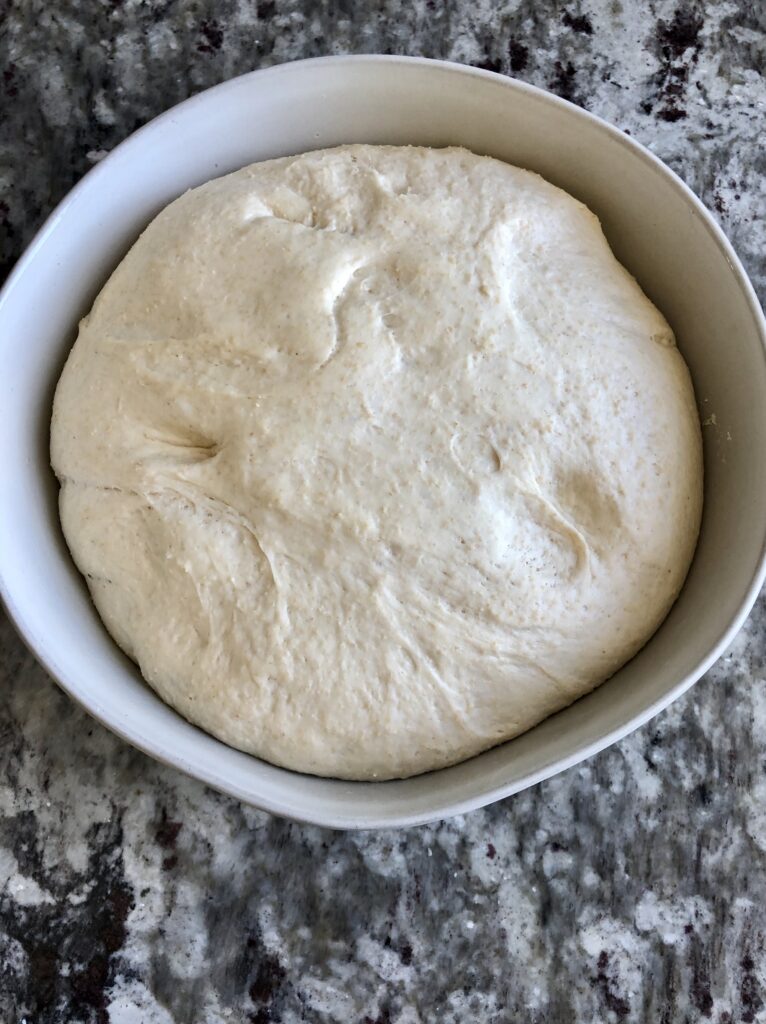
- The first rise is called “bulk fermentation”. This is when we rise the whole dough in one bowl. You will notice that the texture and feel of your dough will change drastically after the bulk fermentation. It will be much easier to handle when it comes time to form your loaves. Place your dough in a large, greased bowl. Turn it so all sides are coated in the oil, preventing it from drying out as it rises. Cover the bowl with a clean kitchen towel and let the dough rise in a warm place in your kitchen until it doubles in size. Depending on the temperature of your kitchen, this could take 60-90 minutes.
Shape the bread dough
Once your dough has risen to double in size, it’s time to form your loaves. Turn the dough out onto a lightly floured countertop. Flour the top of the dough and fold it over. I have found that this helps to make it easier to handle.
- Flatten the dough into a rectangle.
- Roll it up tightly.
- Pinch the seam shut.
- Place it on a French bread loaf pan or baking sheet lined with parchment paper.
- With a sharp, serrated knife, score a few shallow cuts on the top of the loaf, about 1 inch deep. This allows the bread to expand in the oven (and looks pretty too!)
Second and final bread dough rise
Allowing your dough to have two rises helps to build a strong crumb texture. A second rise will help give it better volume, and a more complex and delicious flavor. The second rise is referred to as “proofing”. Once your loaf is in its pan, cover it with a clean towel and let it rise until doubled in size. Depending on how warm your kitchen is, this could take 30-60 minutes.
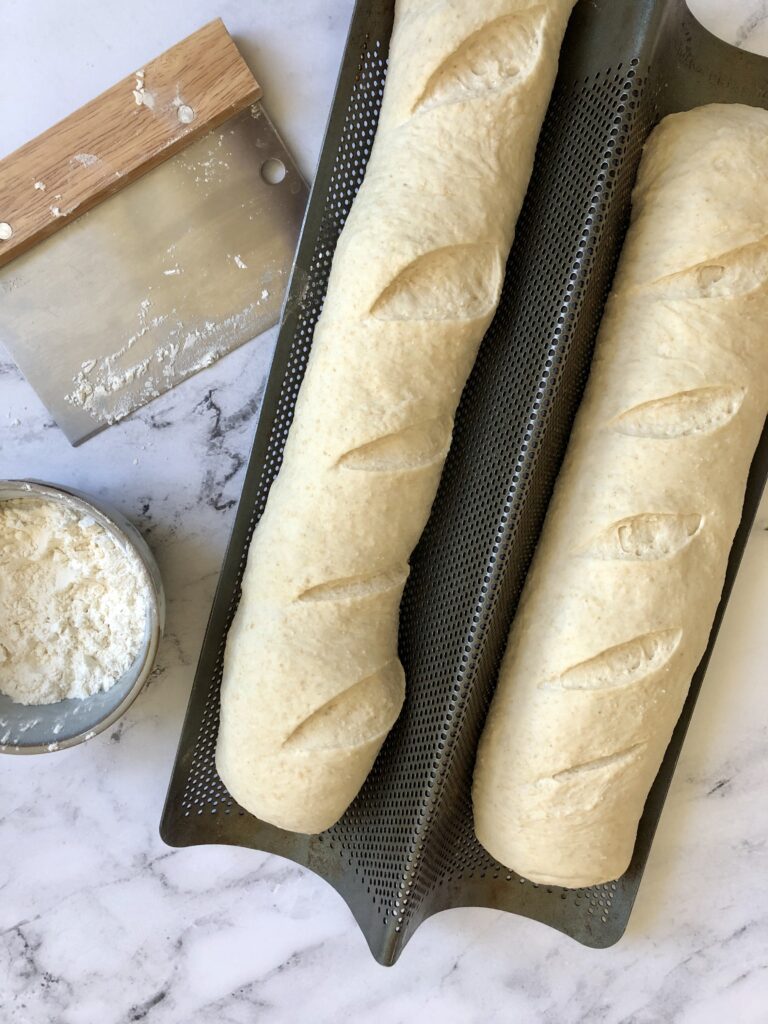
As I began baking more bread, I started investing in new pans and tools that would give me better results. One of these is the French loaf pan, also known as a channel pan. It is a great way to bake a free form loaf. It helps keep its shape and the small holes in the pan allow air to circulate, giving it a crispier crust.
I’ve accumulated my fair share of different kinds of pans over the years, but this French Bread Loaf Pan is one of my favorites!
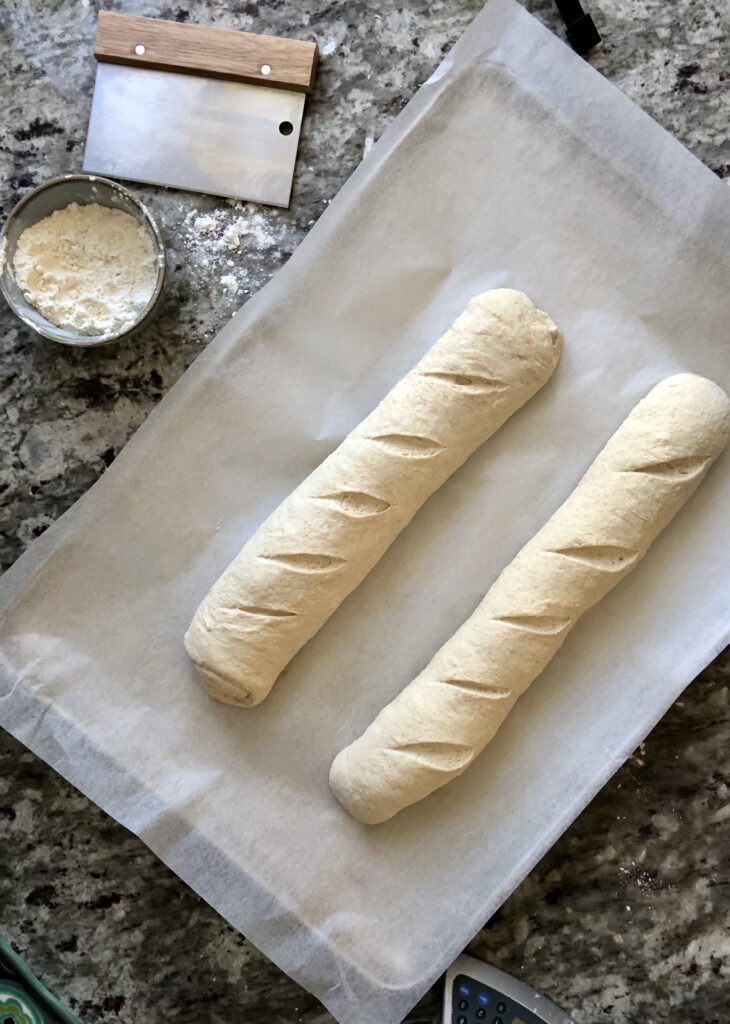
If you don’t yet own a French loaf pan, baking on a parchment lined baking sheet is still going to yield a great loaf. The parchment will keep it from sticking to the pan. If you’re like me, you’ll want to double the recipe and make two loaves! Both of them should be able to easily fit on your baking sheet together.
Baking French Bread
Use these helpful baking tips to create a crispy outer crust and tender interior crumb.
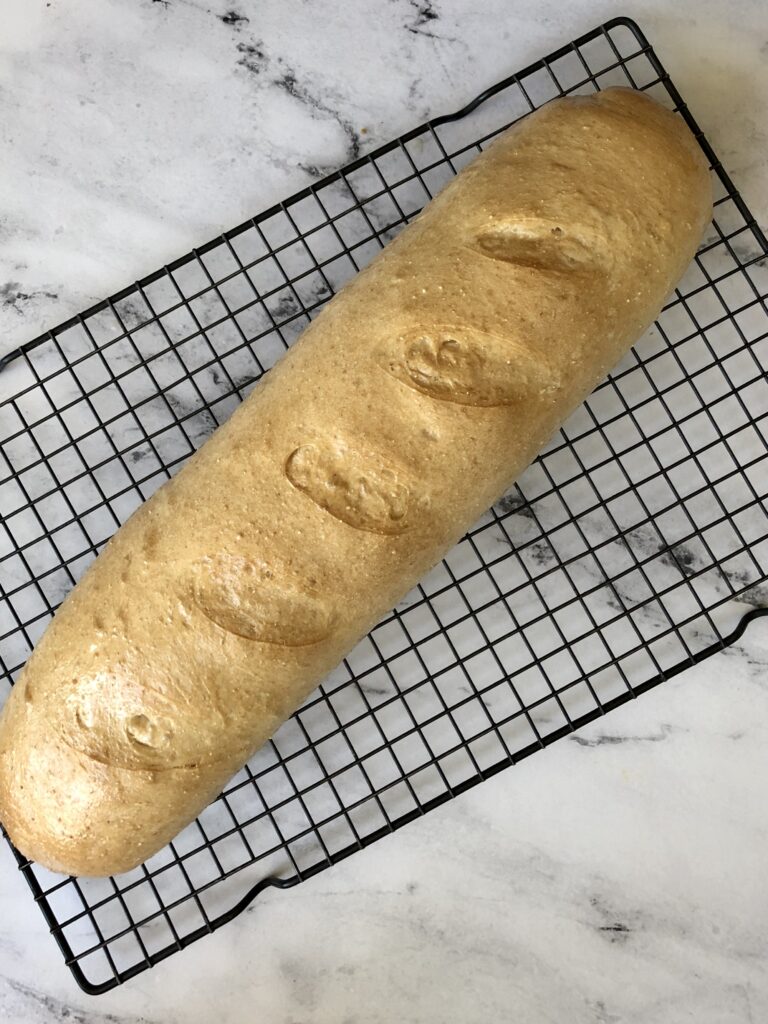
The most difficult thing about baking this bread…waiting for it cool. I know it’s hard to wait, but the bread is continuing to bake inside as it is cooling. Slicing it too soon could smash the loaf and result in a doughier interior. I promise, it pays to wait!
Follow and share
Be sure to share your French Bread creation by posting on Instagram and tagging me @thatbreadly. I’d love to see how you are enjoying this recipe with your family! Follow along on my Instagram HERE.
Helpful links…
More recipes to try
- Easy Sourdough Bread Recipe
- Whole Wheat Bread
- S’mores Sweet Rolls
- Mom’s Apple Crisp
- Cinnamon Roll Focaccia

Beginner French Bread
Ingredients
Dough
- 1 ½ cups warm water (110°F)
- 1 Tablespoon instant yeast see notes if using active dry yeast
- 2 teaspoons fine sea salt
- 2 Tablespoons sugar
- 2 Tablespoons olive oil
- 4 ⅓ cups bread flour
Egg wash
- 1 egg
Instructions
- Make the dough:Attach the dough hook to your stand mixer. Add the water, yeast, salt, sugar, olive oil and half of the bread flour to the mixer bowl. (see notes if using active dry yeast) Mix until smooth, and then gradually add the remaining flour. You may or may not need to add the entire amount. Let dough rest, uncovered for 15 minutes.
- Knead on low speed for 5 minutes. Dough should clean the sides of the bowl and form a soft ball.
- First rise:Transfer the dough into a large, greased bowl. Cover the bowl with plastic wrap. Allow dough to rise until doubled in size, about 60-90 minutes.
- Prepare your baking pan: If using a baking sheet, line with parchment paper. If using a French loaf pan, spray with nonstick spray. Set aside.
- Shape the loaves:Punch down the risen dough. Turn it out onto a floured work surface. Take the dough ball, and with your fingers, flatten it out into a rectangle, about 8 inches by 15 inches. Roll the dough up lengthwise, pushing any air bubbles. Pinch the seam to seal the loaf. Put the loaf seam side down on your prepared pan.
- Second rise:Cover the loaf with the kitchen towel and let rise again until increased in size by about 50%. The second and final rise should be about half of the first rise time. Once the loaf is shaped, preheat the oven to 375°F so that it is ready when the loaf has risen.
- Before baking, use a sharp knife, or bread lame to cut three score marks, diagonally across the top of the loaf. This helps the bread to rise and expand in the oven as it bakes.
- Whisk together one egg and 1 Tablespoon of water. Brush it over the surface of the loaf for a golden, shiny crust.
- Bake:Place the loaf in the oven on the center rack. (See notes for steam option.) Bake for 25-30 minutes, until golden. The interior of the loaf should reach 200°F. When tapping on the bread, it should have a hollow sound.
- Allow bread to cool completely on a wire rack. The bread will continue to bake on the inside as it cools. Slice when cooled and enjoy!
Notes
- If using Active Dry Yeast, instead of Instant Yeast, add it to the warm water with the sugar and wait 10-15 minutes. The yeast should start to form small bubbles (also called “bloom”). If it has not bubbled after 15 minutes, the yeast is most likely not good anymore and should be replaced with new yeast. If the mixture does bubble, go ahead and add the remainder of the ingredients and continue with the recipe as instructed.
- For Sourdough option, replace the instant yeast with 200g ripe starter. Decrease the flour by 100g and decrease the water by 100g. Mix as instructed in the recipe. Rise times will be at least 2-3 times as long as it would be if using instant yeast.
- Using Whole Wheat Flour: Try making this loaf a bit healthier by replacing some of the white bread flour with whole wheat flour. Keep in mind, the more whole wheat flour you add, the denser the final loaf will be (but it’s also very delicious!).
- Baking with steam: To add a crispier outer crust to this bread, preheat the oven to 375°F and place a metal or cast-iron pan on the bottom rack. Pour hot water into the pan, enough to fill it 2-inches deep. Close oven door and allow it to steam the oven for 15 minutes before baking the bread. Leave the steam pan in the oven for the first 15 minutes of the bake and then carefully remove. I would suggest placing a kitchen towel over the oven glass door when you add and remove the water to prevent it from splashing on the oven door (which can shatter it).
- Make bread bowls by dividing the dough into 4 equal pieces. Round them out into smooth round dough balls. Put them on a baking sheet lined with parchment or sprayed with nonstick spray. Follow recipe steps 6-10. To serve, cut off tops and hollow out the middle, making a bowl shape. Fill with your favorite soup. See my post for making pumpkin shaped bread bowls!



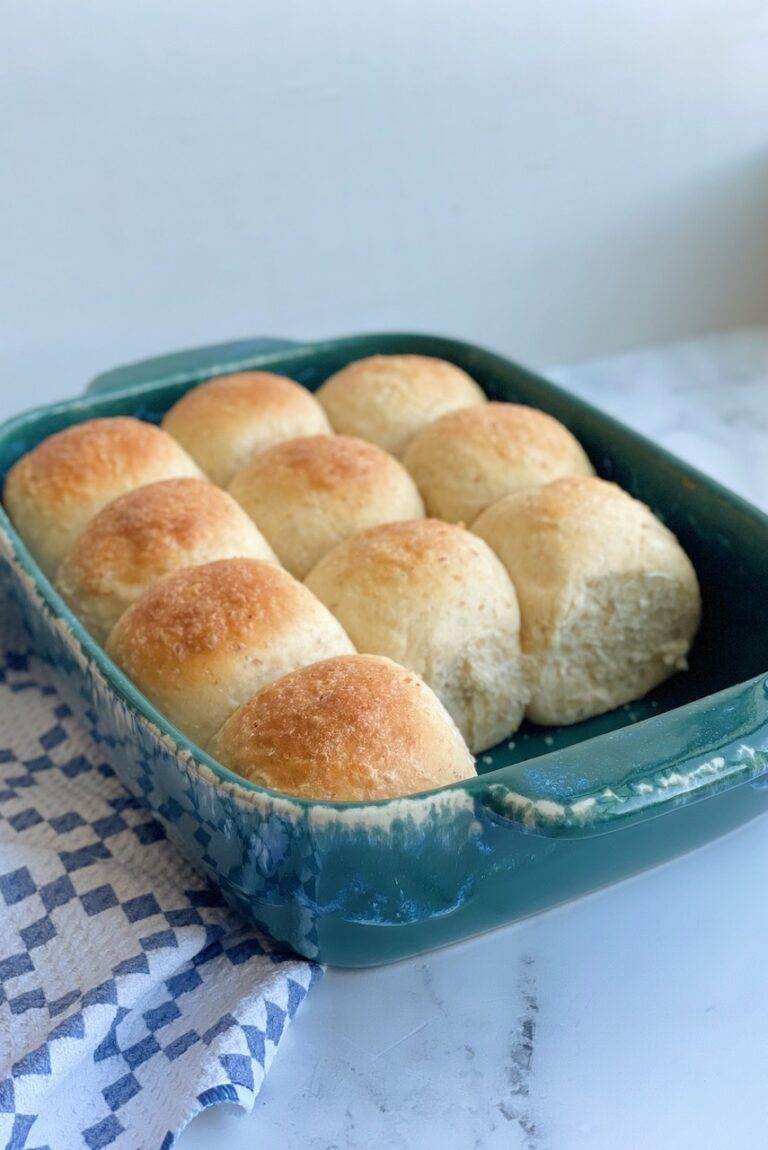

I made this using the pans for French bread as shown in your pics. The recipe states one large loaf which I went with. However I think it might be too large for the bread pans; French bread. After the final rise the dough was sagging a bit over the side and after baking one side blew out. All cosmetic and tastes wonderful. Making it again 1.5 x the recipe and will make 2 loaves and will score a bit deeper. Any suggestions?
Thanks in advance.
Hi Robin. It sounds like your dough may have been too big for the pan. It most likely was crowded and that’s why it exploded out the side. Next time, I’d divide it into two smaller loaves and see how it does. Glad it tasted good!
I made it again double the recipe it only took 8 cups for a double recipe and maybe a quarter cup additional. I used the Bosch mixer and it turned out. Perfect. I also use the French bread pans with the holes in them and created steam in the bottom of my oven and they are so good and so moist turned out perfect. The dough kept wanting to spring back during the shaping process so I just let it bench rest for like 5-10 minutes and then used a rolling pin to lightly roll it out before rolling it up.
How would I make this dough ahead of time to be baked when needed? Thanks! 🙂
You could make this dough the day before and refrigerate it. Shape, rise and bake it the next day and enjoy it hot out of the oven.
Thank you so much! Just so I make sure I am understanding correctly haha. I would make the dough through the first rise and then place it in the fridge in the bowl just covered with a kitchen towel? Then the next day when ready resume with step 3 & 4 (shaping and preparing pans).
Normally would just put in the fridge for cold retard. But it will rise in the fridge. First rise. Then remove and continue with shaping and rising.
Thank you for sharing your recipe for French Bread. It was very easy to make and it turned out beautiful!
I’m so glad you loved it! Thank you for letting me know and for trying it out!
Hi Heather. Thank you for this recioe! I have a question re use of French bread pans … do you put them on a cookie sheet or no? Thank you
Hi Gail, no need to put the french bread pan on a baking sheet.
The instructions (step 1.) advises to add half the flour; and then never mentions the other half of the flour.
Thank you for letting me know! I’ve corrected the recipe card. Hope you enjoy!
This is an Italian bread because of the olive oil. French bread doesn’t use oil. Besides that bread is great.
Amazing French Bread! So easy to make, especially for me a beginner! Thank you!
Just curious at what altitude is this recipe written? Thank you.
I’m in the Phoenix area, about 1100 feet.