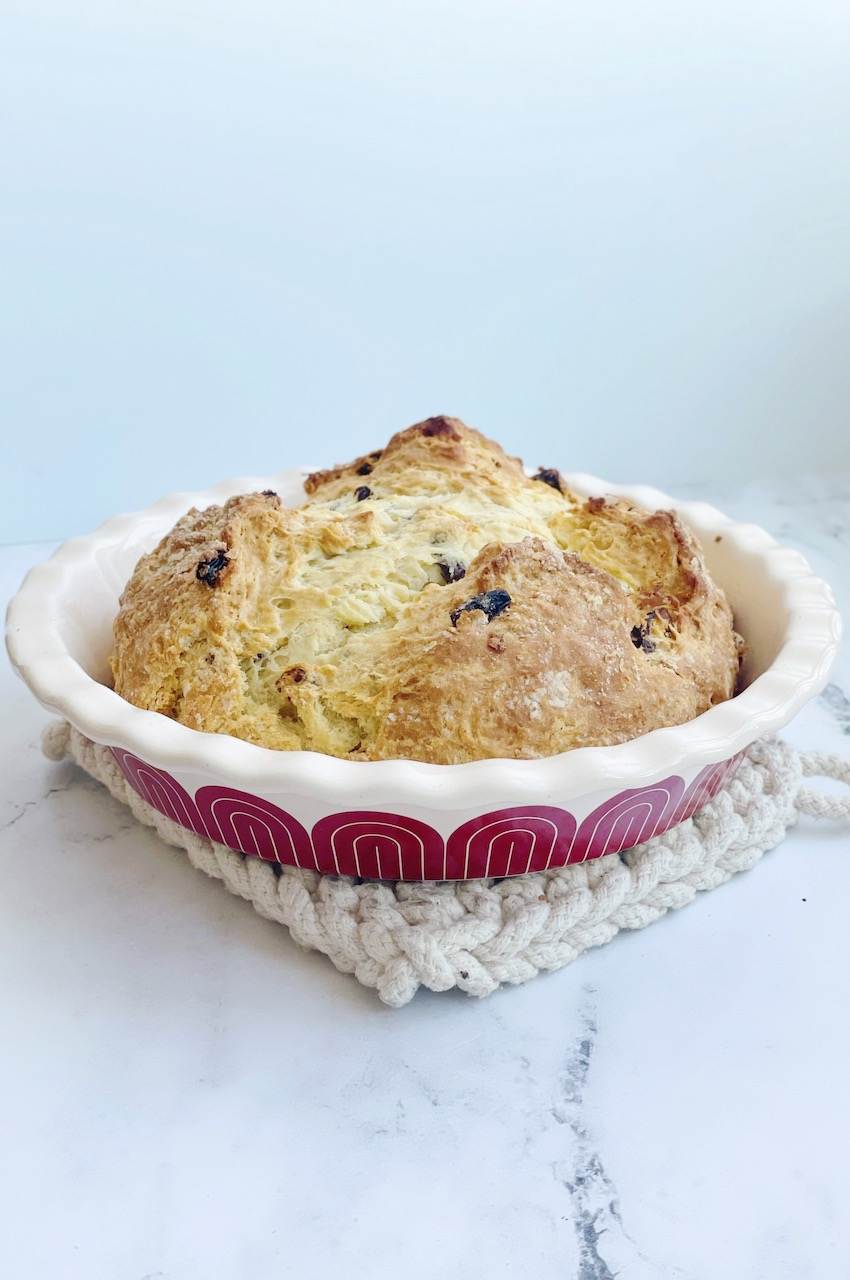
Irish Soda Bread
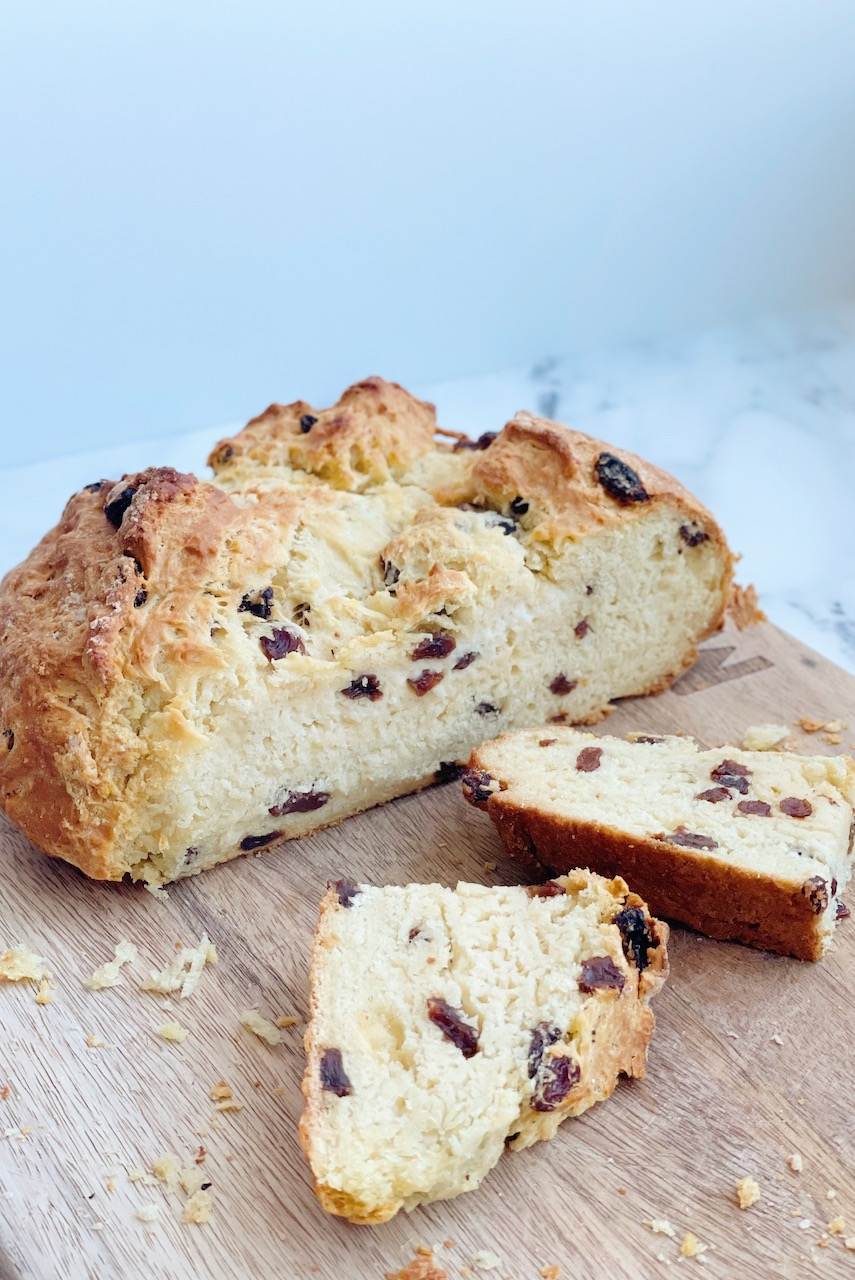
This quick and easy bread gets all of its rise from baking soda and buttermilk. Just like a biscuit, Irish Soda Bread is flaky on the outside and tender and soft on the inside. It’s a delicious, quick and easy bread you’ll love!
If you’ve made my Homemade Buttermilk Biscuits, you’ll see this is recipe is very similar. Irish Soda Bread is a dense, but soft and flavorful bread. It’s a classic bread that goes back to the early nineteenth century. Although Irish Soda Bread is a classic for St. Patrick’s Day celebrations, it is believed to have been originated by the Native Americans who first used pearl ash, a natural form of soda formed from the ashes of wood, to leaven their bread without yeast.
There are several different variations of Soda Bread, including additions like raisins, or other dried fruits and caraway seeds. No matter what you add to your Irish Soda Bread, you’ll love this easy, delicious bread! Just like my Beginner Artisan Bread, it’s super easy to make and requires no kneading!
Ingredients for Irish Soda Bread
- Buttermilk – works together with the baking soda to create a fluffy texture and rise in the bread. It also gives the bread a soft, tender crumb and rich flavor.
- Baking Soda – acts as the leavening agent in this bread.
- Granulated Sugar – adds a bit of sweetness.
- All purpose flour – is the perfect flour type for this recipe. Since this is a quick bread, all-purpose flour instead of bread flour, works best for a tender, soft crumb.
- Salt – enhances flavor in recipes.
- Unsalted butter – gives a rich flavor to this bread. It also helps to produce a flaky crust. Be sure to use COLD butter for a flaky crust.
- Raisins – adds bursts of sweetness and texture to this biscuit-like bread. These are optional. Other possible substitutions are dried cranberries or dried cherries.


Making Irish Soda Bread
Irish Soda Bread is much like making one big biscuit. The ingredients and process are very similar. It all gets baked together in one delcious loaf.
- Preheat your oven to 400°F. Allow it to fully preheat while you are mixing your bread.
- In a large bowl, whisk together the flour, sugar, baking soda and salt.
- Cut in the cubed butter with a pastry blender or fork. Blend it until you get pea sized crumbs in your flour mixture.
- Toss in the raisins, coating them all in flour.
- Add the buttermilk, stir to combine it with the flour mixture. It may seem a bit dry.
- Turn the mixture out onto a floured work surface and continue to mix it by hand, pressing the dough together until it is one cohesive ball of dough. Knead the bread for about 1 minute to help strengthen it.
- Place the bread in a greased 8 or 9 inch pie pan. You can also use a dutch oven, or baked it directly on a parchment lined baking sheet. Keep in mind, the larger the surface, the more your bread will spread out. If you are baking it with a dutch oven, leave the lid off.
- With a sharp knife, make an X on the top of your loaf to allow steam to release as it bakes.
- Bake for 45 minutes or until the center appears fully baked. Cover it with foil if the top is browning too quickly.
- Allow it to cool about 10 minutes on the pan before moving your bread to a wire cooling rack to cool completely.
- Slice and enjoy!
Follow & Share
Be sure to leave a comment below if you make this recipe. Post and share your baking creations on Instagram and tag me @thatbreadlady. I love to see how you are enjoying my recipes with your family and sharing them with others!
More recipes to try
- Chocolate Chip Mint Cookies
- Homemade Buttermilk Biscuits
- Blueberry Scones with Lemon Glaze
- St. Patrick’s Day Sugar Cookies
Irish Soda Bread
Ingredients
- 4 ¼ cups all purpose flour
- 3 Tablespoons sugar
- 2 teaspoons baking soda
- 1 teaspoon salt
- 6 Tablespoons unsalted butter cubed and chilled
- 1 ¾ cups buttermilk*
- 1 cup raisins (or other preferred dry fruit)
Instructions
- Preheat oven to 400°F. Allow it to fully preheat while mixing bread.
- In a large bowl, whisk together the flour, sugar, baking soda and salt.
- Cut in the cubed butter with a pastry blender or fork. Blend it until you get pea sized crumbs in the flour mixture.
- Toss in the raisins, coating them all in flour.
- Add the buttermilk, stir to combine it with the flour mixture. It may seem a bit dry.
- Turn the mixture out onto a floured work surface. Continue to mix it by hand, pressing the dough together until it is one cohesive ball of dough and all of the dry bits are incorporated into the dough. Knead the bread by hand by folding it over onto itself, pressing down, turning the dough a quarter turn and repeat. Knead for about 1 minute to help strengthen the dough.
- Place the bread in a greased 8 or 9 inch pie pan. You can also use a dutch oven, or bake it directly on a parchment lined baking sheet. Keep in mind, the larger the surface, the more your bread will spread out. If you are baking it with a dutch oven, leave the lid off.
- With a sharp knife, make an X on the top of your loaf to allow steam to release as it bakes.
- Bake for 45 minutes or until the center appears fully baked. Cover the loaf with foil if the top is browning too quickly. Check to make sure the inside is baked by inserting a knife or skewer. It should be mostly clean with a few moist crumbs.
- Allow it to cool about 10 minutes on the pan before moving your bread to a wire cooling rack to cool completely.
- Slice and enjoy!
Notes
- *Using buttermilk will give you the best results, but if you don’t have any on hand you can make your own. Add 1 Tablespoon white vinegar to your measuring cup and add enough cold milk to make 1 and 3/4 cups. Allow it to sit for 5 minutes – it should thicken up a bit and look a little chunky.
- Store bread in a bread bag or airtight container for up to 3 days.
- Use cold butter for best results. This helps to create a perfect, flaky texture.
What kind of bread bag do you recommend?
I really love these bags from ULine, but you have to buy in bulk: ULine bags
They are very thick and durable and keep your bread fresher longer. The size I linked is perfect for a loaf size, but you want a wider bag, I also get the 8x4x18 which can fit a dozen dinner rolls or wider loaves like arisan bread or sourdough. If you have a baking friend, maybe split it with them. I promise, you’ll love them!
Oh my word!!! I would love to make this
but wonder if it will freeze well
ie slice it after it cools entirely and then wrap individually for later enjoyment?
Thank you!!
Hi Rosalee. I haven’t tried freezing this bread. My first thought is, it may dry out in the freezer. I’d try wrapping each slice in some plastic wrap and then put all the wrapped slices in a freezer ziplock bag. Let me know if you try it! I’m curious to hear how it turns out for you!