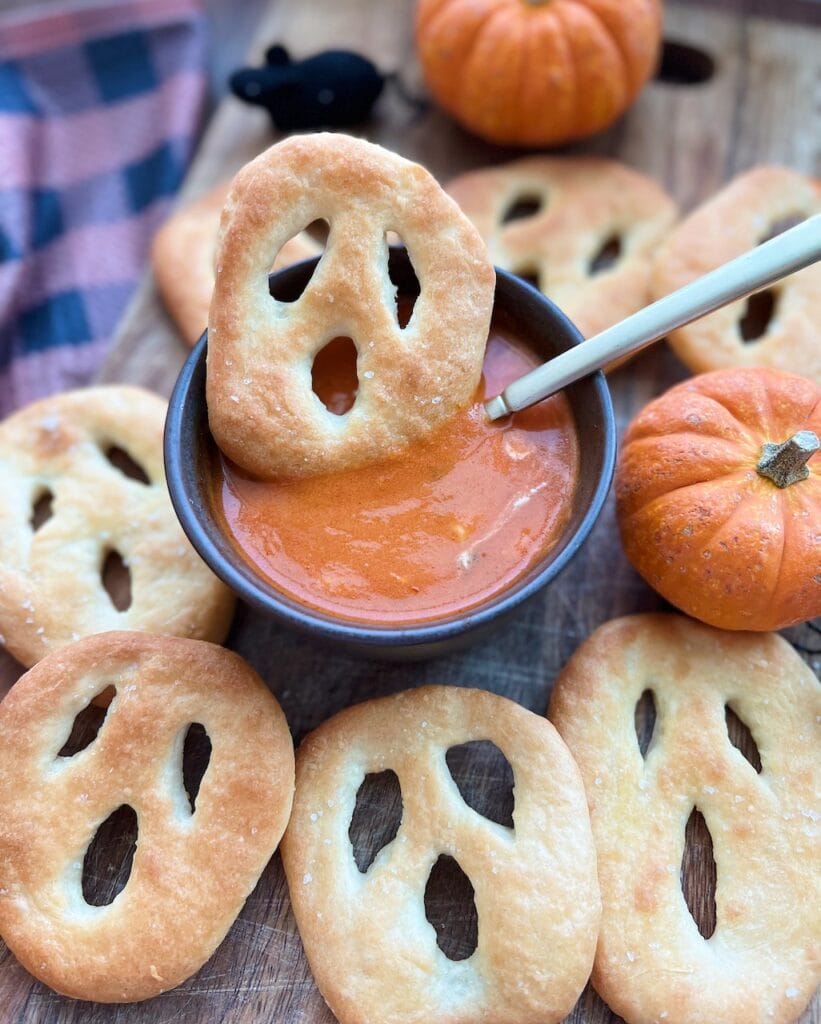
These easy-to-make, ghost-shaped fougasses are perfect for dipping in your favorite soups! Slightly crispy on the outside and soft on the inside, they’ll make a fun and delicious addition to your Halloween dinner!

You will love how easy and simple these are to make! You can easily make these in under one hour from start to finish! They make such a fun and spooky side to your favorite soup! Serve them warm out of the oven with a bowl of hot soup and you’ve got the perfect Halloween meal!
What is fougasse?
Fougasse is a bread of French origin. It comes from the Provence region, but is also associate with other regions of France. Fougasse is usually a larger loaf, flat and full of sculpted slashes that are stretched in beautiful and unique ways – mainly meant to resemble an ear of wheat.
Making mini fougasse that resemble ghosts are just a no brainer! A full size fougasse can be so intricate and unique, but these minis could not be easier to make! This fun, artistic bread is such an easy way to create a ghost shaped side of bread!
How to make mini ghost-shaped fougasse…
Making these cute little ghosts could not be easier. For this recipe, I knew that my Quick and Easy Pizza Dough would be the perfect, simple dough to shape these spooky friends. You’ll love how easy the dough is to throw together and shaping the ghosts is also just a couple of easy steps!
- Mix the dough in your stand mixer. Really, just throw in all of the ingredients together and turn it on. It really is that easy! If your dough is a little wet and sticky, add 1-2 Tablespoons at a time until it clears the sides of your mixing bowl as it’s being mixed. No need to let it rise!
- Divide the dough into equal sized dough balls. Depending on how big you want your ghosts, you’ll get anywhere from 1 dozen to 18 fougasses – perfect size for dipping!
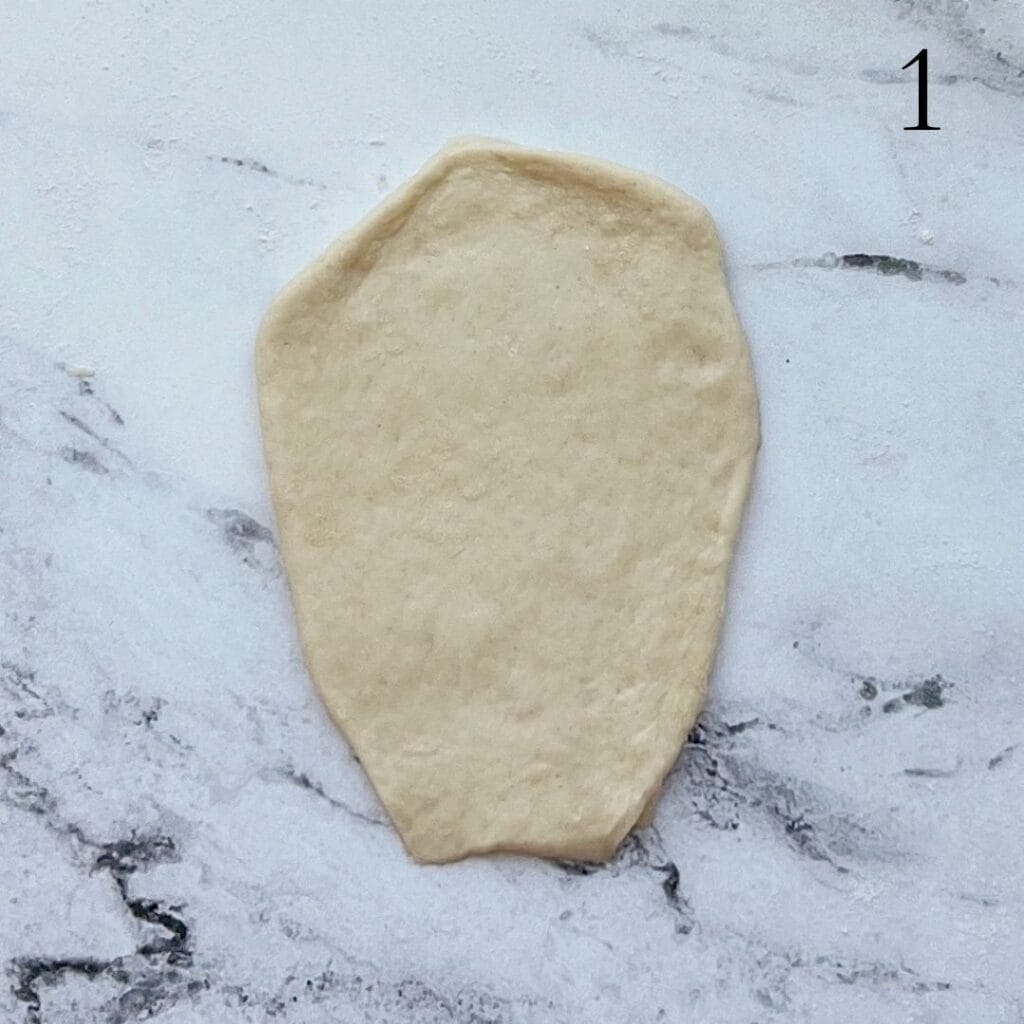
- With a rolling pin, roll each dough out into an oblong shape.
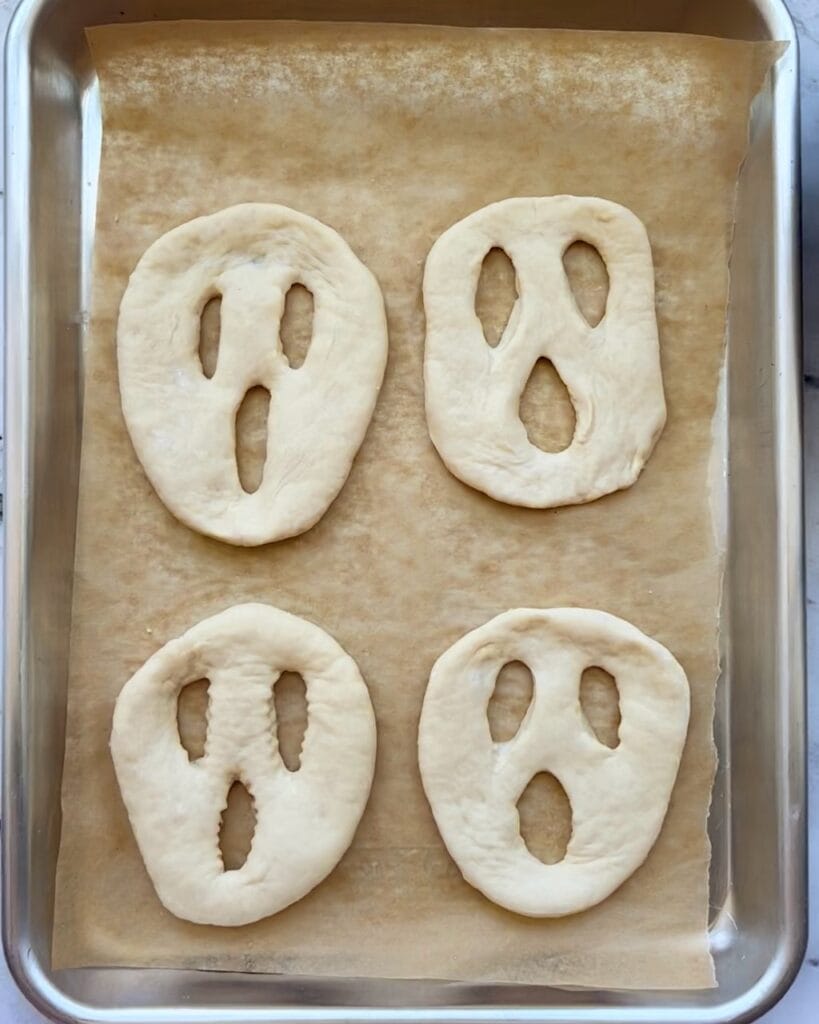
- With a sharp knife, cut the eyes and mouth, making a 1 inch slit for each. Lift the ghost off of your work surface, stretching the eye and mouth holes to expand into larger openings. Place onto a baking sheet lined with parchment.
- Brush with olive oil or melted butter and sprinkle with salt flakes.
- Allow the ghosts to slightly puff up for about 30 minutes while you preheat your oven to 450°F. Bake for 12-14 minutes or until lightly golden.
- Remove from the pan and serve hot out of the oven alongside your favorite soup!


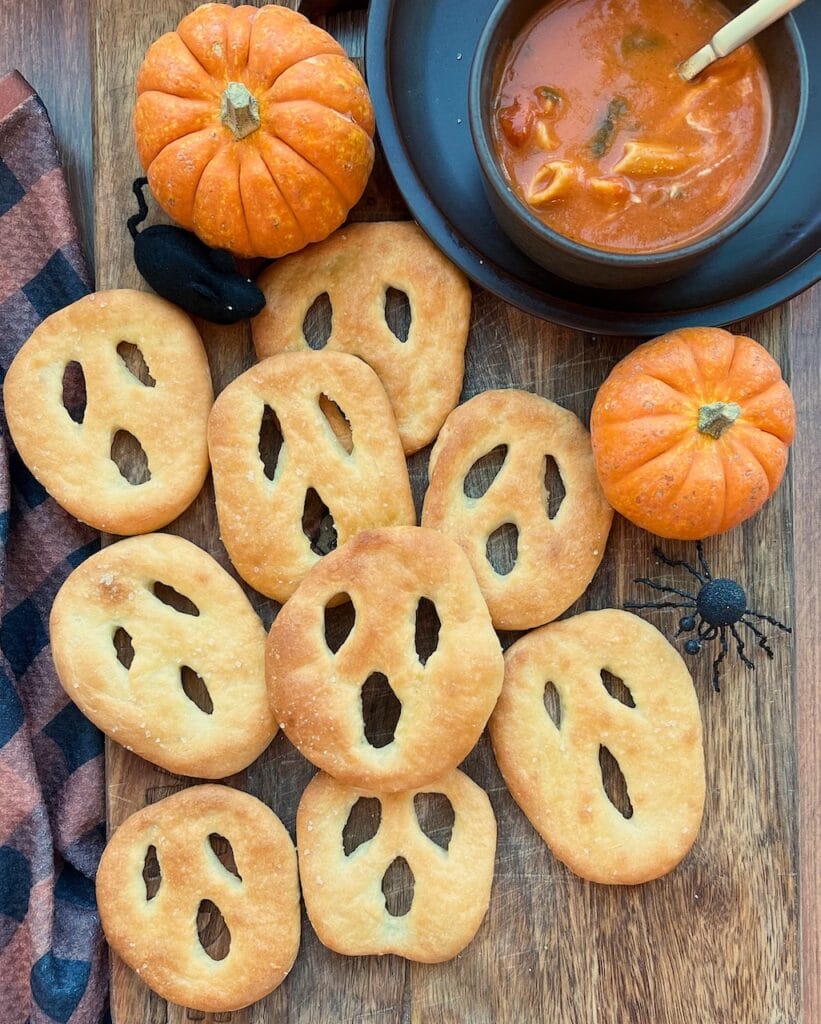
Serve these mini ghosts alongside your favorite soup!
Be sure to serve these hot out of the oven. One or two (or more!) are perfect for dipping into your favorite soup! These little ghosts are so cute and fun for Halloween!
My number one tip for this recipe
My kids can attest, if you don’t make the eye and mouth holes big enough when shaping the dough, the baked ghosts will turn out looking more like a saggy smiley face. Be sure to stretch those holes out bigger than you want them to be – they will puff up and spring back a bit as they bake.

Other recipes you’ll love!
Pumpkin Cinnamon Rolls with Biscoff Filling
Cinnamon Apple Star Bread with Maple Icing
Comment & Share
I hope you love this recipe as much as my family does! Please leave a comment below if you want to share how this recipe turned out for you. Also, please share your beautiful creations by tagging me, @thatbreadlady. I love seeing what you are creating!
(This post contains affiliate links – which means, I receive a small commission on sales made from these links. I only recommend things I would use myself!)
PrintMini Ghost Shaped Fougasse
These easy-to-make, ghost-shaped fougasses are perfect for dipping in your favorite soups! Slightly crispy on the outside and soft on the inside, they’ll make a fun and delicious addition to your Halloween dinner!
- Prep Time: 45 minutes
- Cook Time: 14 minutes
- Total Time: 59 minutes
- Yield: 18 mini fougasse 1x
Ingredients
Dough:
- 2 ½ cups (300g) – 3 cups (360g) bread flour
- 1 cup (240g) warm water, 105°F
- 1 Tablespoon instant yeast
- 1 teaspoon salt
- 2 teaspoons sugar
- 2 Tablespoon olive oil
Topping:
- 1/4 cup (32g) olive oil
- Sea Salt Flakes
Instructions
- Prepare the dough. Add all the dough ingredients into the bowl of a stand mixer. With the dough hook attached, mix on low until ingredients are combined and the dough is smooth, about 2 minutes. Stop the mixer and lightly tap on the dough with the tip of your finger. If the dough feels slightly tacky but not wet or sticky, then it’s ready to knead for 3 minutes on low speed. If it is still feeling wet and sticky, add 1-2 more Tablespoons of flour and fully combine before using the touch test again. Add more flour as needed
- After it has kneaded, let dough rest for 10 minutes and then turn onto a floured work surface.
- Divide the dough into 12-18 equal pieces, depending on how big you want your ghosts. Roll each into an oblong ghost shape, about 4-6 inches long. With a pizza cutter or sharp knife, cut three 1-inch slits for the eyes and mouth. Lift the dough off of your work surface and gently enlarge the three holes by stretching out with your fingers.
- Place the ghost on a baking sheet lined with parchment paper and reshape if needed.
- Brush olive oil onto dough and sprinkle with sea salt flakes.
- Bake at 450°F for 12-14 minutes, or until lightly golden. Remove from baking sheet and serve warm alongside a delicious bowl of soup!
Notes
- You can make this dough ahead of time! Make it up to 48 hours before using. Allow it to sit at room temperature for about 15 minutes before dividing and shaping.


I’m super new to making bread and don’t know what you meant when you said to do the touch test in step number 1 of the instructions? I also can’t find anything online other than related to proofing. Can you please explain what you mean by the “touch test”?
Hi Carol. Basically that means, your best indicator of when you’ve added enough flour is by tapping on the dough with your fingertip. If it feels really wet and sticky, add 1 Tablespoon of flour and incorporate it into the dough. Repeat as needed until the dough feels soft but not wet. We always want to avoid adding too much flour to bread recipes, because it can yield dry dough. The touch test helps to keep you from adding too much. Too often the dough might LOOK sticky, but if you stop and feel the dough, it may have enough flour in it to handle. Hope this helps!