Royal Icing
This simple Royal Icing recipe is one you’ll want to save and keep forever. It’s a classic icing that sets up nicely and is perfect for detailed confectionary decorating!

I primarily use this icing recipe during the Holiday season, when we are baking up lots of treats and memories. Gingerbread anything is so yummy and smells amazing! This frosting can be piped on and sets up smoothly and firm, making it perfect for holding candies and sprinkles in place. Since it firms up so nicely, you can easily stack treats if needed and also use it for making a gingerbread house! Be sure to check out my Gingerbread House Template and Recipe for more ways to use royal icing!
My most important Royal Icing Tips
- Allow the eggs to come to room temperature before separating and mixing.
- Do not get ANY egg yolks in the whites…this will make it difficult to firm up the egg whites.
- Be sure to take enough time to whip the egg whites until nice and firm. No shortcuts here.
- While decorating, keep the bowl of extra frosting covered with a towel. This will keep it from hardening.

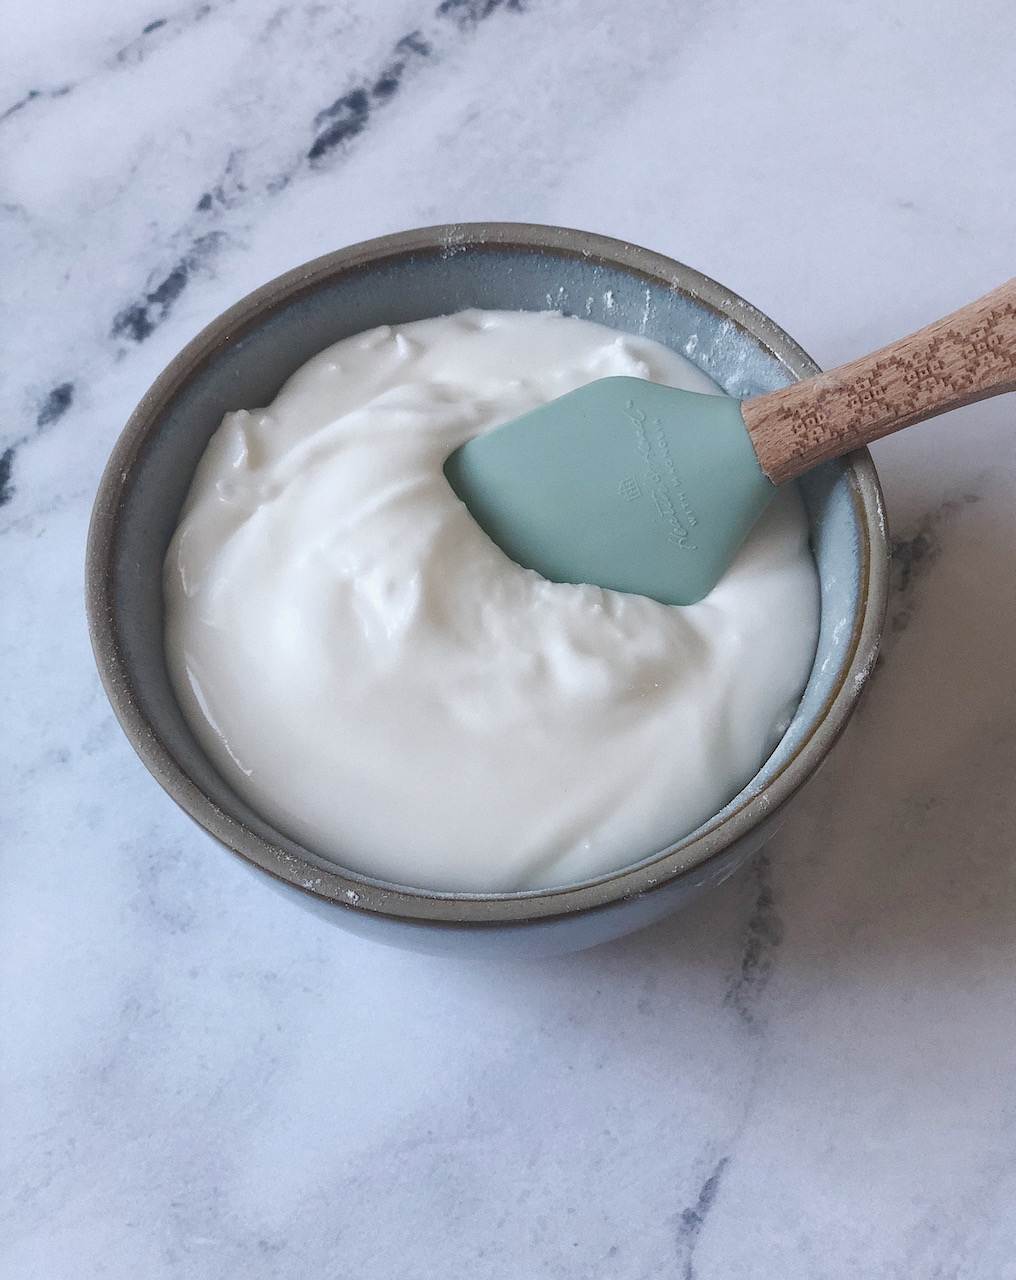
Add as much or as little water as needed to get your icing to the right consistency. It should whip up to form stiff peaks, holding it’s shape. It will have a beautiful glossy sheen to it.

Royal Icing
Ingredients
- 4 egg whites room temperature
- 2 teaspoons cream of tartar
- 2 pounds powdered sugar
- ⅓ – ½ cup water
Instructions
- About one hour before mixing, take eggs out of refrigerator and allow to come to room temperature.
- Separate eggs, reserving the egg whites and discarding the egg yolks.
- In a mixing bowl, whisk together the egg whites and cream of tartar, until just combined.
- With an electric hand mixer, or stand mixer, whisk the egg whites and cream of tartar on high speed until it stiffens and forms peaks. This step may take 3-5 minutes.
- Gradually add about half of the powdered sugar and let combine. Add 3-4 Tablespoons of water and mix well. Continue to add powdered sugar and 1-2 Tablespoons of water alternately as needed to get the right consistency. Use the complete 2 pounds of powdered sugar and adjust the water accordingly. Icing should not be runny but should be soft enough to pipe onto baked treats. When done mixing, the icing should hold it’s shape around the wire beater, forming stiff peaks.
- Use Icing in pastry bags with smaller tips. When decorating, the icing will set quickly, so top with any candies or sprinkles while the icing is still wet.
- Store in a covered container in refrigerator for up to one week.
Notes
- To bring eggs to room temperature more quickly, place whole eggs in warm water and let sit for 10-15 minutes.
- Be sure to cover any frosting you have in a bowl, while decorating. This will keep it from hardening.
2 Comments