Homemade Flaky Pie Crust
This homemade flakey pie crust rolls out nicely and bakes up buttery and flaky every time! Made with both shortening and butter, it holds it shape well, making it perfect for more detailed crusts. See my video below, showing how to easily roll out your pie dough and get the perfect pie crust every time!
(This post contains affiliate links: I only recommend products that I love!)
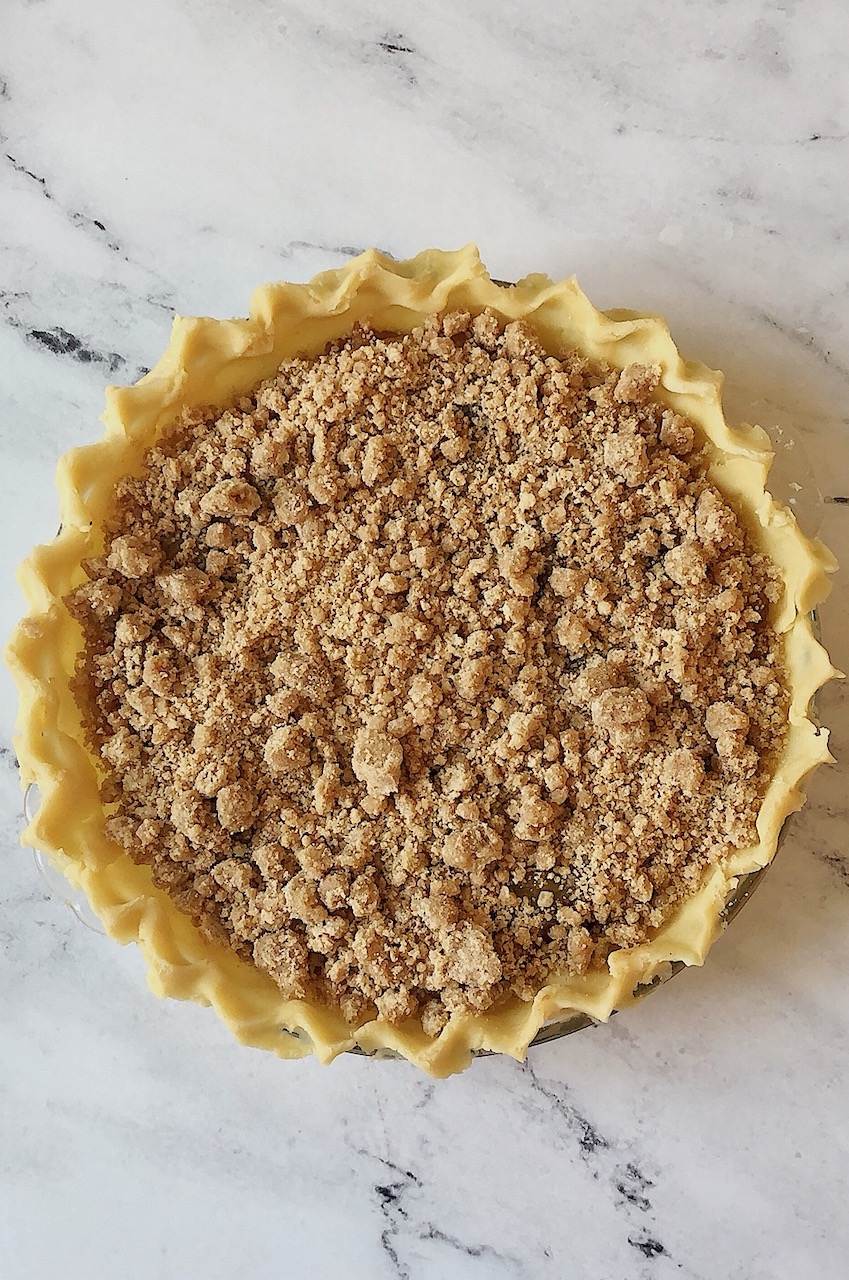
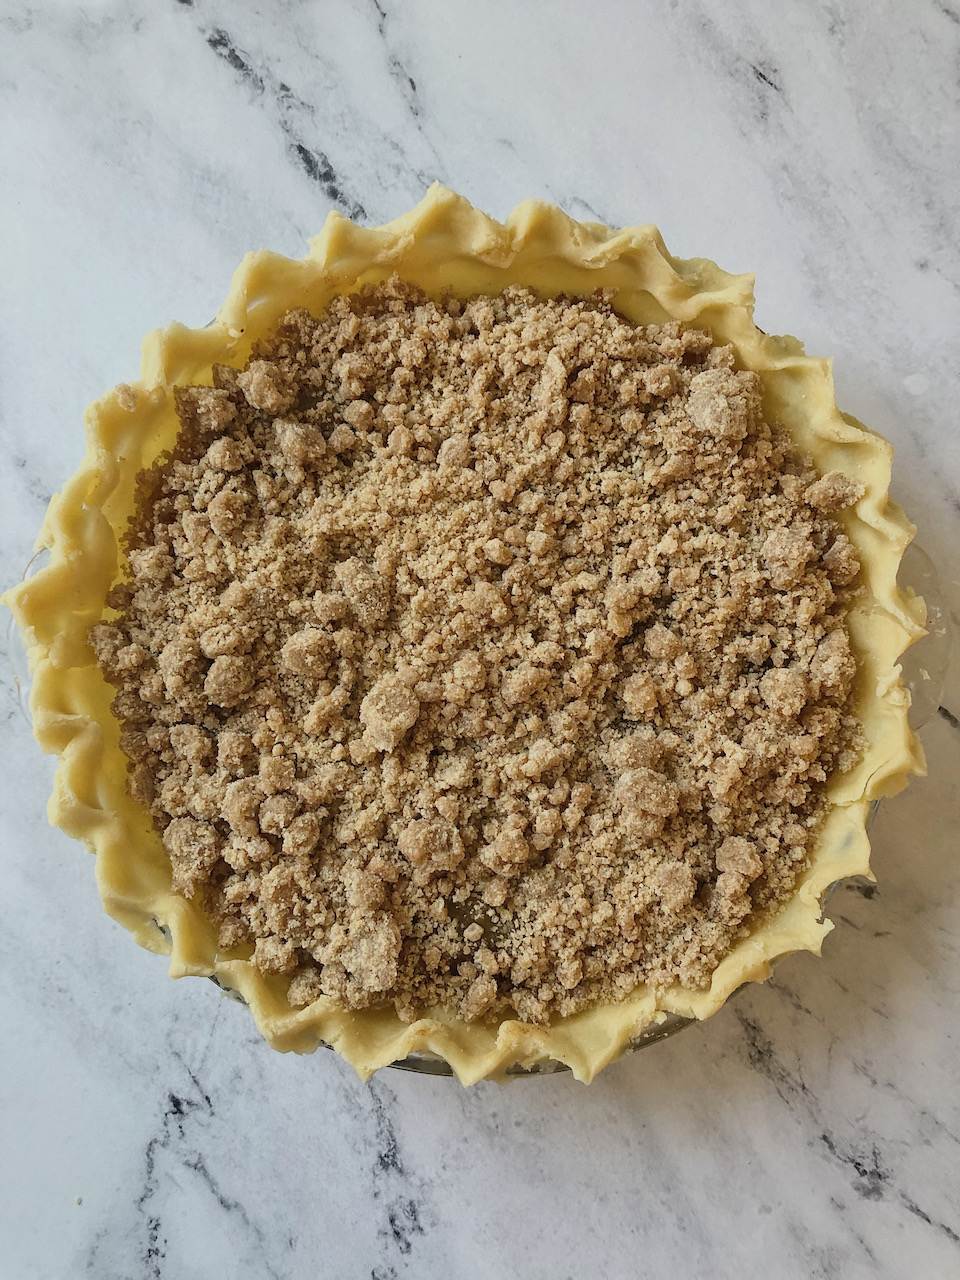
There’s a reason there’s an entire holiday focused on pie! Pie is definitely one of my major dessert weaknesses! It’s one of those treats I can’t resist and I want to try every single flavor! One of my favorites has got to be Apple Crumble Pie, but I don’t discriminate! I’m up for ALL the pies!
Homemade pie crust can be really tricky to get just right. I struggled for years to be able to make a crust that didn’t shrink up, shrivel up or fall a part. I’ve developed this recipe that will give you an amazing pie crust every time! Be sure to watch the video below for a guide to help you roll out your dough and get it into your pie dish like a pro!
Most Important Tips for making Pie Crust
- Use COLD ingredients. Cube your butter and chill it in the refrigerator for at least one hour before mixing. Measure your shortening and chill it in the refrigerator for an hour as well. Using cold butter and shortening will keep those fats from melting when handling the dough, and it will create little pockets of air when the crust bakes…yielding a wonderfully flaky crust! If you are an overachiever, you can even chill your flour in the refrigerator before mixing as well!
- Use ice water. Fill a small bowl with ice water and use that to add to your dough mixture. Using cold water will help keep your dough cold and manageable.
- Using butter AND shortening will give a rich tasting crust and great texture! The shortening has a high melting point allowing the dough to hold its shape better as it bakes in the oven. The butter will give the crust that rich, buttery flavor.
- Handle dough as little as possible. The heat from your hands can quickly soften the fats in the pie crust dough. Work as quickly as you can to avoid melting the small bits of butter and shortening. Remember, having small pieces of these fats in your dough is what creates those flaky layers!
- Bake cold dough. Don’t roll out the dough until you are ready to assemble and bake your pie. You want to bake your pie with a cold crust!
Once you have all of these important ingredients prepped and chilled, it’s time to mix your dough. Be sure to give yourself some time to prepare. Your dough will need to chill in the refrigerator for at least two hours before rolling out.
No mixer needed here! This is as basic as it gets. Easily mix the dough with only a rubber spatula and your hands!

Mixing the dough
- Stir the all purpose flour and salt together first.
- Add the cold, cubed butter. Flatten each cube of butter by gently pressing between your thumb and index finger. This will help the cold butter incorporate more easily into the flour mixture. Once you’ve flattened all the pieces of butter, toss them into the flour, coating each one.
- Add the cold shortening.
- With a pastry blender, incorporate the butter and shortening into the flour mixture. Blend until you get crumbs and bits the size of peas. Be sure you don’t over blend – you want those fats to stay a little chunky to create a flakier crust. I would recommend using a pastry cutter, rather than a food processor – you will be able to have more control over how much your butter and shortening get incorporated into the flour mixture.
- Slowly add the ice water to the flour mixture, 2 Tablespoons at a time, tossing the mixture after each addition of water. The mixture should start to come together in larger chunks of dough. I usually add about 8-10 Tablespoons of water.
- Once your dough is mostly hydrated, turn it out onto your work surface and pinch it together with your hands. There will be loose bits of flour, but you should be able to work it into the dough. Don’t over work your dough. You want to make sure you work quickly to keep those fats cold.
- When your dough is all together in one cohesive mass, divide it in half and press each into the shape of a dough disk. This recipe makes two pie crusts! You could make a double crust pie, two separate pies or freeze one crust for next time! Wrap each disc with plastic wrap and refrigerate for at least two hours before rolling out.

Freezing the pie crust
You can keep your pie dough in the refrigerator for up to three days. If you are a making your dough ahead of time and would like to use it later, you can place it in the freezer for later use. Store the pie dough, wrapped in plastic wrap, in a ziplock freezer bag and put it in the freezer for up to two months.
Once you are ready to use your dough, you can get it out of the freezer the night before you want to use it, and let it thaw in the refrigerator.
Keep your dough chilled. I prefer to thaw it in the refrigerator instead of leaving it out on the counter. Remember – the dough needs to stay cold. Thawing it in the refrigerator will keep it from changing too drastically in temperature.
Rolling out the dough
Be sure you have everything all ready to assemble your pie before removing it from the refrigerator. You want to keep the dough cold and handle it as little as possible. Baking a pie with a cold crust will make a flakey crust that holds it shape. See my video below for step by step help with this!
- Flour your work surface. Try to use as little flour as possible to avoid drying out your pie dough.
- Roll out dough slightly and turn a quarter turn. Roll out slightly more and turn again. Repeat until your circle is about 12 inches in diameter.
- For easy placement, roll the dough up with your rolling pin and unroll over your pie dish.
- Gently press the dough into all of the insides of the pie dish.
- Trim off any excess with scissors, leaving about a two-inch overhang over the edge of your pie plate. You want to make sure you have enough dough to crimp the edges of your pie. You should have enough dough for a 9-inch pie pan.
Blind Baking the pie crust
Blind Baking: If a recipe calls for a fully baked pie shell, you’ll need to bake it ahead of time before filling. This is called “blind baking” (baking without a filling). If you are baking only the shell like used for cream pies or cold pies, be sure to use the end of a fork and pierce several marks in the dough, on the bottom and the sides. This will keep it from puffing up in the oven. Another way to keep your pie crust from shrinking or puffing up too much is to use pie weights to help it hold its shape in the oven.
Troubleshooting
- A dough that is dry and has too little water will not hold its shape when rolling out. It will crack and fall apart. Dip your fingers in the ice water and work a little bit of water into the dough, hydrating it more. You won’t need much…just enough to get it to hold it’s shape well.
- A dough that has too much water will require you to add more flour, resulting in a tough pie crust. Always try to use as little four as possible.
- If dough tears slightly, press back together with fingers and continue working.
- If your pie crust is browning too quickly, cover it lightly with strips of foil. You can also buy adjustable pie shields.
- If your pie shells seem to lose the shape of the edges when baked, next time add some strips of extra dough to the edges and crimp your design. This will give them more volume and weight and help keep them from sliding or shrinking when baked.
Most importantly, keep on trying. Don’t give up. The more you practice, the better you’ll get at pie making and you’ll be able to make the best pie crust every time! This no fail pie crust recipe has been a life saver for me, and I hope you’ll love it too!
More Thanksgiving recipes you will love
Be sure follow me on Instagram @thatbreadlady and tag me #thatbreadlady with your creations! I love to see how you are enjoying this recipe with your family and friends!
Homemade Flaky Pie Crust
Ingredients
- 2 ½ cups all purpose flour
- 1 teaspoon salt
- 8 Tablespoons cubed and cold unsalted butter
- ½ cup cold vegetable shortening
- 6-10 Tablespoons ice cold water
Instructions
- One hour before mixing, cube the butter and measure the shortening. Chill both of them in the refrigerator.
- Prepare a reserve of ice water in a small bowl. You will measure your water from this bowl.
- In a medium bowl, combine the flour and salt.
- Add the cubed butter. Gently flatten each cube with fingers. Coat them in the flour mixture. Add the chilled shortening and mix with a pastry blender. Blend until the mixture becomes a coarse, pea sized crumb texture.
- Slowly add the ice water 2 Tablespoons at a time to the flour mixture, folding with a rubber spatula. Continue to add just enough water until dough is almost entirely hydrated. It should be in several larger size crumbs, with a bit of loose flour in the bottom of the bowl. You may not need to use all of the water.
- Turn the mixture out onto a work surface and pinch the dough together with your hands, gathering any loose bits of flour and pressing it into the dough. Gently fold or knead dough a few times, just enough to get it to form a cohesive ball of dough. If the dough isn’t coming together and is too dry, wet your hands with the ice water and work it into the dough to hydrate it a bit more. A well-mixed pie dough should show pieces of butter and shortening throughout, be soft without being too sticky, and should be pliable and cohesive.
- Divide dough into two equal pieces. Round and flatten into a disc shape. Wrap each with plastic wrap and chill for at least two hours before rolling out.
- When rolling out, flour surface and roll out slightly, rolling from the center outwards. Turn dough a quarter turn and roll out a little bit more. Continue turning and rolling until dough is rolled out into a 12 inch circle.
- Place in pie dish and trim off any extra dough around the edges with scissors, leaving about a 1/4-inch overhang for shaping the edges. For easy dough transfer, roll up the dough onto a rolling pin and unroll it over the pie dish. Crimp edges as desired.
- Brush the edges with an egg wash.
- Bake as directed for your pie recipe.
Video
Notes
- Be sure to keep the dough cold while working with it. If your dough is becoming too soft or warm, place it back in the refrigerator for 15 minutes to chill it a bit.
- Handle the dough as little as possible. Over working your dough will give you a tough, hard to roll out dough.
- If your dough is too dry, dip your hands in the ice water and work the dough a little by hand. This will hydrate the dough without adding too much water.
- Avoid adding too much flour. It will make your dough too dry.
- If you are only using one crust, you can freeze the other pie crust for up to 3 months.
- When baking just a pie shell, use the ends of a fork and make indentions on the bottom and sides of the unbaked crust. Brush the entire surface of the pie, including the edges with egg wash and bake at 375°F for 15-20 minutes. If the edges of the crust begin to brown too quickly, cover them with a pie shield and continue baking until the pie crust is lightly golden brown.
Very flaky crust and made my chicken pot pie even better!
So glad you enjoyed it!