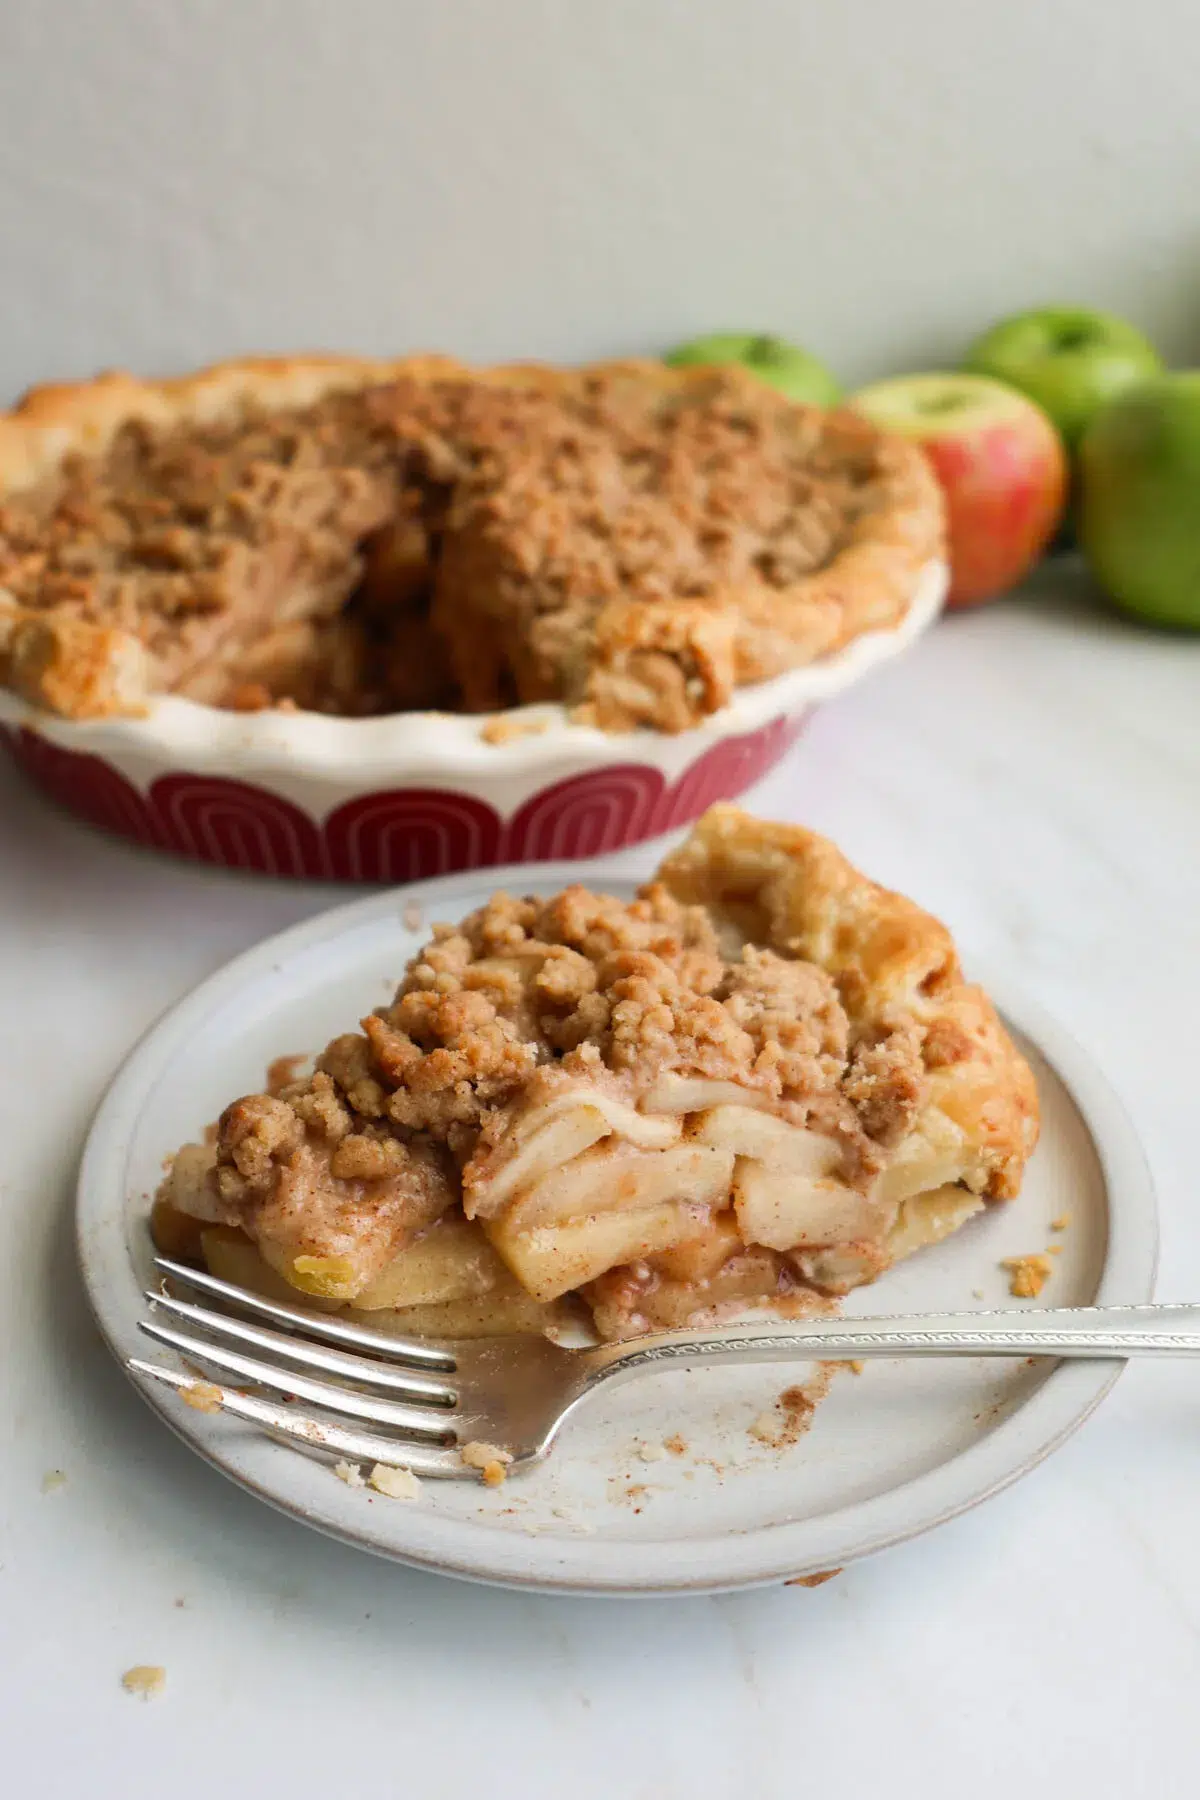
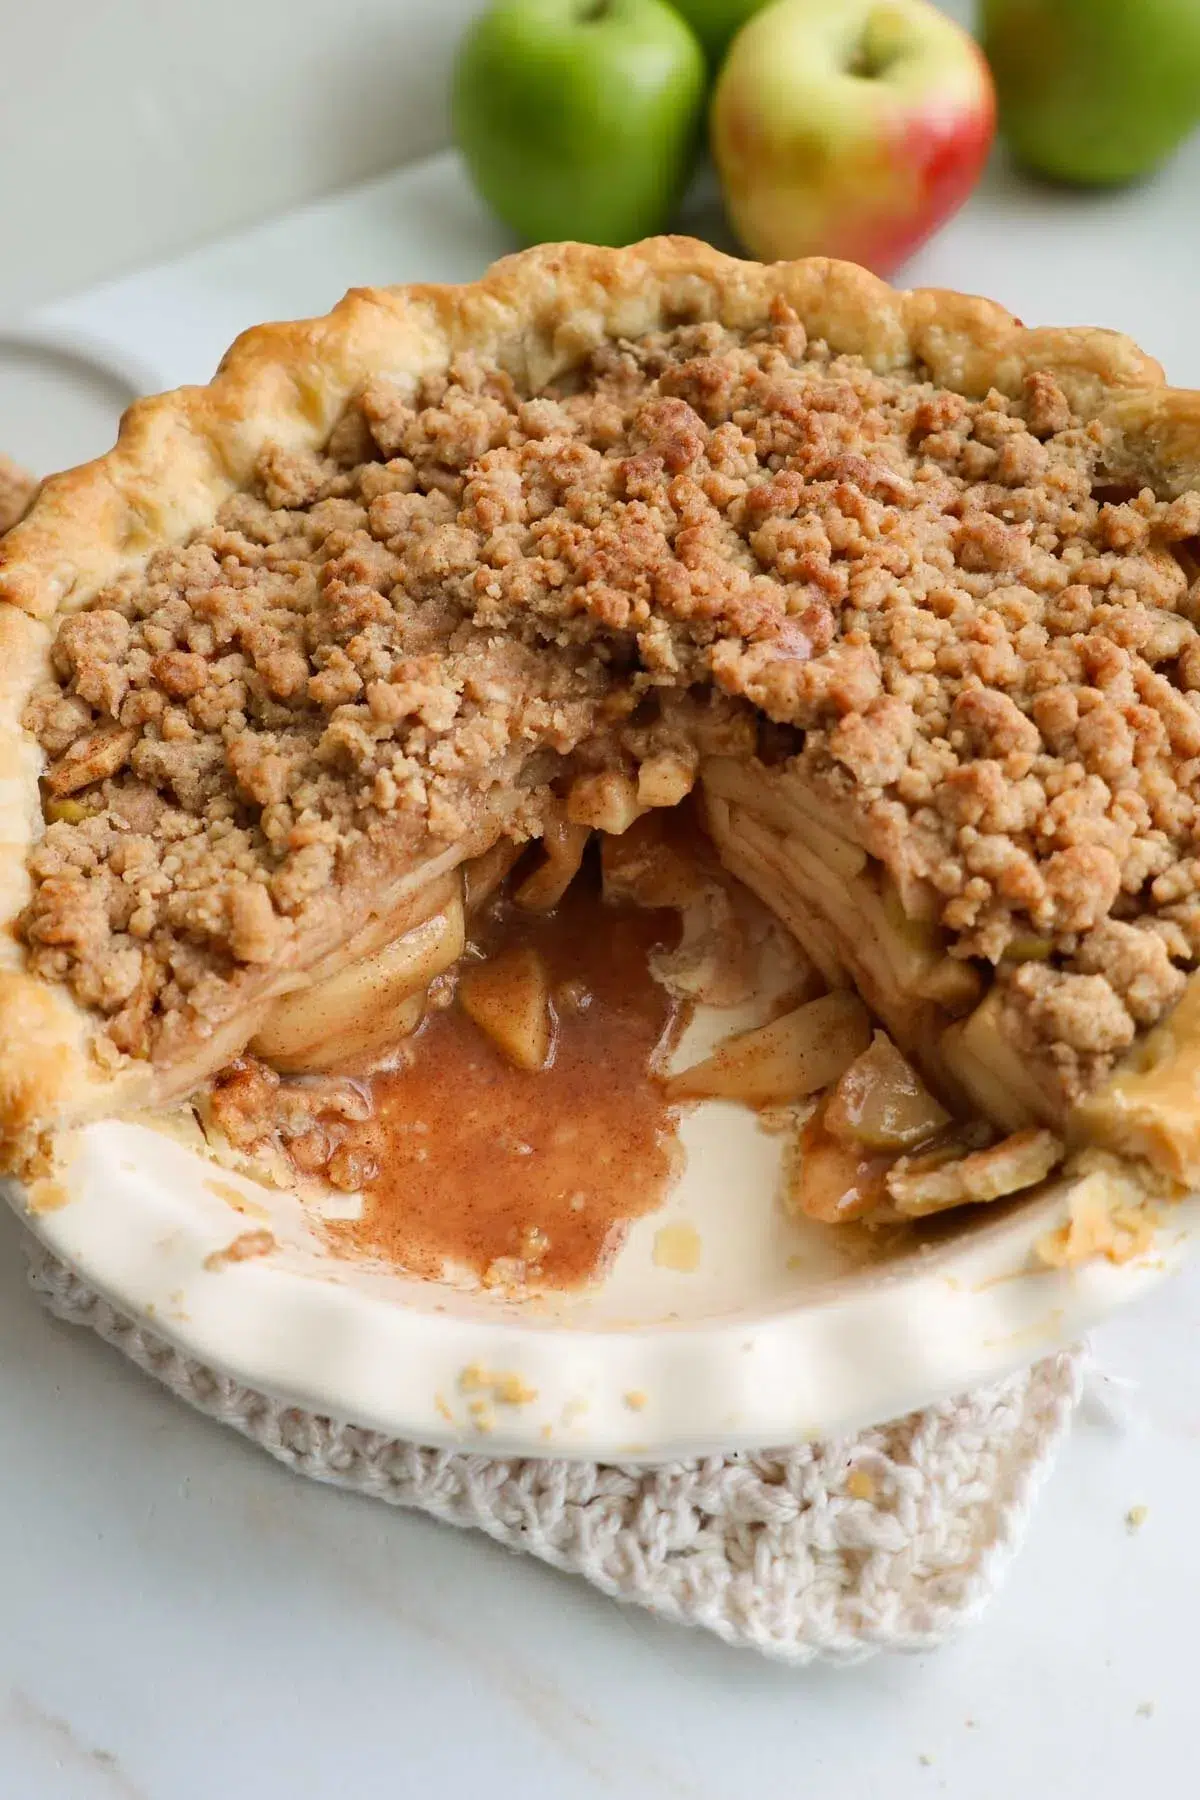
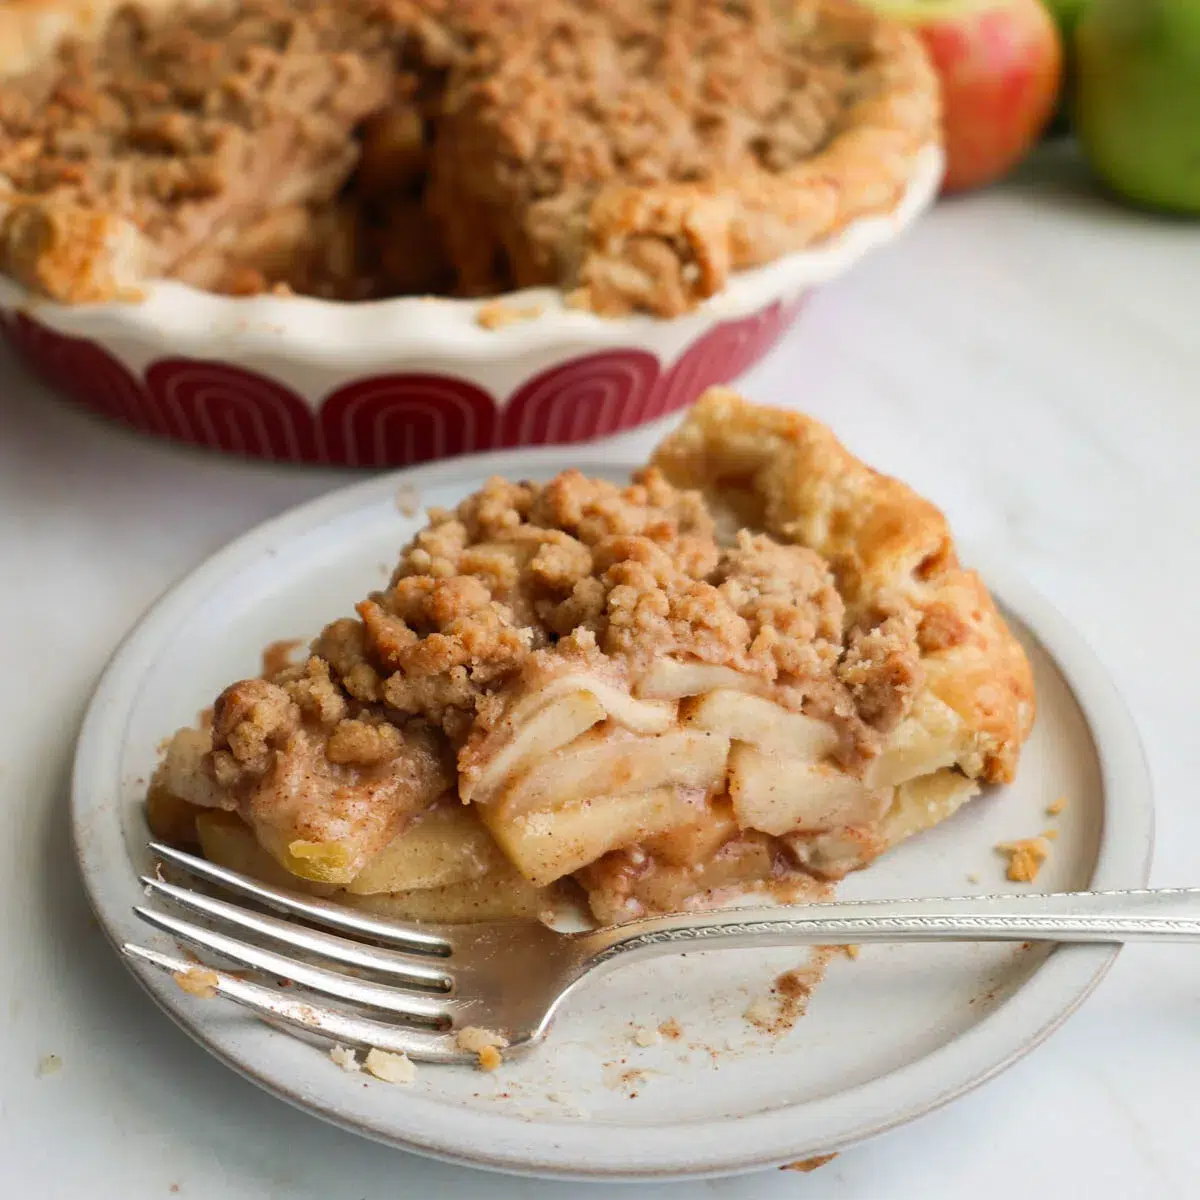
The Best Apple Crumble Pie
This Apple Crumble Pie is loaded with cinnamon sugar apples and the most delicious crumb topping! Crumb toppings for pies are so much easier, and tastier, than a double crust pie. Use either my Homemade Flaky Pie Crust or All Butter Pie Crust recipes – both are delicious! This apple pie with crumb topping is a simple way to make an apple pie with delicious flavor and texture!
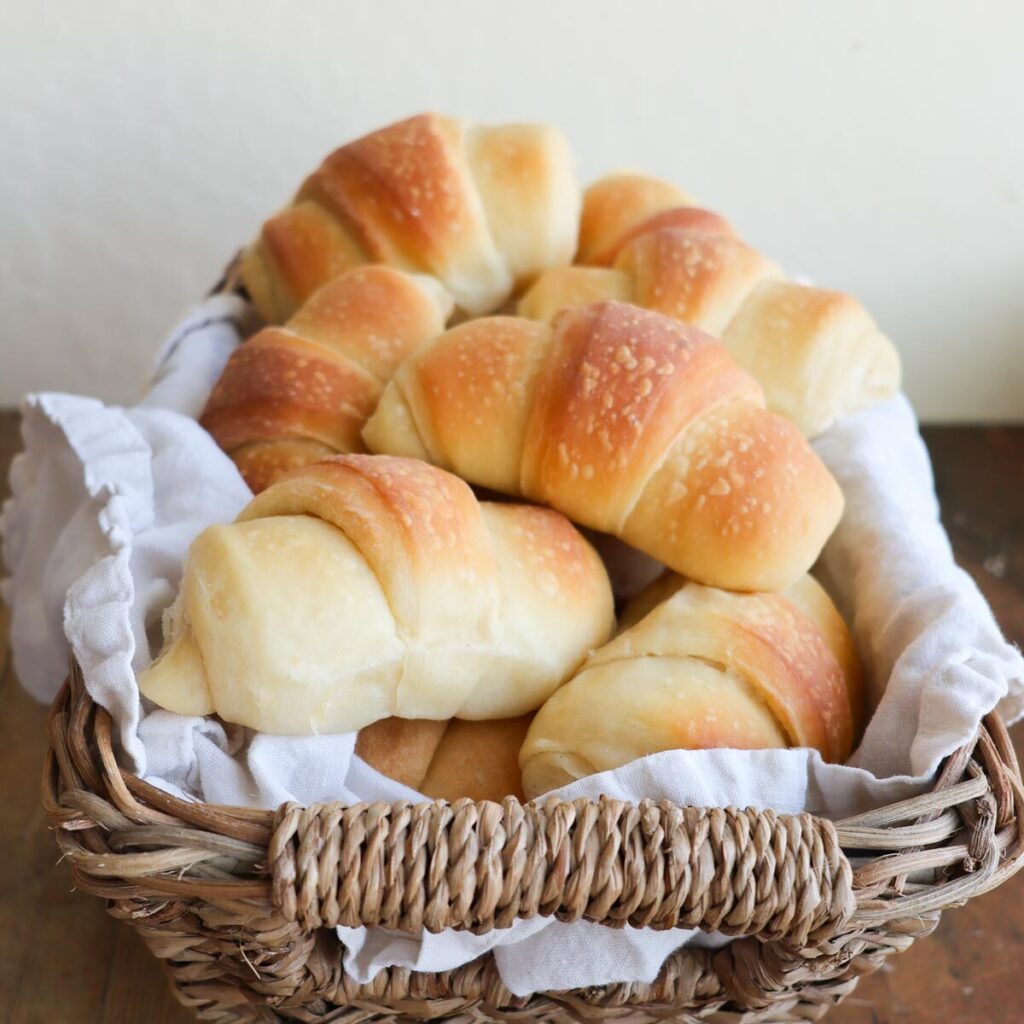
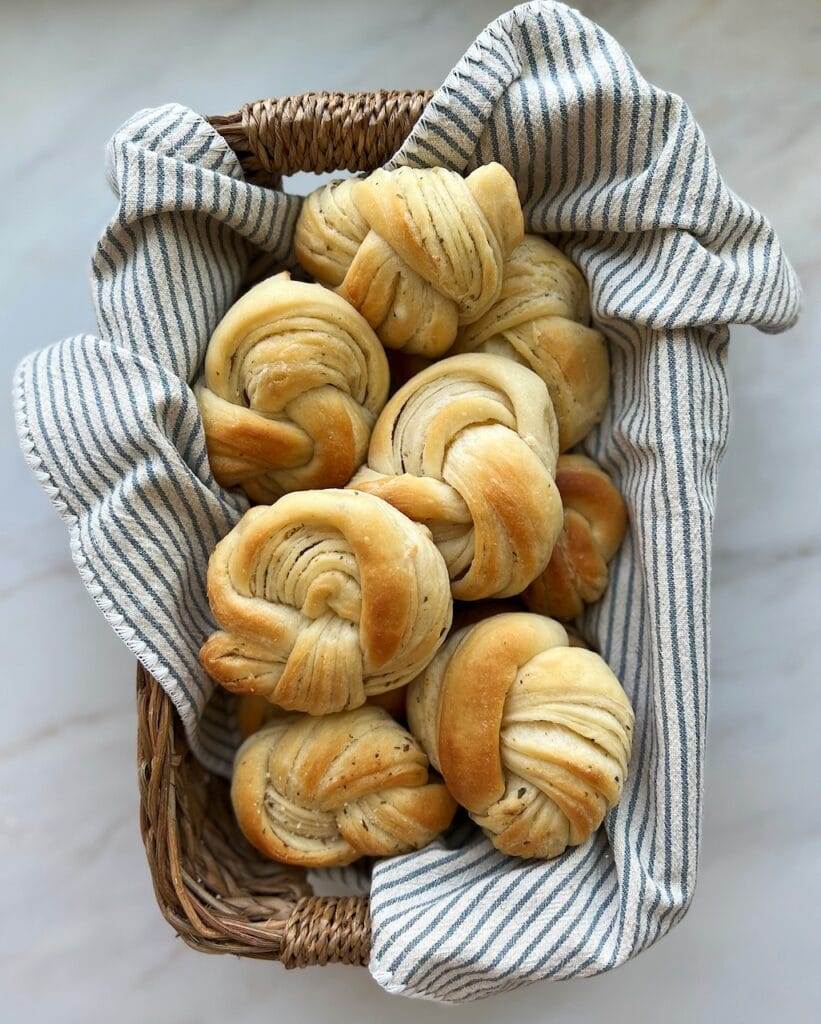
Apple crumble pie is a classic dessert that can be enjoyed all year long. Whether you’re serving it in November, alongside the best Thanksgiving Dinner Rolls, or on a hot July 4th day, apple crumble pie is always a good idea!
Table of contents
Ingredients for Apple Crumble Pie
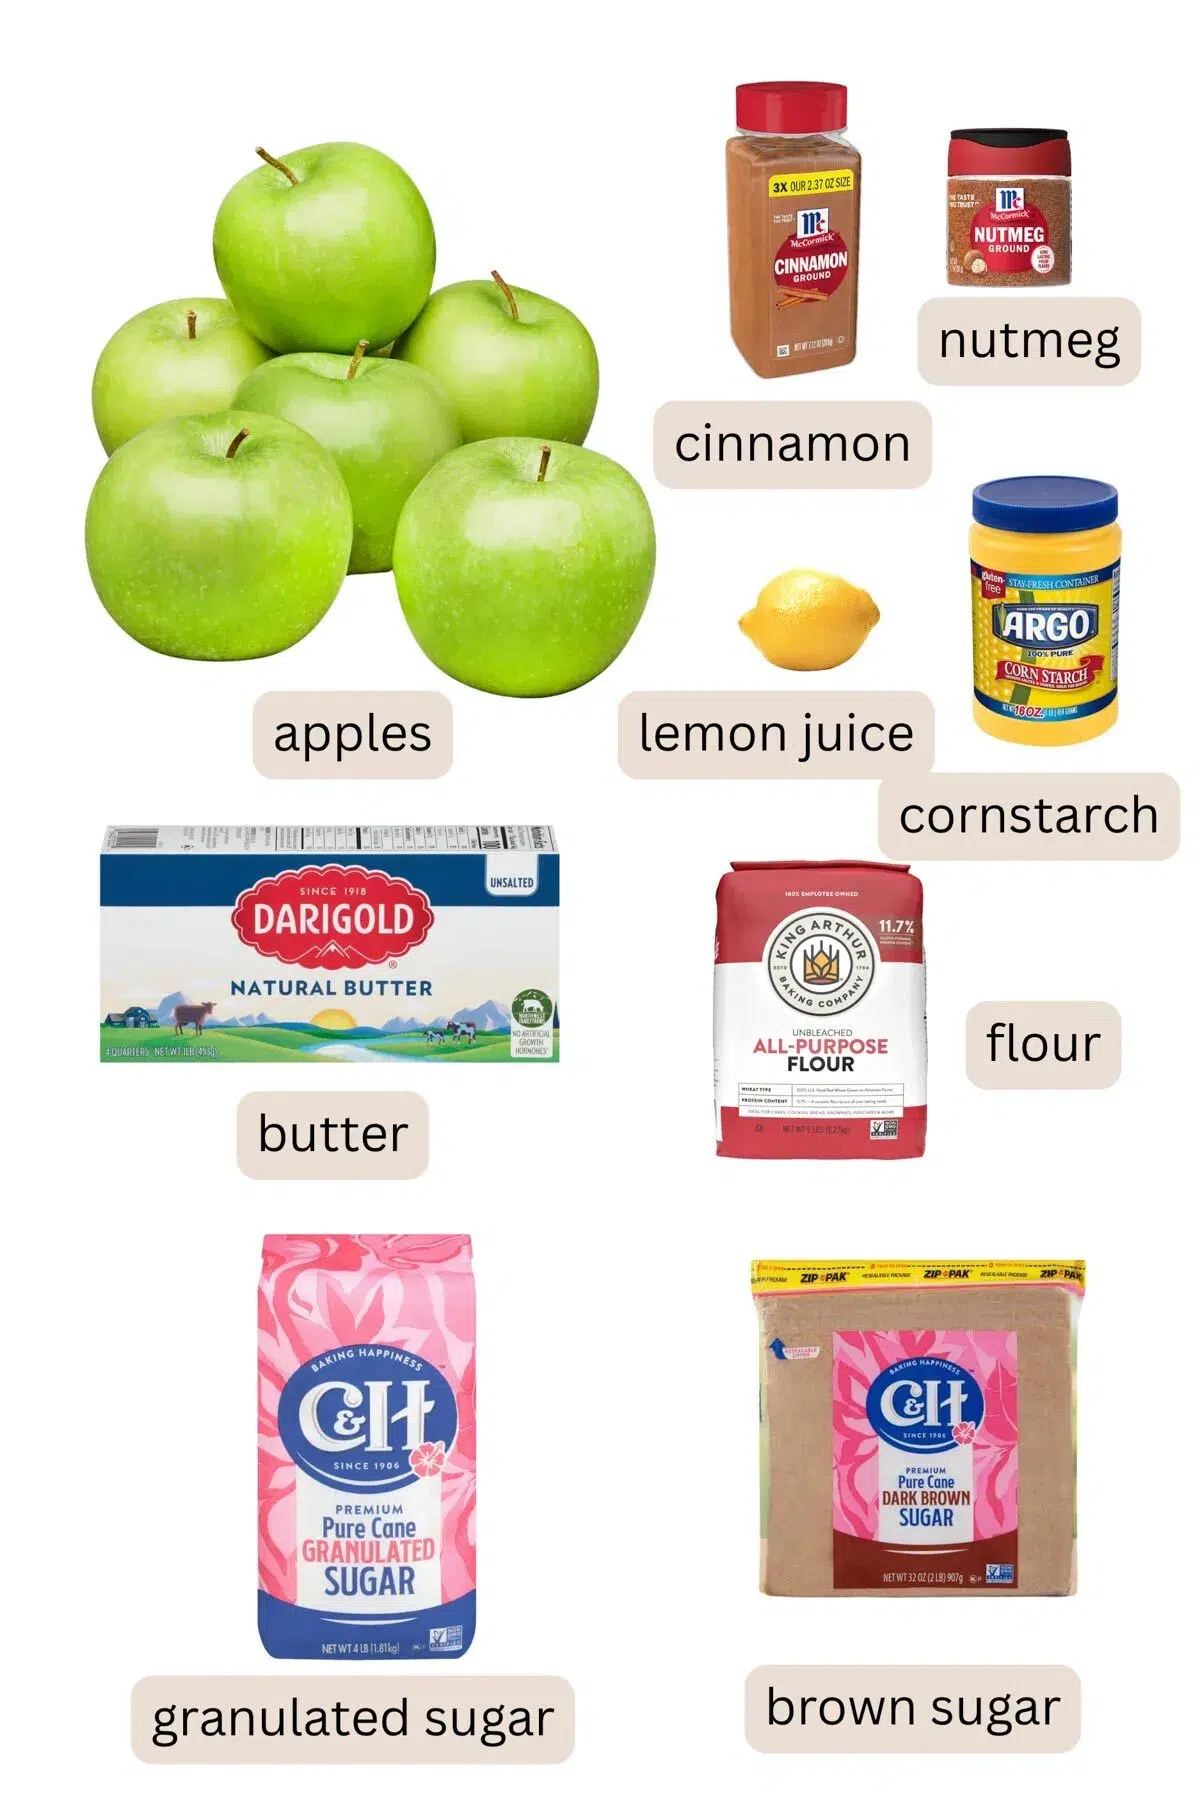
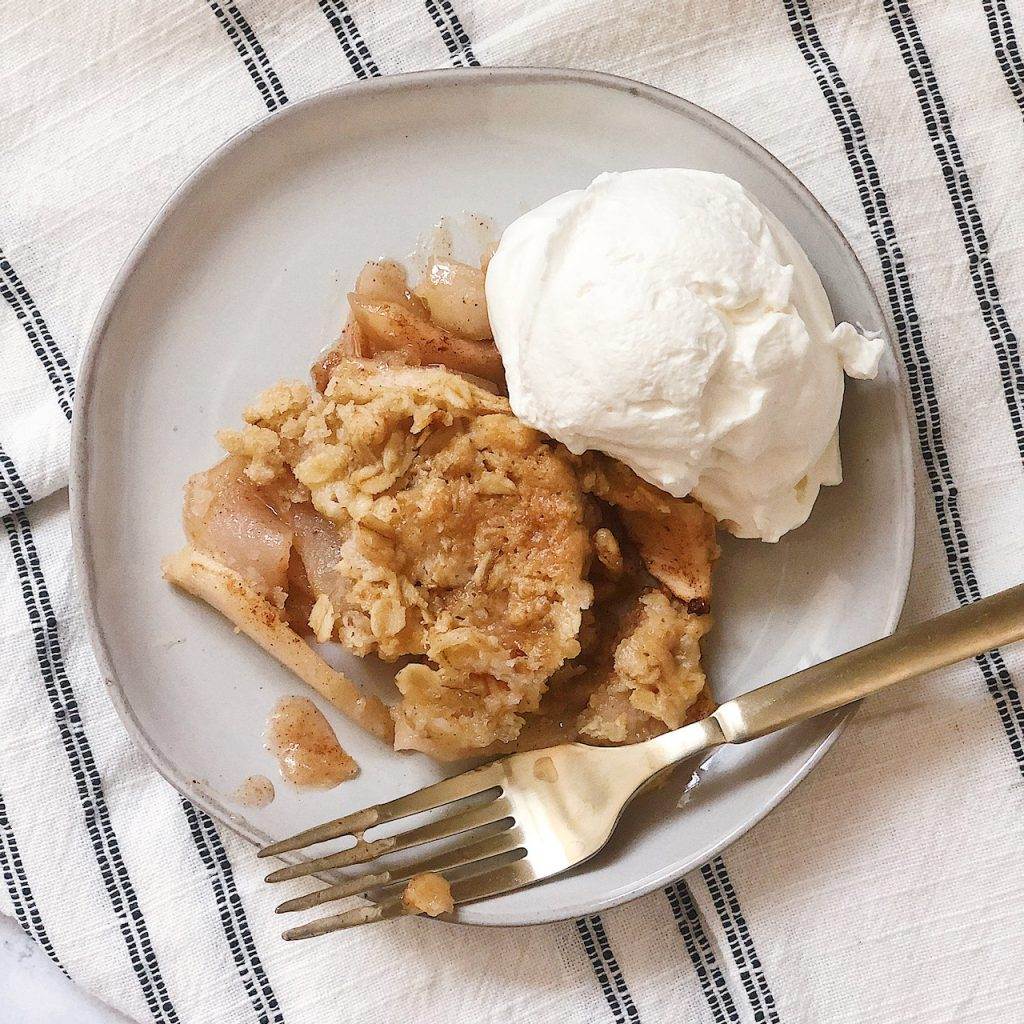
- Apples – You’ll need about 6 large apples. Generally I prefer to use Granny Smith apples for any kind of baked apple treat, like an Easy Apple Crisp. Their tartness goes well with the sugars and spices that will be added into the filling and the crumb topping. You can also use a combination of Granny Smith apples and another apple like Honeycrisp, Tango, or Jazz apples, and that can help sweeten the apple pie filling a bit more.
- Brown sugar – Just like in my Homemade Cinnamon Rolls, I like to use dark brown sugar for an extra rich and cozy flavor.
- Cornstarch – Adding cornstarch to the apple pie filling helps to thicken it, preventing a runny center.
- Cinnamon and Nutmeg – These are classic apple pie flavors that add a warm and cozy flavor.
Find a complete list of ingredients and measurements in the recipe card below.
How to make Apple Crumble Pie
Prepare the pie dough
Step 1: In a large bowl, combine the ingredients for your pie crust. Go to either my All Butter Pie Crust recipe or my Best Pie Crust recipe for more tips on mixing your pie dough. For this recipe, I suggest the all butter pie crust.

Step 2: Divide the pie dough into two pieces, flatten them into a disc and cover in plastic wrap. Chill them for at least one hour before rolling out. You can also prepare the pie dough up to two days in advance. My pie crust recipes make two crusts – you can make another pie, like my Peach Crumble Pie, or freeze the other pie crust for later.
Apple Pie Filling
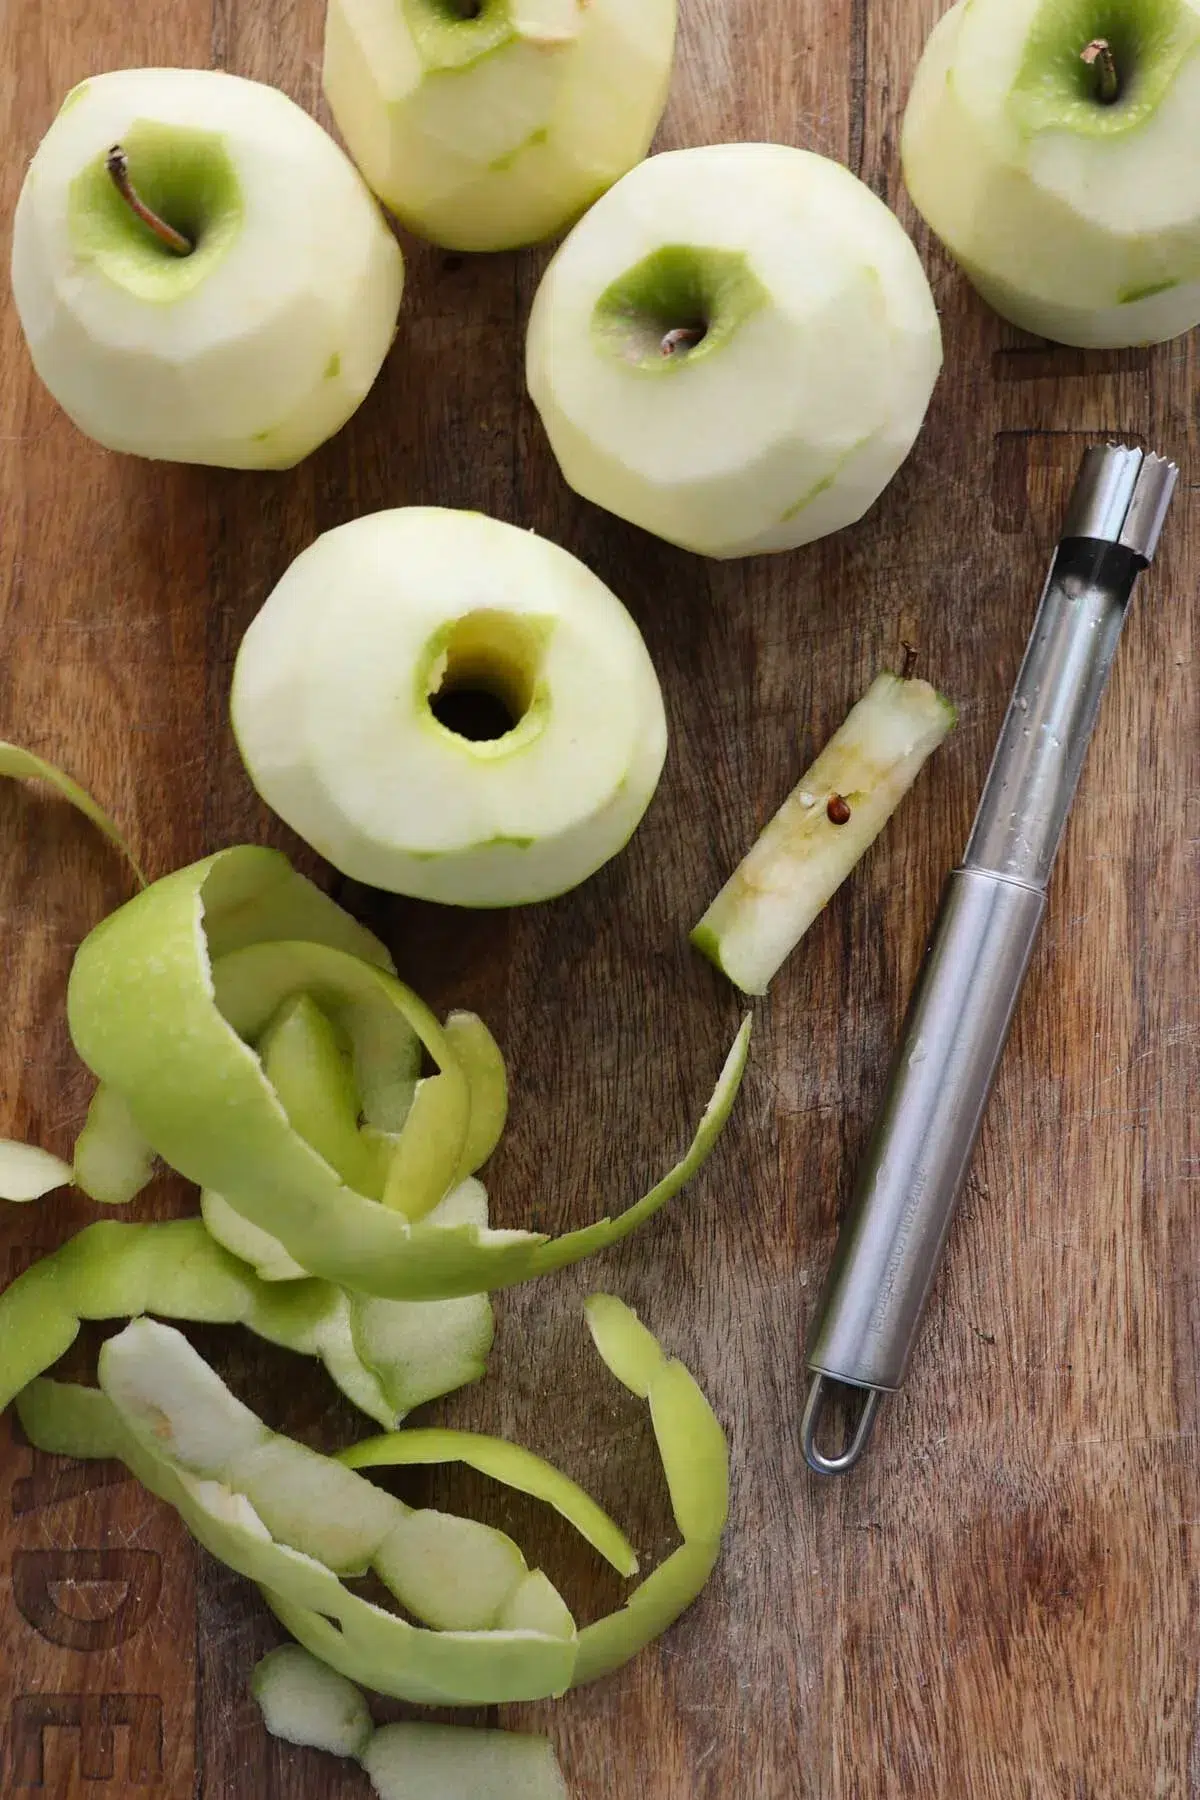
Step 3: Core and peel the apples. I love to use an apple corer to make prepping apples an easier process. Slice the apples to about 1/4-inch thickness. If you slice them too thin, your filling will end up mushy. If you slice the apples too thick, they might end up to firm when baked.
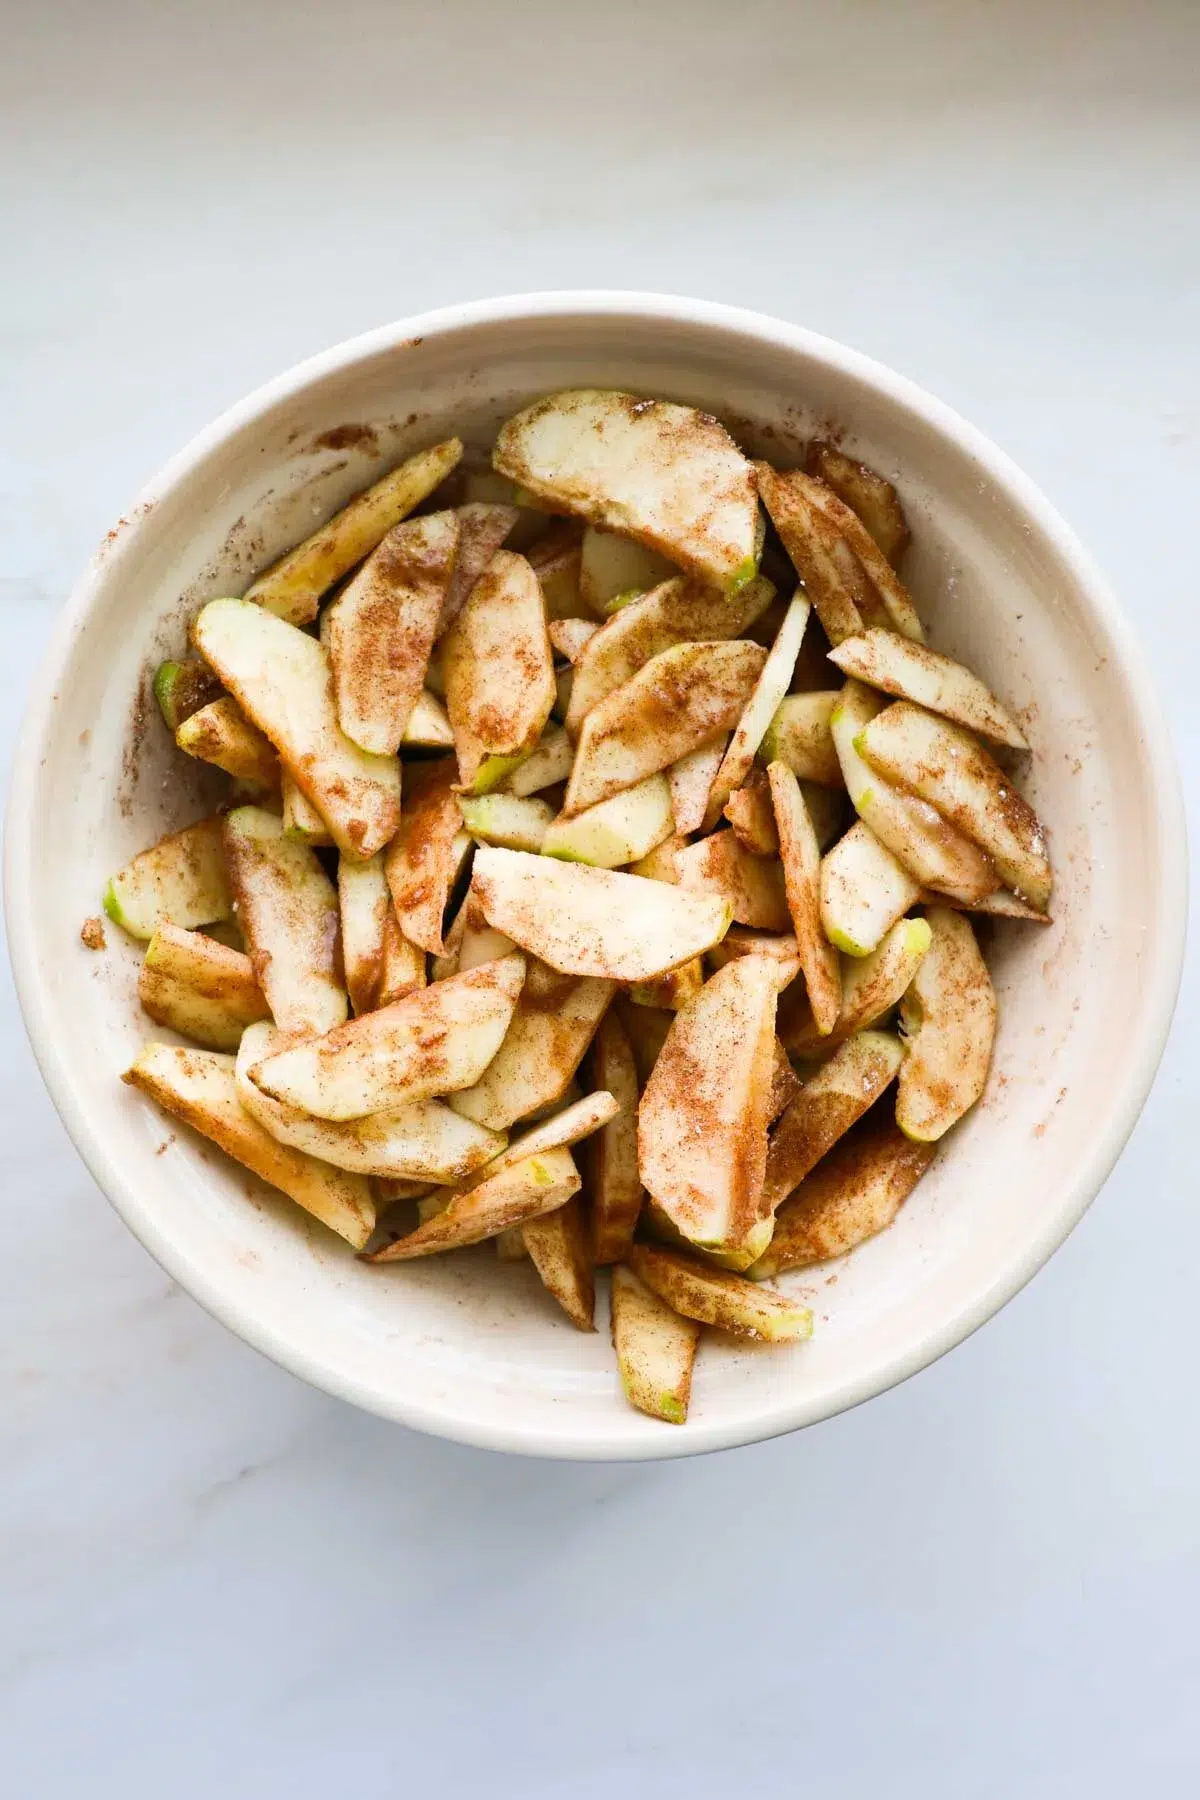
Step 4: Stir the filling ingredients into the apples – the sugars, cinnamon, nutmeg, cloves, cornstarch, and lemon juice.
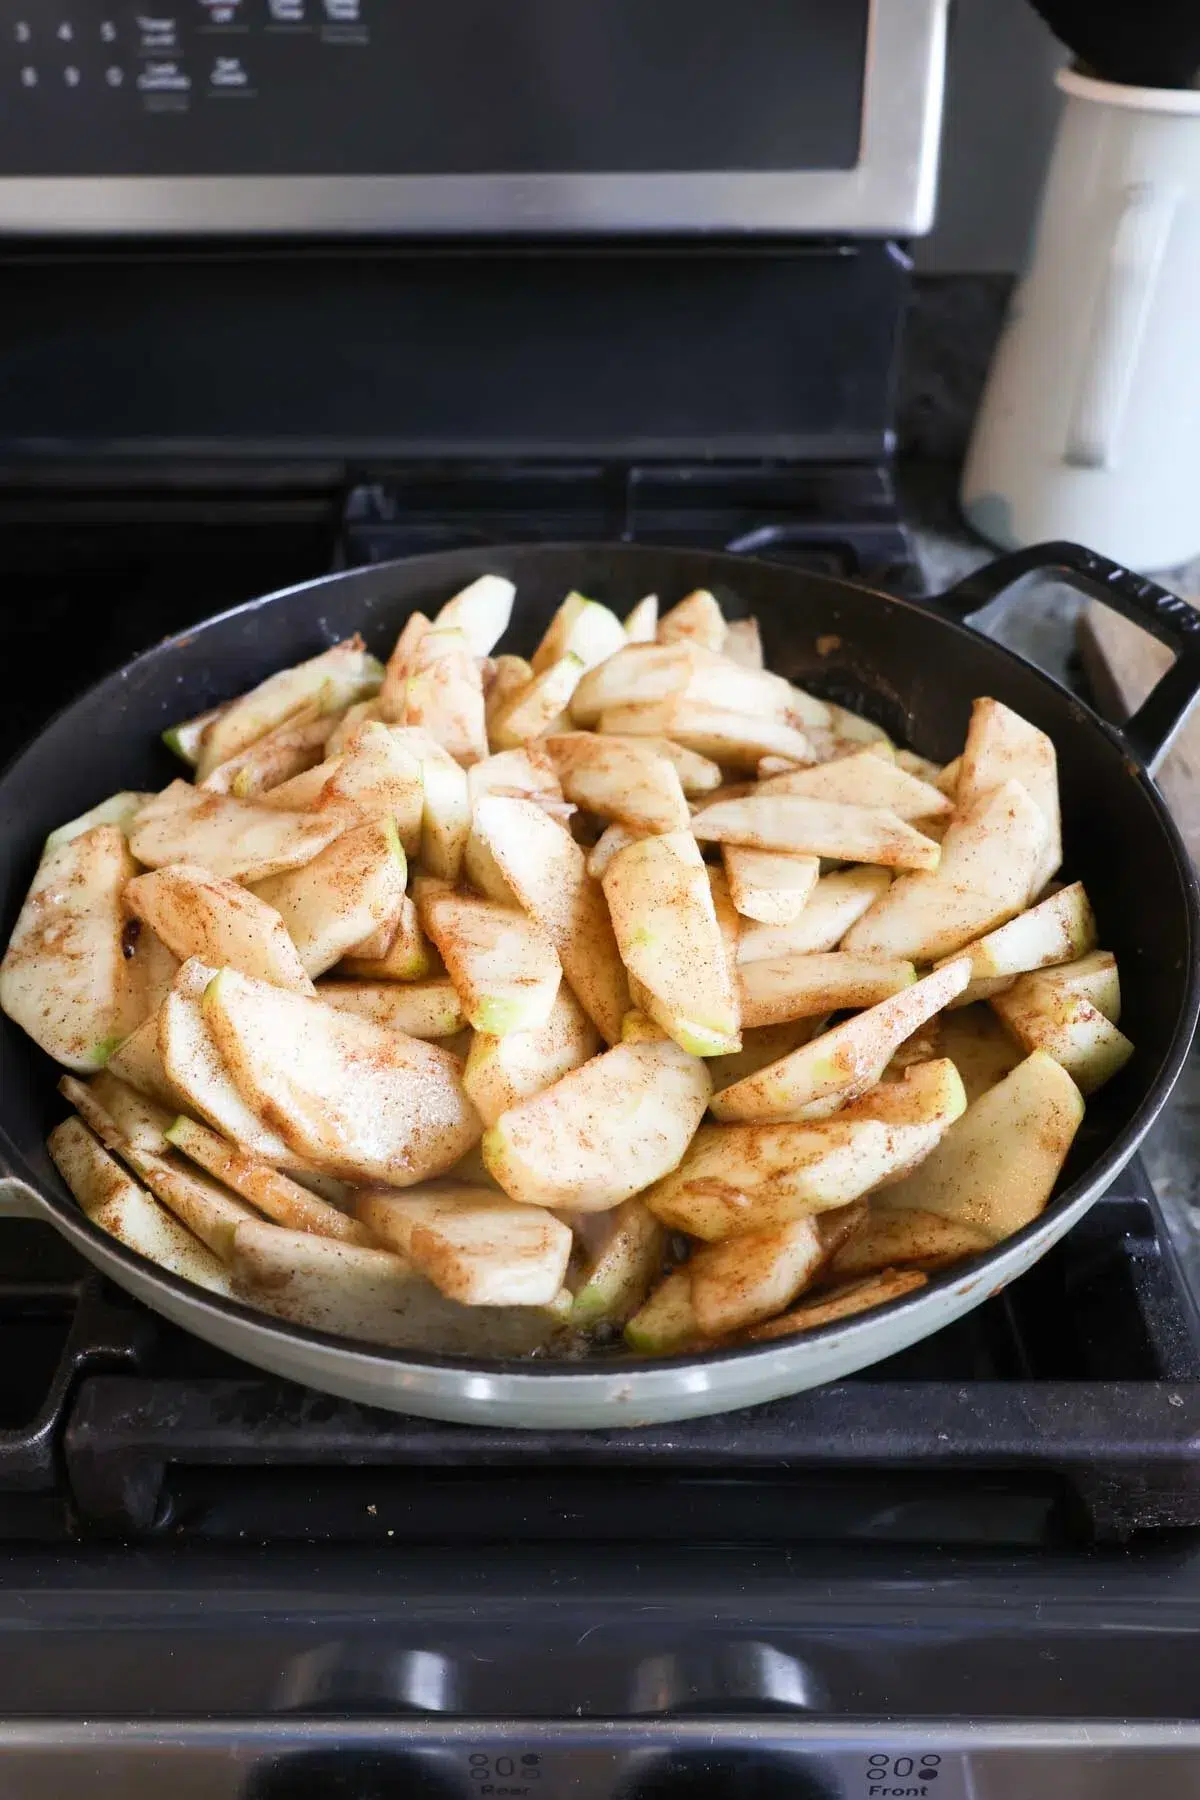
Step 5: Melt the butter in a large saucepan over medium low heat. Add the cinnamon apple pie filling and cook for about five minutes. This will soften the apples, release the juices, and help get a headstart cooking the apple filling. I find this a necessary step when making apple crumble pie. Set them aside to cool before adding to the pie shell.

How to roll out pie dough
Making homemade pie crust easy to roll out can sometimes seem like an impossible task. Use these tips when rolling out your pie dough:
- If possible, use a silicone pastry mat. It allows you to use less flour to keep your pie dough from sticking. Using too much flour to roll out pie dough can cause it to crack and tear.
- Rotate and flip the dough as you go, constantly making sure it’s not sticking to work surface.
- Roll the dough out cold. You don’t want the fats to melt – this can create a pie crust that’s difficult to roll out, and will compromise the structure of the baked crust.
- Make the rolled out pie dough 1 to 2 inches bigger than your pie pan – that way you have extra to make a detailed border.
Getting the pie crust into the pie pan

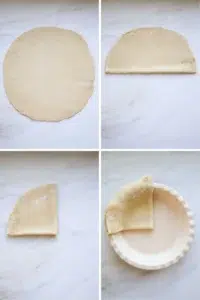
Step 6: Roll the pie crust to a circle that is about 2-3 inches bigger than your pie pan. You want enough to hang over the edge, so you can make a beautiful edge on your crust. Lightly flour the top of the dough and fold it in half. Fold the dough in half again, forming a triangle. Then, you can easily place your pie dough into your pan, unfold it and voila! It’s all neatly placed in your pie pan without any disasters!
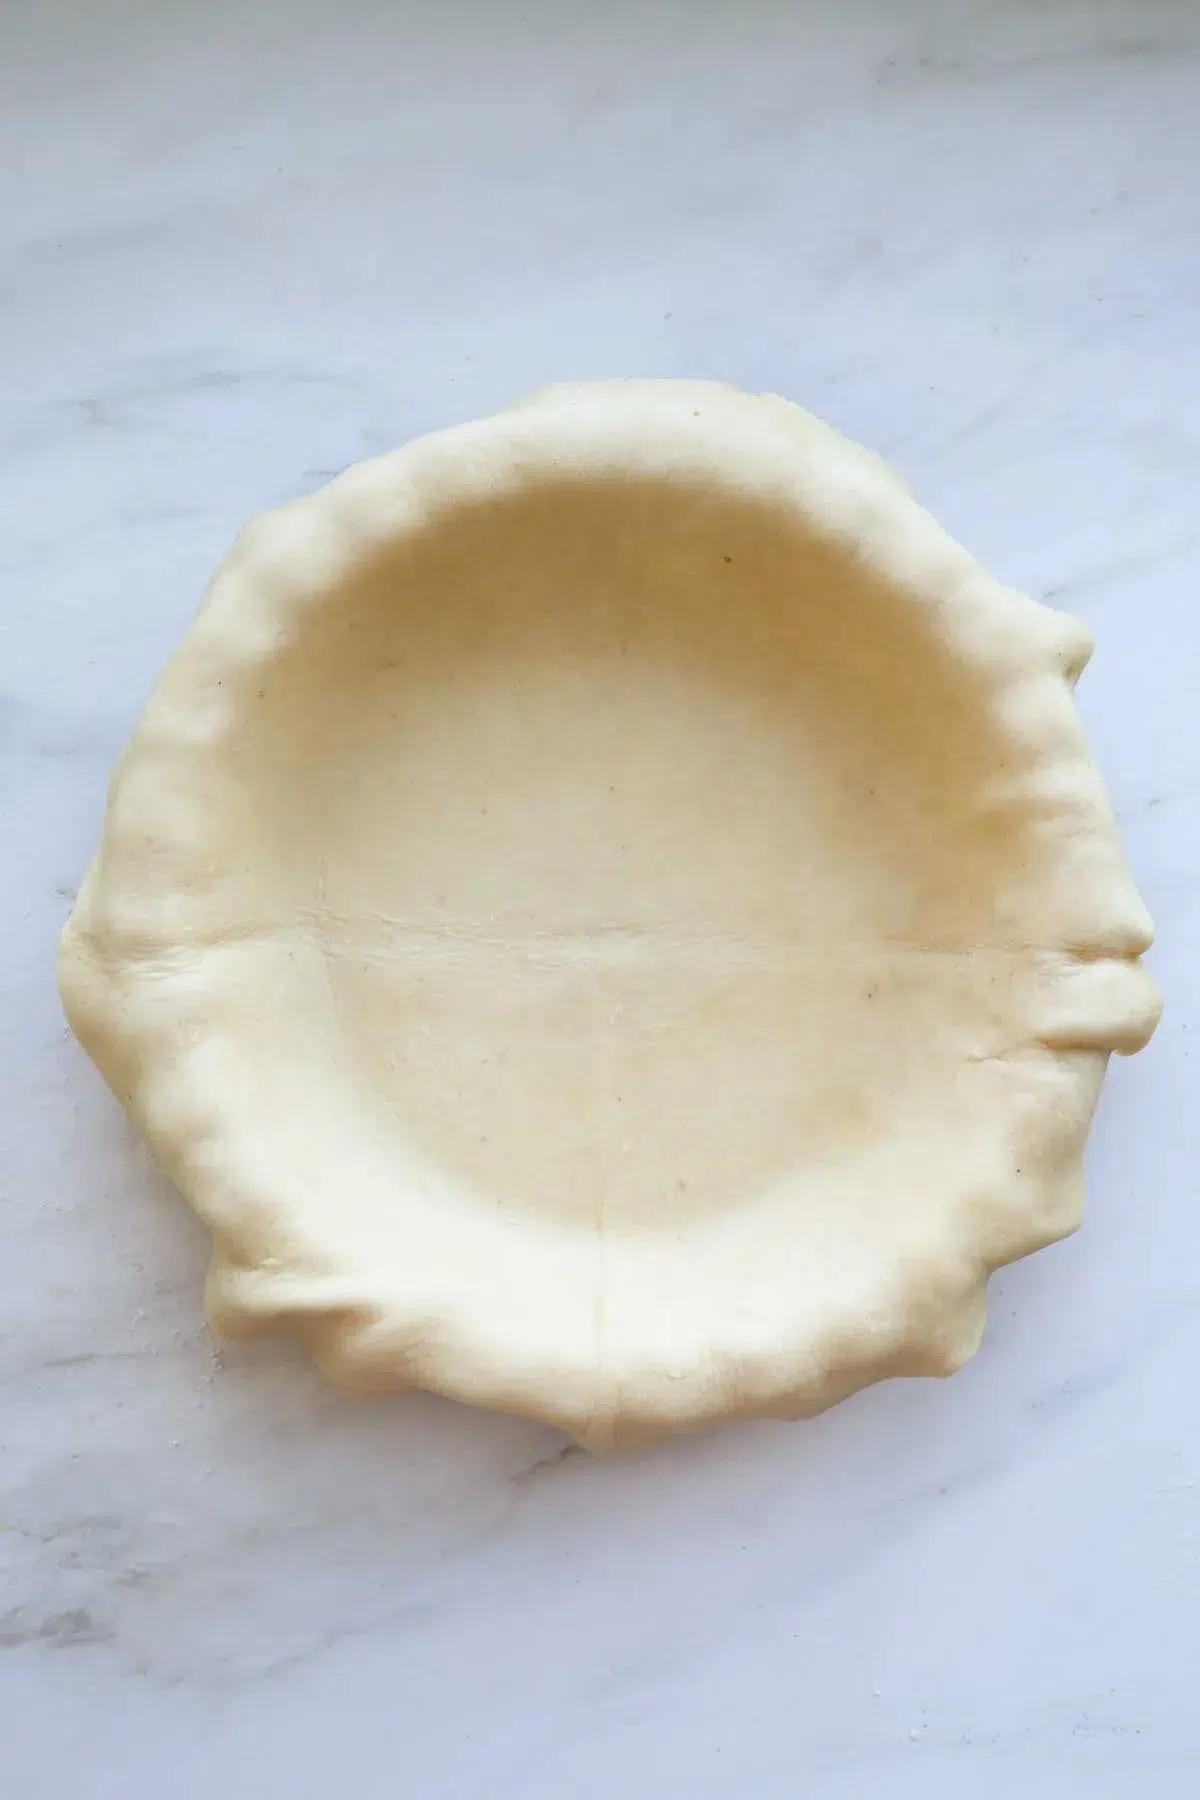
There should be some extra pie dough hanging over the edge of the pie pan. I like to have about one extra inch of dough to work with to form a detailed pie edge.
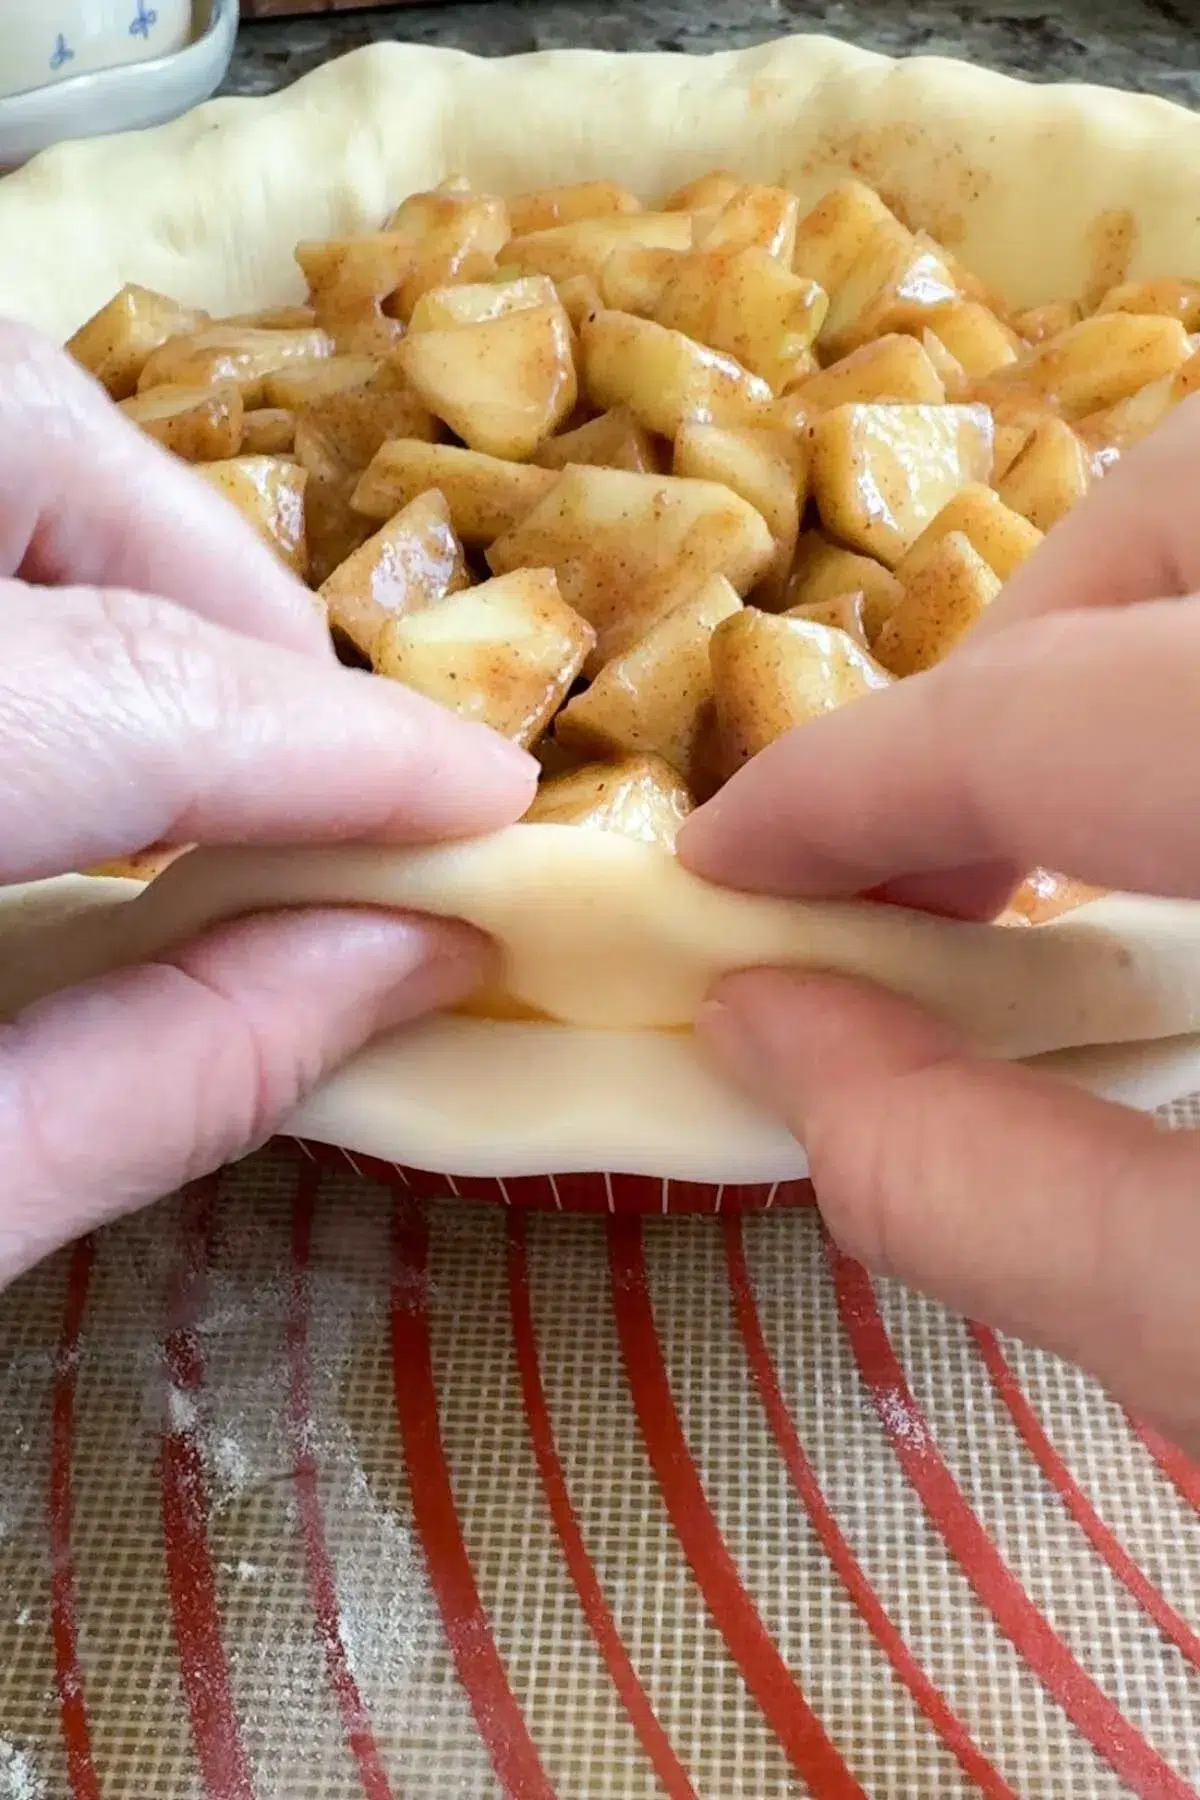
Add the apple filling. Fold the excess pie dough under, lining it up with the edge of the pan.
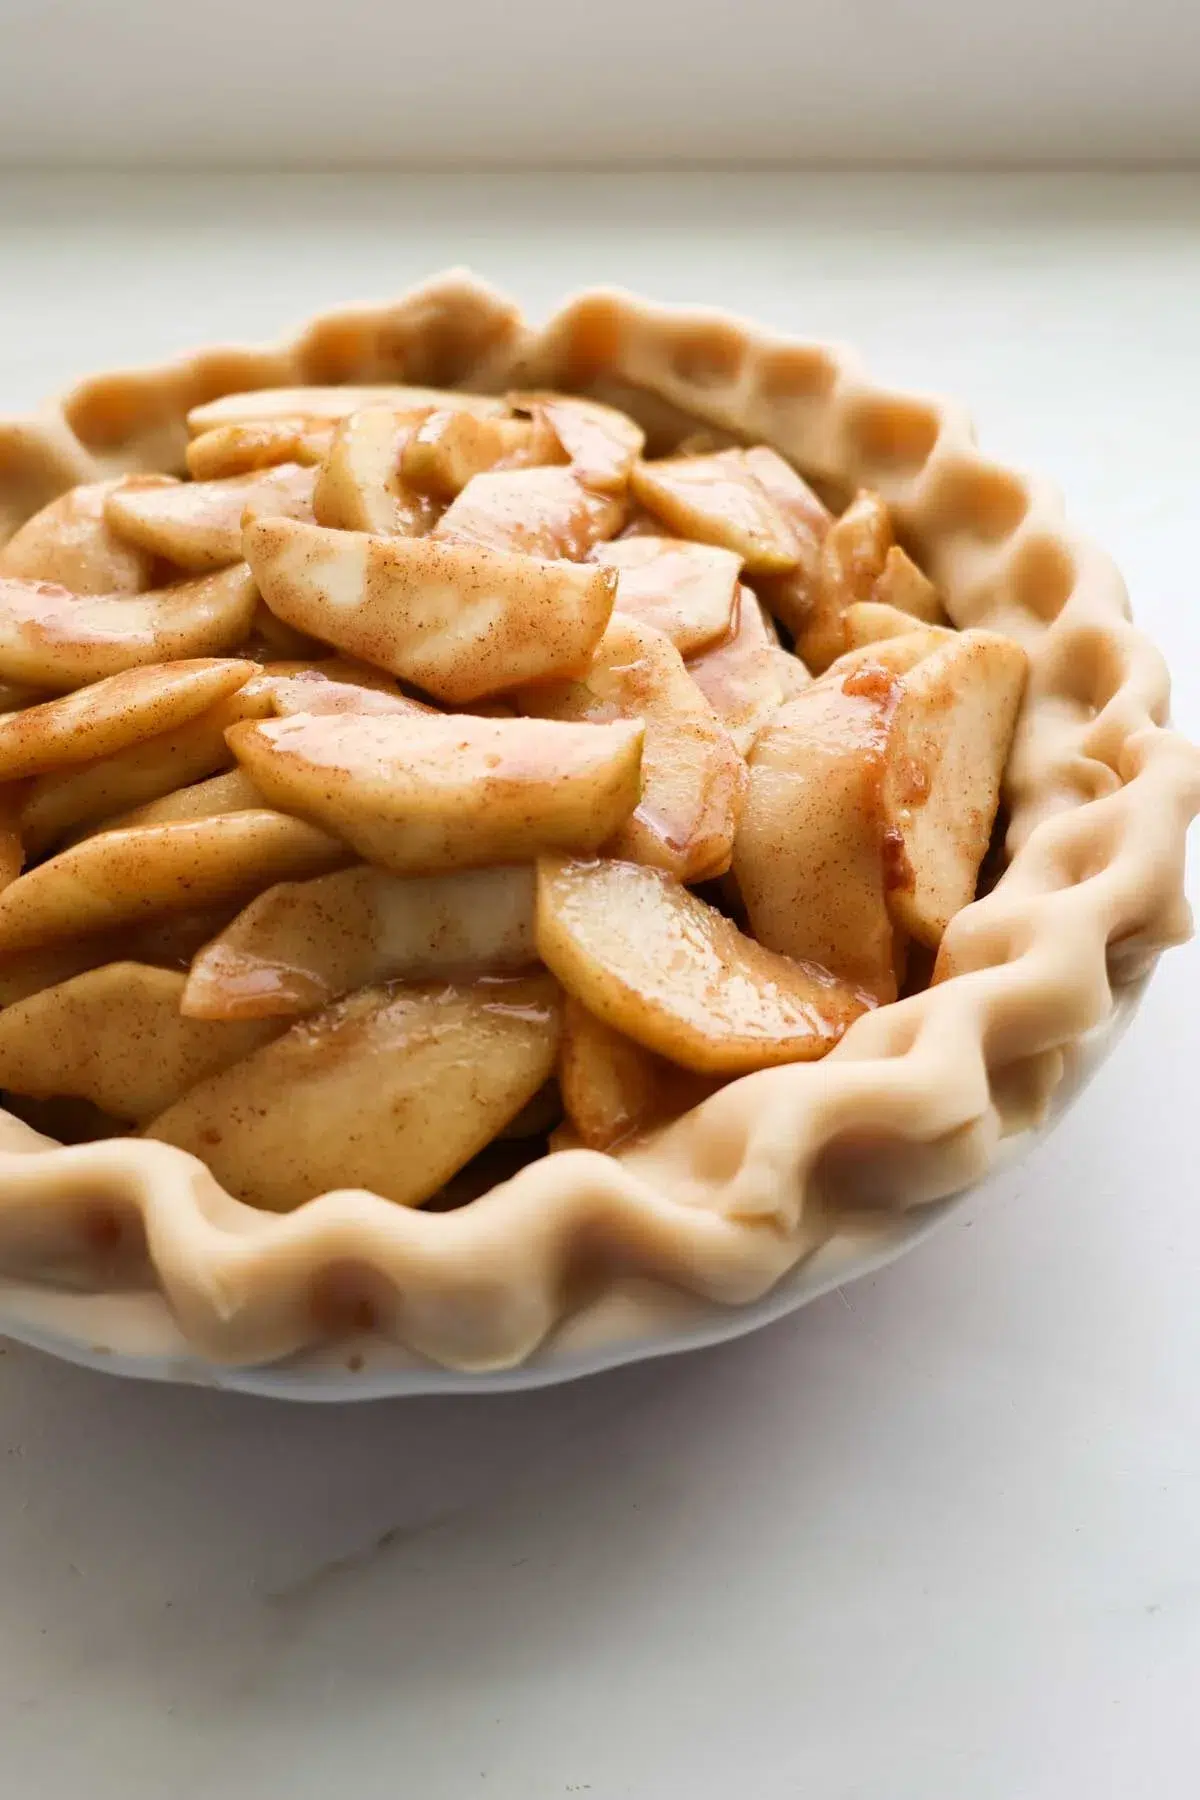
Flute the pie crust edges by placing your finger or knuckle on top of the dough and pinching the dough around it with your other index finger and thumb. Place the pie into the refrigerator while you preheat the oven and prepare the apple pie crumb topping.
Crumb Topping for Apple Pie
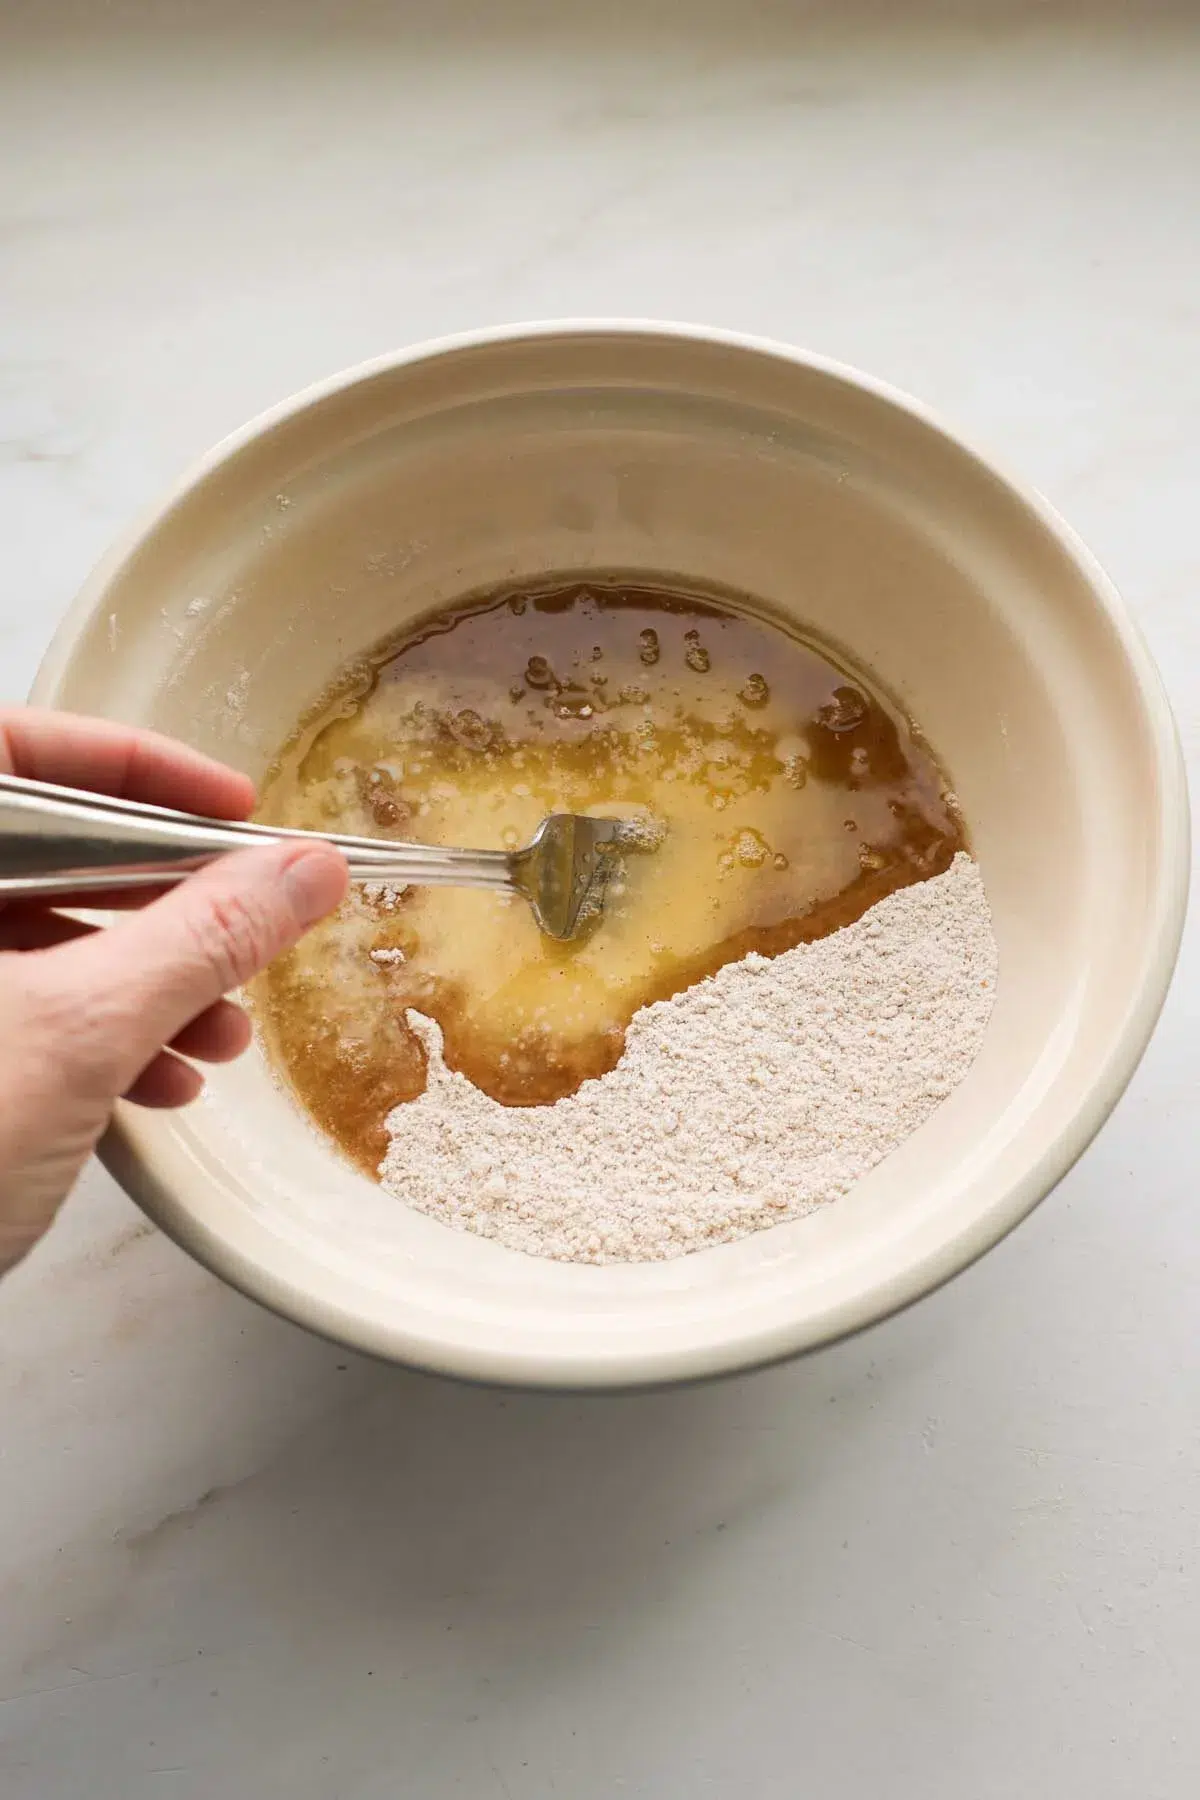
Step 7: In a medium bowl, combine the dry ingredients for the apple pie crumble topping. Then add the melted butter. Using a fork works great for this job.

The mixture should be a crumbly texture. If it seems too wet, let it sit for 5 minutes and then break it up with a fork.
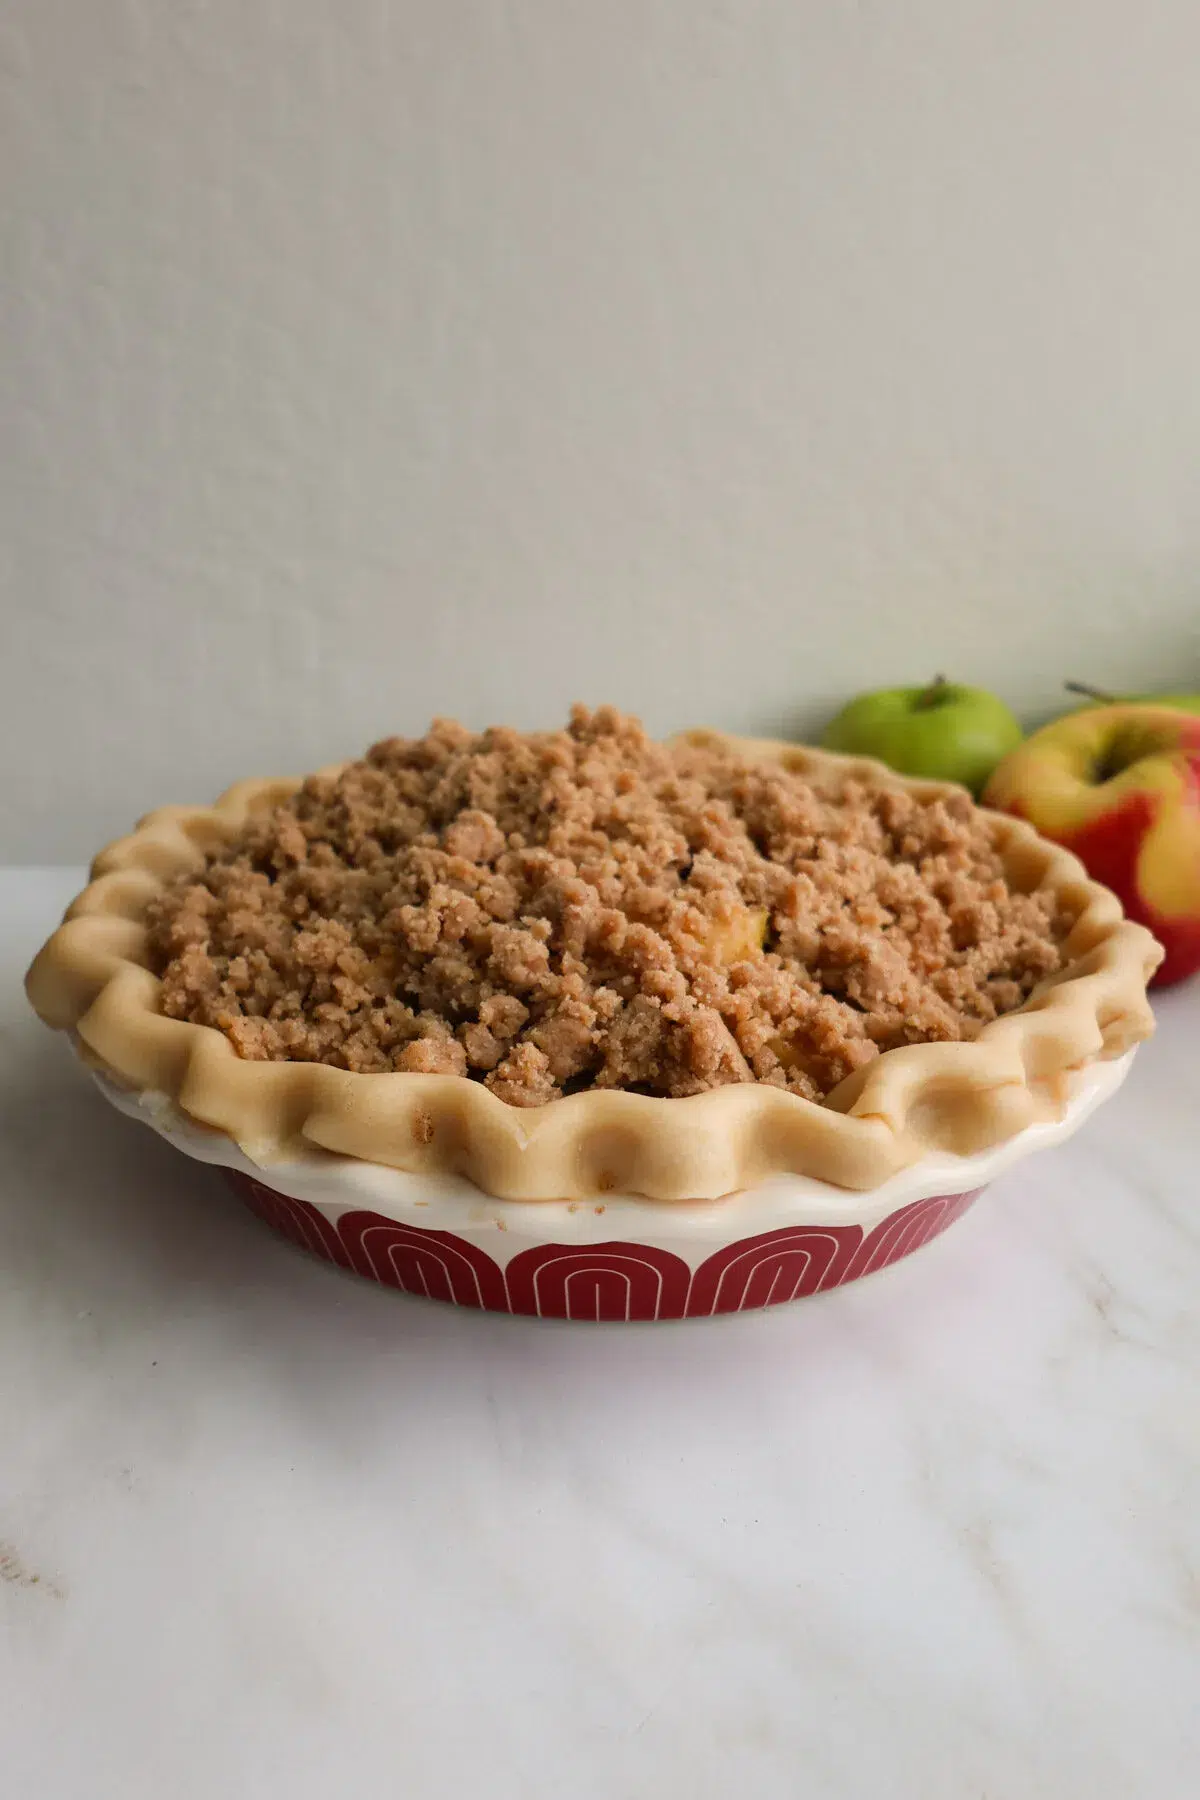
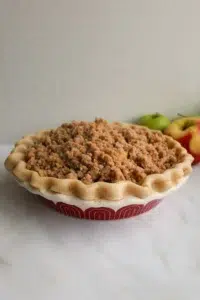
Step 8: Add the crumb topping to the apples. Pile it high and use every bit of the apple pie crumb topping!
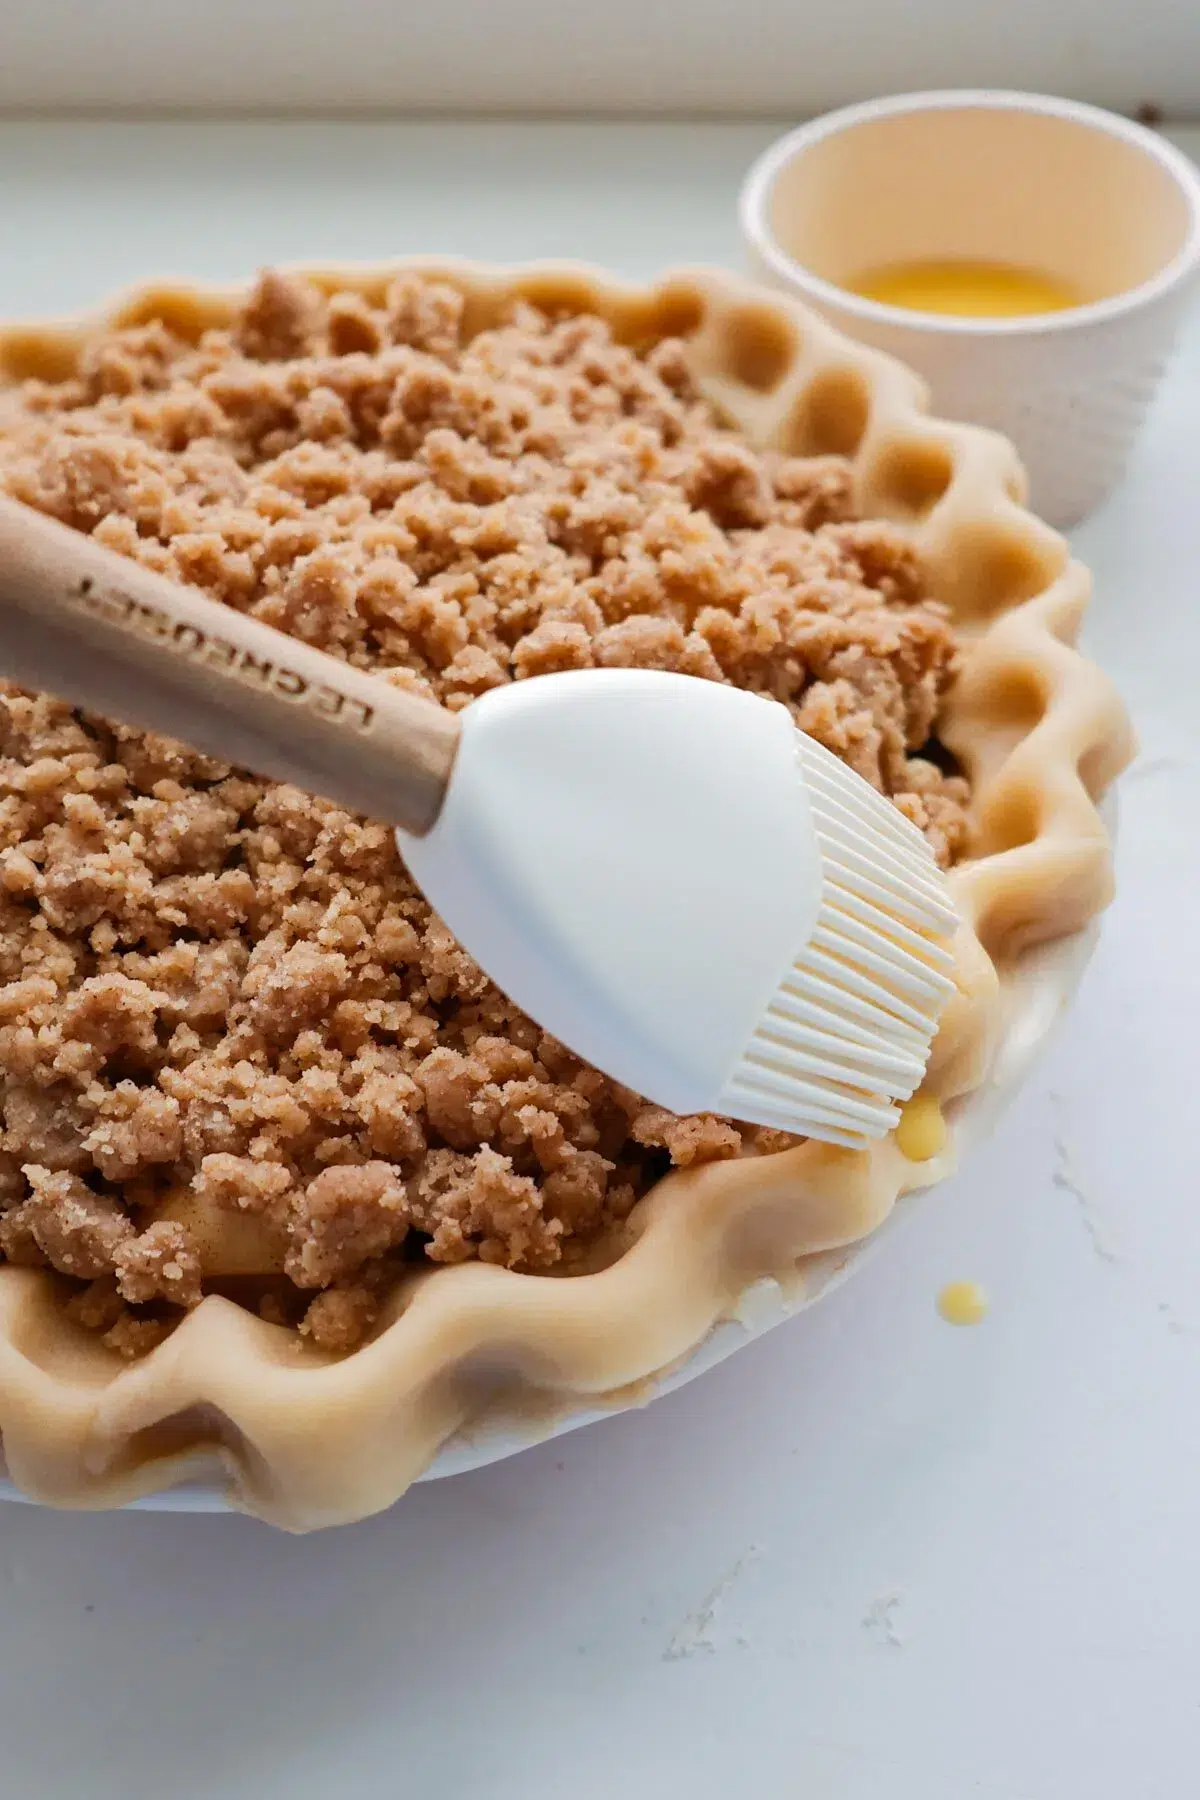
Step 9: Brush the pie crust with egg wash. This gives it a golden color, while also creating a shiny finish when baked.
Baking the pie
Step 10: Bake at 375°F, for 50 to 60 minutes, until golden brown. The apples should be tender when pierced with a knife. You should see the apple pie filling bubbling up around the edges. If you want to be really precise, you can take the temperature with an digital food thermometer – it should be around 200°F in the center of the pie.
🥧Baker’s Tip: Check your apple pie about 20 minutes into the bake. If you notice your crust or topping is starting to get too dark, lightly place a sheet of aluminum foil over the top and continue to bake. Pie shields also work great if you need to cover your crust, but not the topping. These silicone pie shields are adjustable! You want to protect your crust and give the apples enough time to bake – so keep an eye on it and cover the areas that need it.
Frequently Asked Questions
It’s important to know not all types of pie pans bake your pies the same way. In general, metal pie pans will retain heat the best, producing a golden, evenly baked bottom crust. A glass pan takes a bit longer to heat up than a metal pan, but is good as maintaining heat. It’s also a great option if you want to check to see if your bottom crust is done. Ceramic pie pans are popular because they’re usually the prettiest ones, and oftentimes are handed down through the family. They take the longest out of the three to heat up, so adjust your recipes accordingly. You may need to add 5 minutes or so to the bake time.
I would suggest freezing the apple pie before baking it. Freezing it after being baked could result in a very soggy crust. To freeze a fruit pie before baking, place the pie into the freezer without covering it. Once frozen, cover it twice in plastic wrap and then follow up with aluminum foil. Store it in the freezer for no more than two months. When you’re ready to bake, remove the wrappings, brush the crust with egg wash, and bake as directed in the recipe – no need to thaw it first. However, you will need to add about 15-20 minutes additional bake time. Be sure to cover with foil or a pie shield if the crust is browning too much.
Yes, you definitely can. Simply replace it with the homemade crust and bake as directed in the recipe.
More Recipes You’ll Love
Apple Crumble Pie Recipe
Best Apple Crumble Pie
Equipment
- 1 9-inch pie pan
Ingredients
All Butter Pie Crust
- ½ cup ice cold water
- 1 ½ teaspoon distilled white vinegar
- 1 cup unsalted butter cubed and cold
- 2 cups all-purpose flour
- 1 Tablespoon granulated sugar
- ½ teaspoon fine sea salt
Pie Filling:
- 6 large apples I prefer a mixture of Granny Smith and Honeycrisp
- ⅓ cup granulated sugar
- ¼ cup brown sugar
- 2 teaspoons ground cinnamon
- ½ teaspoon ground nutmeg
- ¼ teaspoon ground cloves
- 1 Tablespoon cornstarch
- 2 teaspoons lemon juice
- 3 Tablespoons unsalted butter
Crumble Topping:
- 1 cup all purpose flour
- ⅓ cup packed brown sugar
- 3 Tablespoons granulated sugar
- 1 teaspoon ground cinnamon
- ½ cup unsalted butter melted
Egg wash
- 1 large egg whisked together with 1 Tablespoon water
Instructions
Make the Pie Crust
- In a small bowl, mix together the vinegar and water. Place in the refrigerator for 10 minutes. The butter should also be cubed and chilling in the refrigerator too.
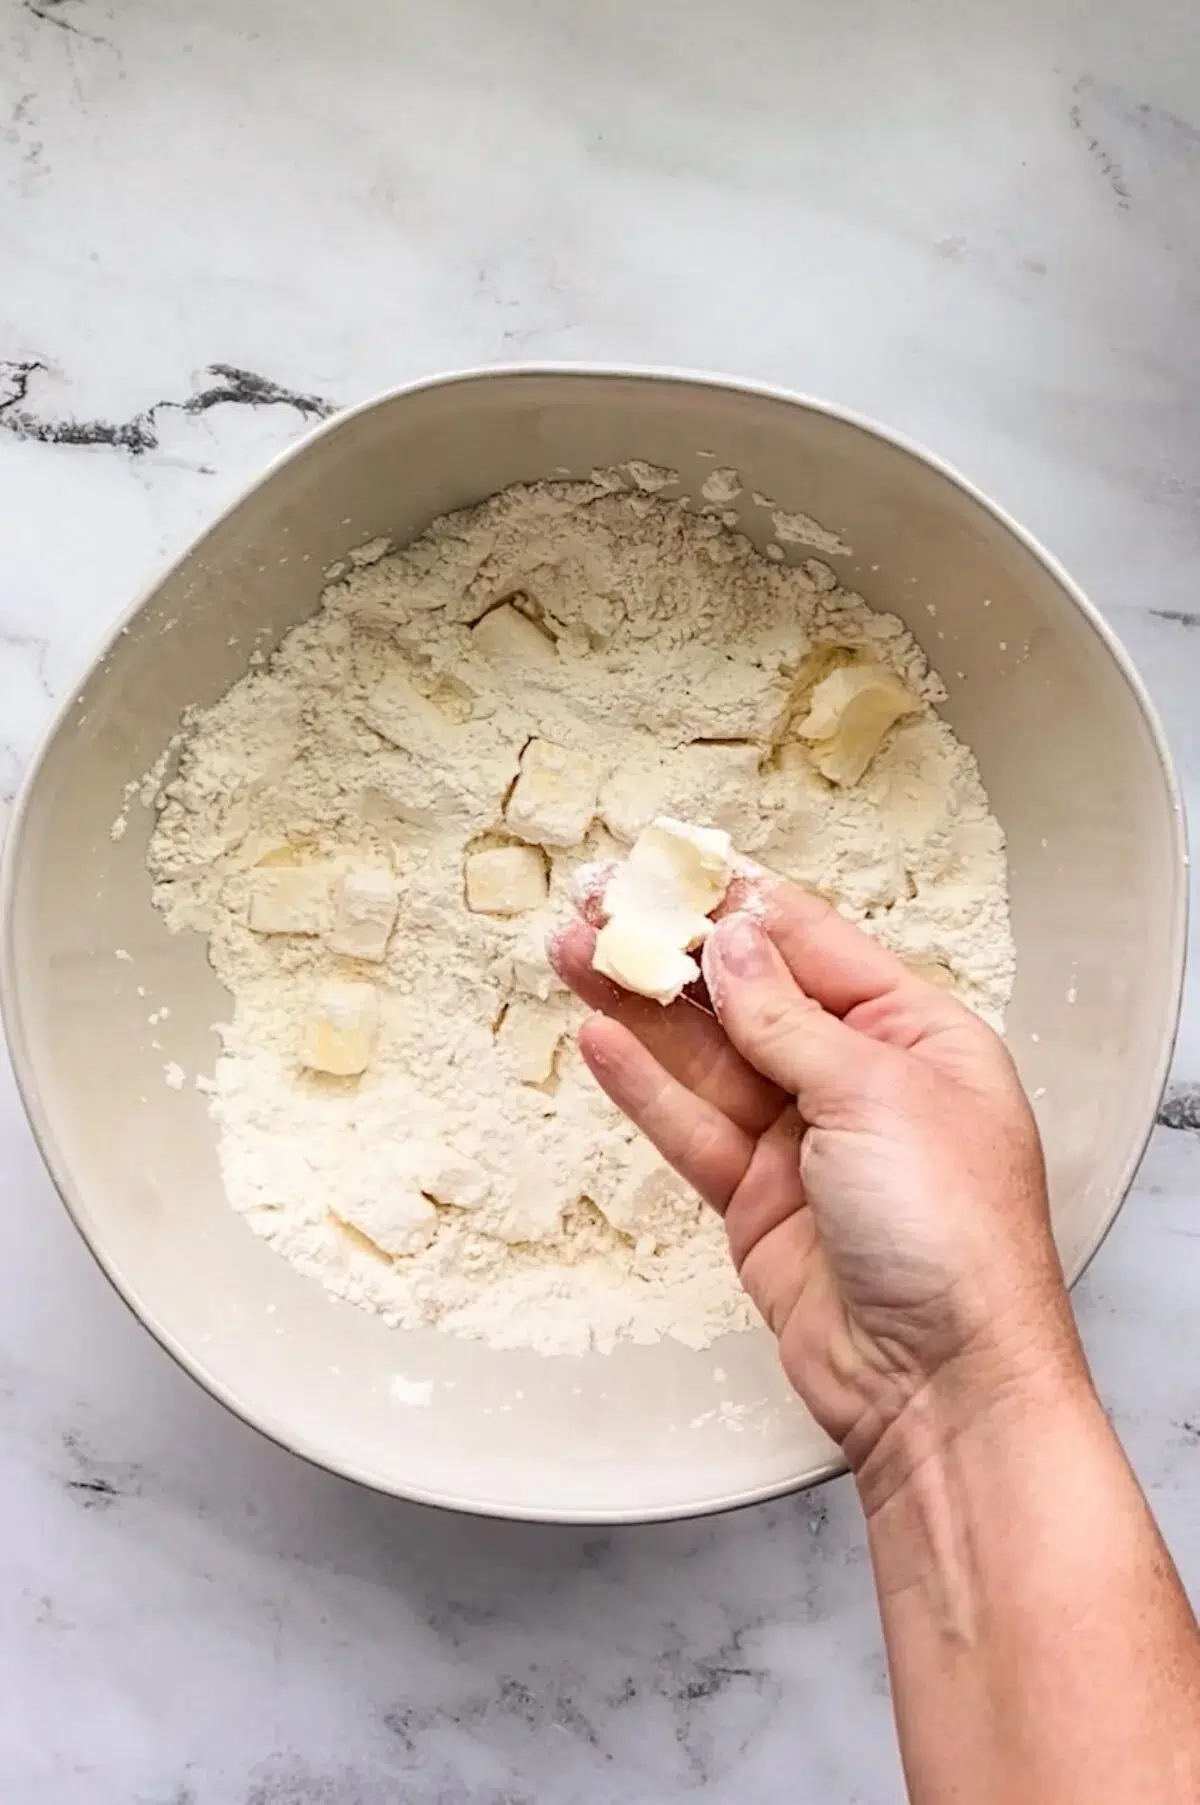
- In a large bowl, stir together the flour, sugar and salt for the pie crust.
- Remove the chilled butter and toss it in the flour mixture. Flatten each cube between your fingers and toss to coat with the flour mixture. Continue to massage and roll the butter between your fingers until it’s a coarse mixture with pea-sized to almond-sized pieces throughout.

- Add 3 Tablespoons of the vinegar water to the flour mixture and stir with a rubber spatula. Continue to add the vinegar water 1-2 Tablespoons at a time, until the dough is almost entirely hydrated. You may not need to use all the water. When you pinch the dough, it should hold its shape.
- Turn the mixture out onto a work surface and pinch the dough together with your hands, gathering any loose bits of flour and pressing it into the dough. If the dough isn't coming together and is too dry, wet your hands with the ice water and work it into the dough to hydrate it a bit more. Work quickly and avoid over mixing.
- Divide dough into two equal pieces. Round and flatten each into a disc shape. Wrap each with plastic wrap and chill for at least two hours before rolling out.

Prepare the Apple Pie Filling
- Peel, core and slice the apples into 1/4-inch-thick slices. In a medium bowl, toss the apples with the sugars, cinnamon, nutmeg, cloves, cornstarch and lemon juice.
- Melt the butter in a large pot on medium low heat. Add the apples and frequently stir. Cook for 5 minutes, just to soften the apples slightly. You're not completely cooking the apples – you just want to get them a bit tender to give them a head start. Remove from heat and set aside.
Crumble Topping
- In a medium bowl, stir together the flour, sugars, and cinnamon for the crumb topping. Add the melted butter and stir to combine. Break the mixture up with a fork to create a crumbly texture. Set aside.
Assemble the pie
- Roll out dough for pie crust on a floured surface. Roll to a 12-inch circle. Place in a 9-inch pie pan. Fold the extra dough underneath the edges, to line them up with the pie pan. Flute the edges of the crust by pinching with fingers or crimp with a fork.

- Add the apple pie filling. Top the filling with ALL the crumb topping. Brush the edges of the pie crust with the egg wash. Place the pie in the refrigerator while you preheat the oven.
Bake
- Preheat oven to 375°F. Bake for 45 to 55 minutes. Check the pie around 25 minutes into the bake. If the crust or topping are getting too brown, lightly cover with aluminum foil. The pie is done when the apple pie filling is bubbling, the apples are tender when pierced with a knife, and the internal temperature reaches 200°F.
- Let the apple crumble pie cool for at least two hours before slicing. This will allow the juices to thicken up and make slicing and serving easier. Store the leftover pie, covered, in the refrigerator, for up to 4 days.
Notes
- See also my Homemade Flaky Pie Crust recipe for a perfect pie crust and tips on how to roll it out.
- Freezing option: I would suggest freezing the apple pie before baking it. Freezing it after being baked could result in a very soggy crust. To freeze a fruit pie before baking, place the pie into the freezer without covering it. Once frozen, cover it twice in plastic wrap and then follow up with aluminum foil. Store it in the freezer for no more than two months. When you’re ready to bake, remove the wrappings, brush the crust with egg wash, and bake as directed in the recipe – no need to thaw it first. However, you will need to add about 15-20 minutes additional bake time. Be sure to cover with foil or a pie shield if the crust is browning too much.
- Which pie pan to use: In general, metal pie pans will retain heat the best, producing a golden, evenly baked bottom crust. A glass pan takes a bit longer to heat up than a metal pan, but is good as maintaining heat. It’s also a great option if you want to check to see if your bottom crust is done. Ceramic pie pans are popular because they’re usually the prettiest ones, and oftentimes are handed down through the family. They take the longest out of the three to heat up, so adjust your recipes accordingly. You may need to add 5 minutes or so to the bake time.
5 Comments